
 Pin
Pin
Man, my house is smelling incredible right now. I've just taken another round of these Cheese Pepperoni Crunchers out from the oven and my teens are circling around like vultures. These tasty little bites came about by chance when I needed something crunchy during movie time. They've now become our family's top-requested munchie. While we're talking about treats, I've also been whipping up these awesome Coconut Snowballs Fudge Bites. Cold weather always makes me crave sweets and these fit perfectly with my keto plan without giving up any rich flavor.
A Crowd-Pleasing Quick Snack
This dish totally saved me when buddies showed up without warning last weekend. In under 15 minutes I had a plate of savory crispy treats that were gone in a flash. My buddy Sarah couldn't wrap her head around them being just pepperoni and cheese. I toss them on my greens too for an amazing crunch. The fudge bites taste better than those pricey coconut chocolates from that swanky place downtown, and I feel good knowing what's actually in them.
Round Up These Components
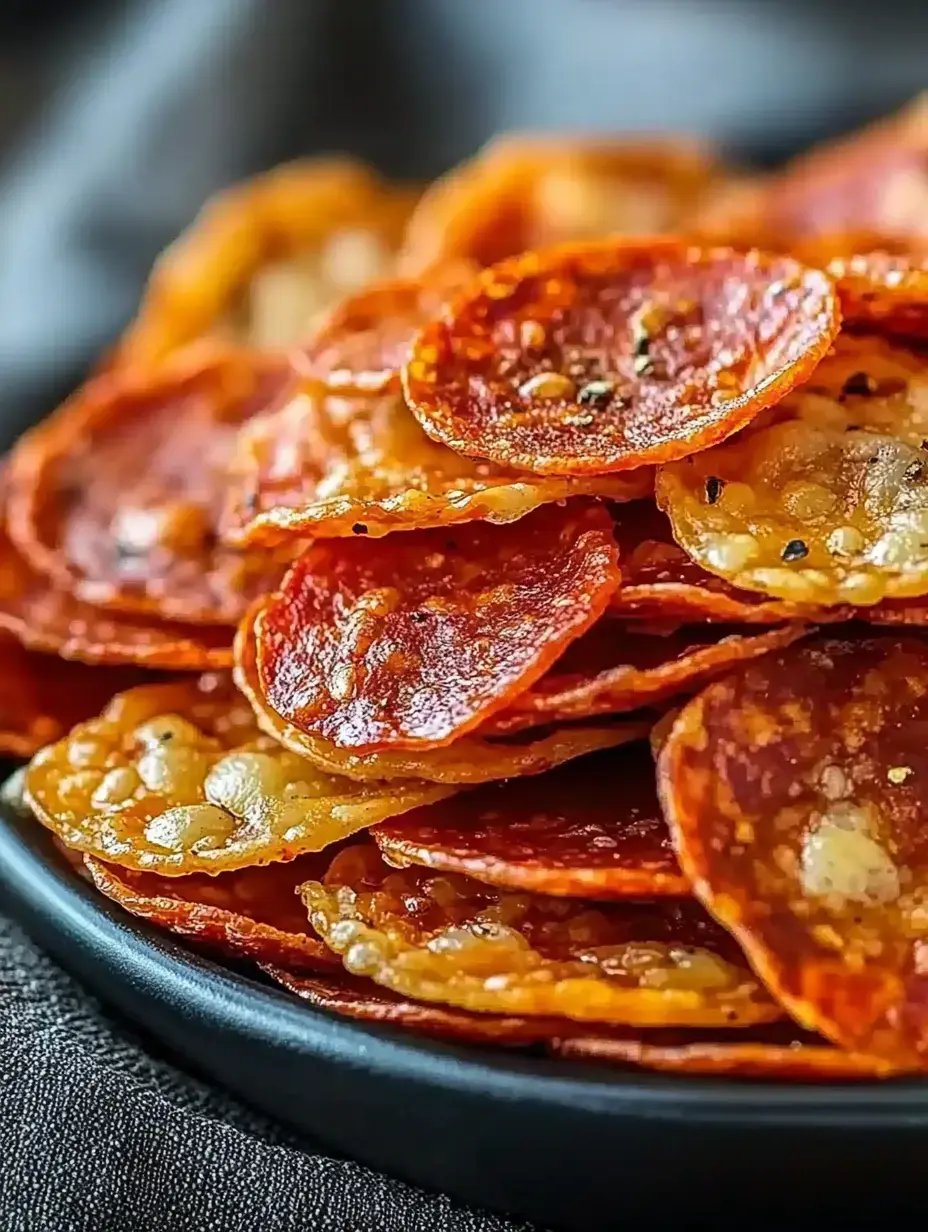
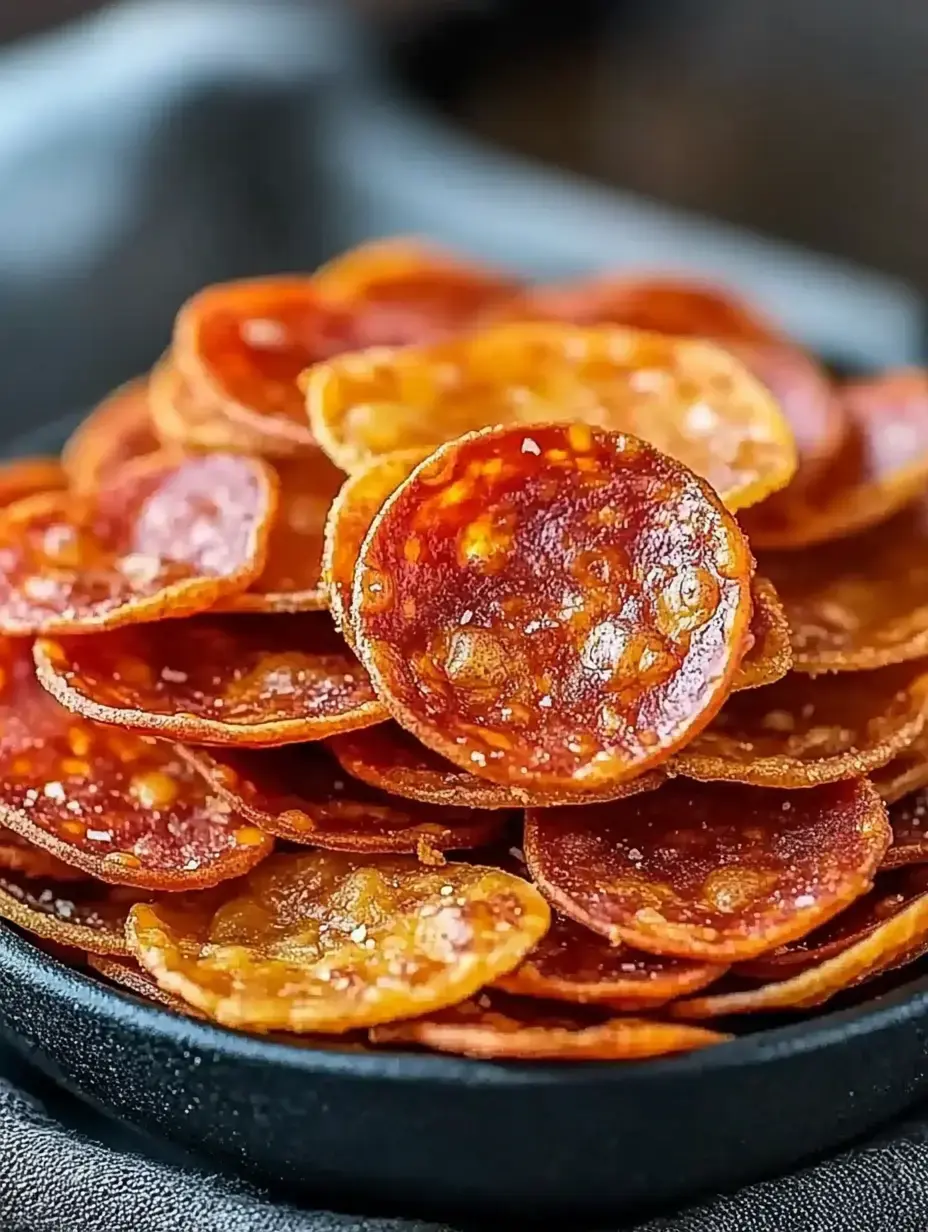
What's great about this dish is how few items you need. Get some fresh mozzarella and sharp cheddar from behind the deli counter - I always do the grating myself. Those bags of pre-grated stuff just don't melt right. Grab standard pepperoni slices from the deli area, not the jumbo sandwich ones. That's all you'll need. Just what I want when the cupboards are getting bare.
Simple Tools Needed
You won't need any special gadgets here. A standard muffin pan works great - I use my old non-stick one. Grating cheese by hand is worth the effort, believe me. Just have your measuring cups and a rubber spatula handy. For the fudge bites, a food processor works if you've got one, but your hands do the job just fine. My kid says making them manually is actually more enjoyable anyway.
 Pin
Pin
Cooking Time Begins
Set your oven to 375°F - mine gets extra hot so I keep it at 350°F. Place your pepperoni pieces in the muffin tin and they'll start to curl slightly, which is exactly the goal. Combine your fresh grated cheeses and drop them over each pepperoni slice. Don't stress if it looks like too much cheese, it shrinks down nicely. They usually take about eight minutes. Look for golden brown edges and your kitchen will fill with an amazing smell. Let them sit for 5 minutes and they'll get really crispy.
Ways To Enjoy
These crunchers are fantastic for gatherings. Put out some hot marinara for dipping and folks will love that mix. I break them up over my soups for texture. The fudge bites go great with a midday coffee. During the holidays I arranged them on a fancy dish and my in-law thought I bought them from that costly chocolate shop in town.
Insider Tips
Try different cheese combos - sometimes I add pepper jack for some heat. Keep a close eye during the final minutes of baking as timing matters. For the fudge bites, always check your mix before shaping so you can tweak the sweetness. Wet your hands with cool water before forming them to avoid sticking. Using fresh coconut really makes a difference so don't skip this step.
Storage Suggestions
Keep any extra crunchers in a sealed container on your countertop. If they go soft, just warm them in the oven for a minute. The fudge bites stay good in your fridge for seven days. You can stick them in the freezer for three months, but at my place they never hang around that long.
Common Kitchen Questions
Don't have a muffin pan? A lined baking sheet works too. Doing keto? These crunchers are perfect with zero carbs. Want to try other meats? Salami turns out great and so does turkey pepperoni. Need to make ahead? The fudge bites actually taste better after a day - go on and make twice as much. You'll definitely want extras.
Additional Kitchen Creations
While you're checking this out, try some other favorites too. My Bourbon Balls work great for adult parties with no baking needed. The Fudge Hot Chocolate vanishes every winter season. In summer nothing tops my easy Peach Galette. Those White Chocolate Dream Cookies never stay in the jar for more than a day. Every recipe comes with the same deal - basic ingredients, big taste, and no complicated steps.
 Pin
Pin
Recipe Questions & Answers
- → Why do they need cooling time?
Letting them cool helps the cheese firm up to give them that crispy texture. If you move them too early, they might crack or stay soft.
- → Can I skip the muffin tin?
A muffin tin keeps the shape neat, but a lined baking tray works too. Keep the portions spaced and small for best results.
- → How do I check if they’re done?
Look for browned edges with a soft center. They’ll crisp more as they cool.
- → How should I store extras?
Store in a sealed container in the fridge for up to three days. Heat them briefly in the oven for crunch restoration.
- → Can I swap the cheeses?
You can use firm cheeses like Parmesan or Monterey Jack. Choose cheeses that melt well for crisp results.