
 Pin
Pin
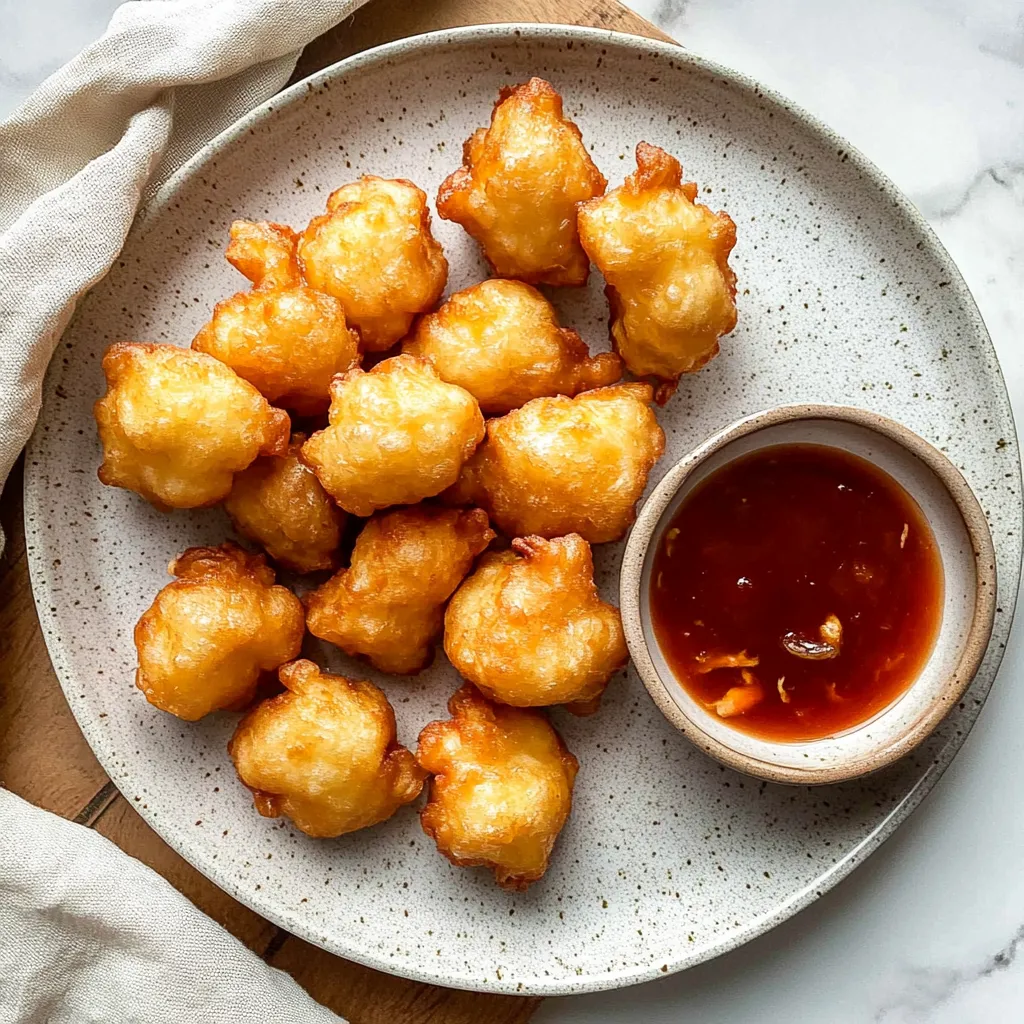
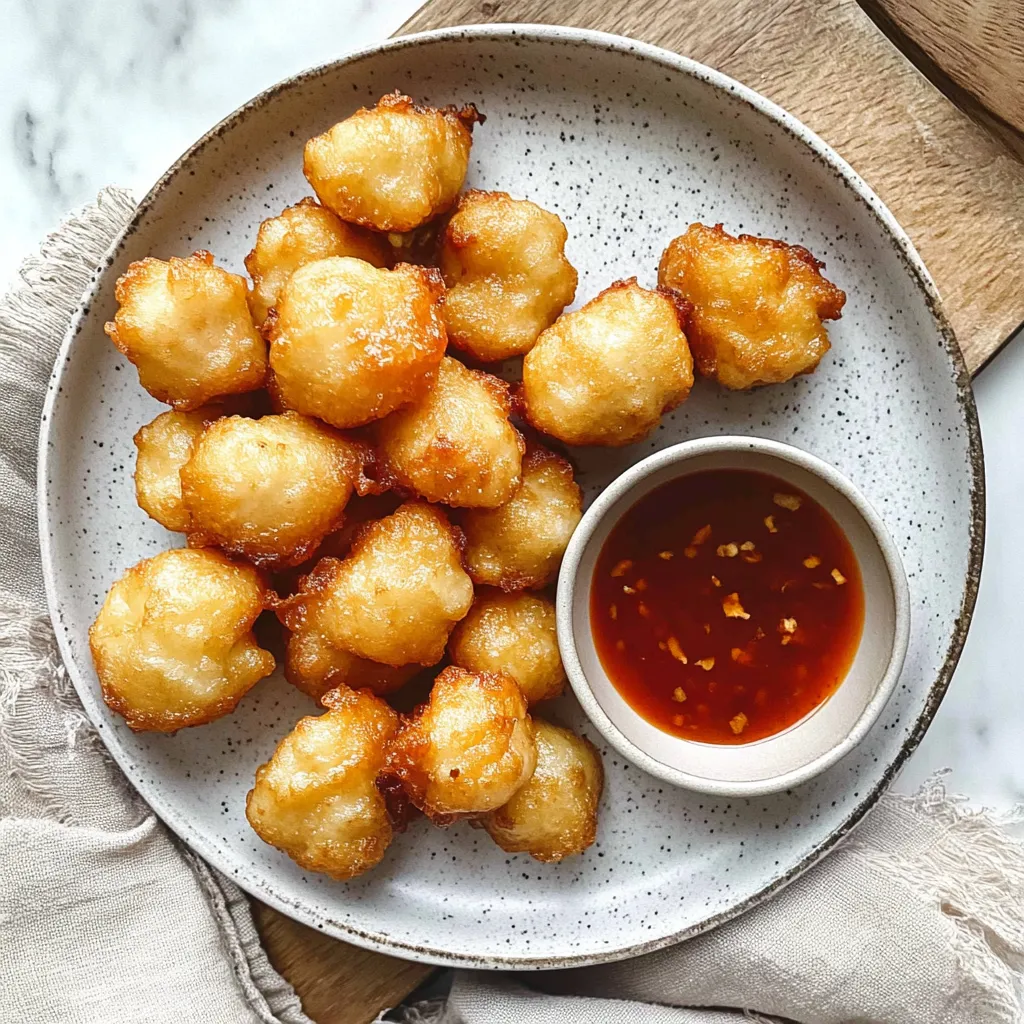
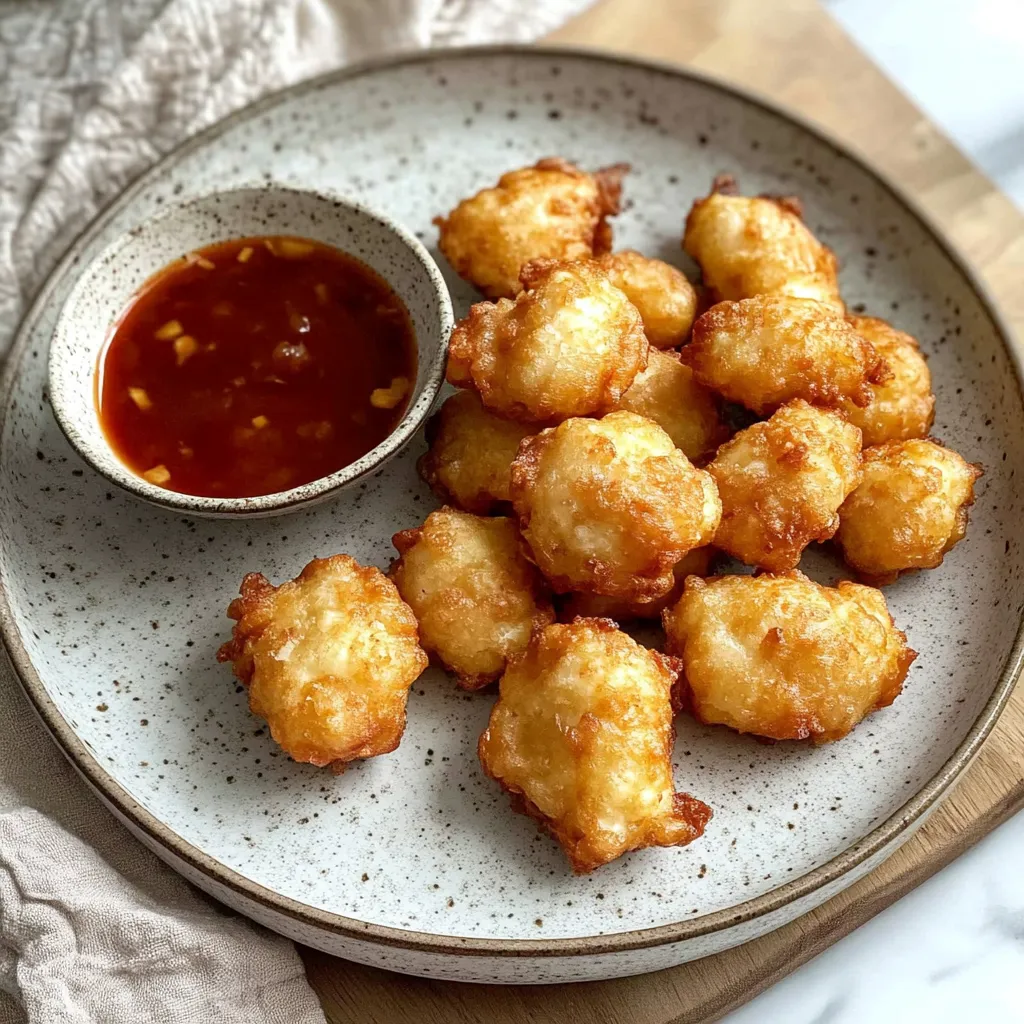
Golden crispy balls of chicken give you that amazing mix of crunchy outside and moist inside, topped with a sweet-tangy sauce that makes this takeout favorite easy to cook at home. Each puffy orb has that special airy crunch before you hit the tender chicken center - bringing the beloved Chinese restaurant dish right to your kitchen with all its nostalgic flavors.
I tried so many times to make the Chinese chicken balls I loved as a kid and kept missing the mark. Then I cracked the code for that special puffy coating. What started as a bunch of kitchen fails has turned into our family's go-to weekend treat, with my kids now asking for 'puff balls' almost every Friday evening.
Key Components
- Chicken Breast: Gives you clean, juicy centers that make the crunchy outside shine.
- Cornstarch: The must-have item that makes sure your outer layer gets super crispy.
- Baking Powder: The hidden trick for getting that famous puffy look when you fry them.
- Cold Water: Using ice-cold water stops the gluten from forming too much, making your coating lighter and crunchier.
- Fresh Lemon Juice: Adds that zingy tang to your sauce that you just can't get from the bottled stuff.
Making Outstanding Chicken Balls
- Mixing Your Batter:
- Start by mixing all dry stuff really well so the baking powder spreads evenly. This makes sure every chicken ball puffs up the same way when fried.
- Getting The Right Thickness:
- Pour in cold water bit by bit until you've got thick batter that covers chicken pieces fully but drips off slowly. This exact thickness helps the coating stay round while frying.
- How To Fry Them:
- Keep your oil at 350°F for best results. Carefully drop battered chicken into hot oil, cooking only a few at once so the temperature doesn't drop and make soggy, oily balls.
- Watching The Color:
- Let each chicken ball cook without moving until it turns golden brown, showing it's reached peak crispiness. Don't flip them too early or the coating might come off the chicken.
- Proper Cooling:
- Put cooked chicken balls on a wire rack instead of paper towels. This key step lets air flow all around them, keeping them super crispy.
 Pin
Pin
My grandma, who grew up by a Chinese restaurant in San Francisco, showed me her sauce recipe after seeing my early mess-ups. She told me that good sweet and sour sauce lets you taste each flavor on its own while they all work together perfectly.
Great Side Dishes
Enjoy these golden treats with some veggie fried rice and steamed broccoli for a complete Chinese meal at home. If you're making appetizers, try serving them with crab rangoons and veggie spring rolls.
Tasty Twists
Mix things up by adding fresh ginger and garlic to your chicken before coating for more flavor. Make them spicy by mixing Sriracha into your sweet and sour sauce, or try them with honey garlic sauce for something different.
Keeping Leftovers
Keep any extra chicken balls away from the sauce in a sealed container in your fridge for up to three days. Warm them in a 375°F oven for 10 minutes to get them crispy again.
After getting this recipe just right through lots of practice, I've found the real secret is respecting the method while having fun with the process. Though these chicken balls take some work, when you bite through that perfectly crispy shell into juicy chicken, you'll see why this takeout classic has been loved for so many years.
 Pin
Pin
Recipe Questions & Answers
- → Can these be prepped beforehand?
- You can make the sauce and keep it in the fridge for up to two weeks. The chicken balls are best fried and served fresh for that ultimate crunch.
- → Which oil works well for frying?
- Use neutral oils like peanut, canola, or vegetable oil. They have high heat tolerance and work great at 350°F (175°C).
- → Can chicken thighs be used instead?
- Totally! Thighs are juicier than breasts. Just trim any extra fat and cut them into similar-sized chunks.
- → Why's my coating not staying crispy?
- Make sure your frying oil’s hot enough before adding the batter-coated chicken. Also, avoid crowding the pot—it cools the oil down.
- → What pairs well with these?
- Pair with steamed veggies, fried rice, or noodles. Add egg rolls or crab rangoon for a tasty spread!