Cheesy Pocket Tacos

Featured in Delicious Dishes Ready in Half an Hour.

Seasoned beef, melty cheese, and fun toppings wrapped in golden-brown dough for easy bites.
Seram Rezepte
Updated on Fri, 18 Apr 2025 19:44:37 GMT
Zoomed-in view of cheesy and beef-filled pockets, showcasing their mouthwatering texture and melted center. Pin it
Zoomed-in view of cheesy and beef-filled pockets, showcasing their mouthwatering texture and melted center. | recipesbytina.com

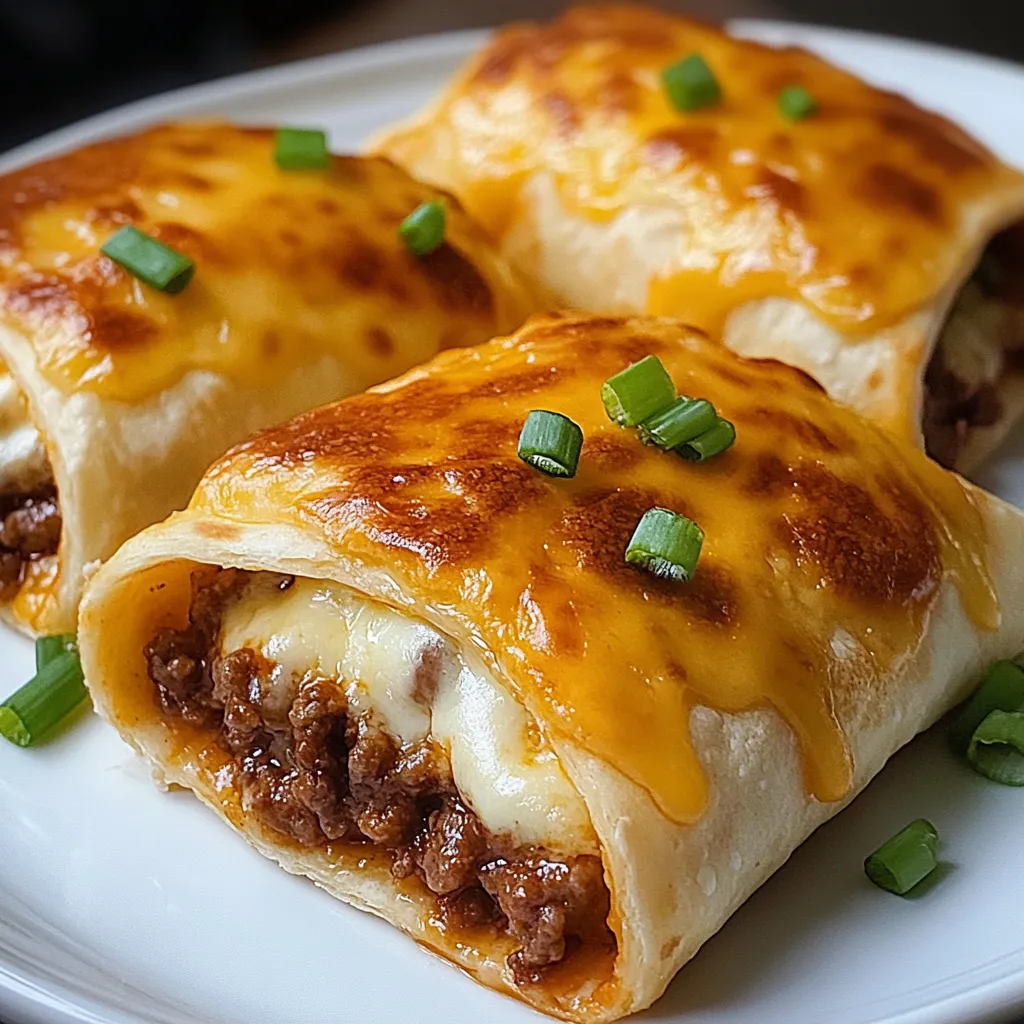
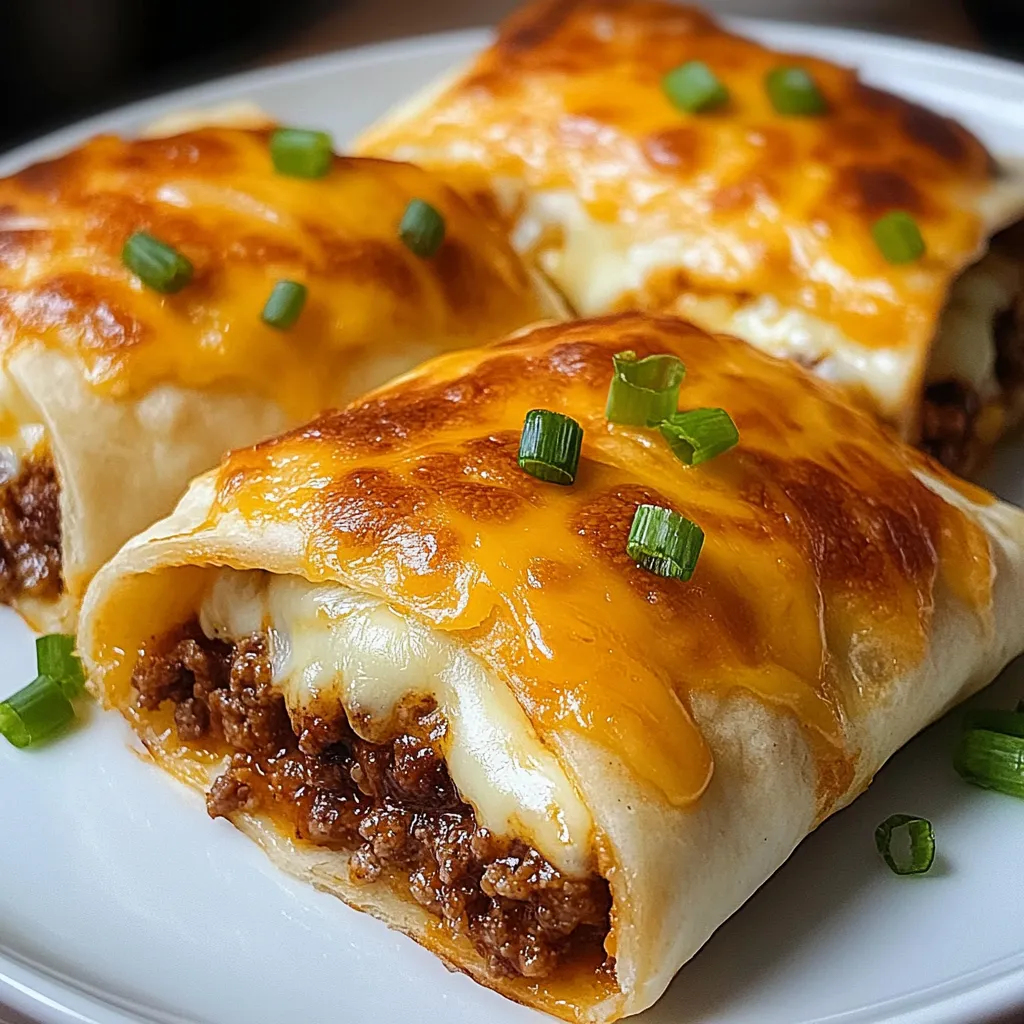
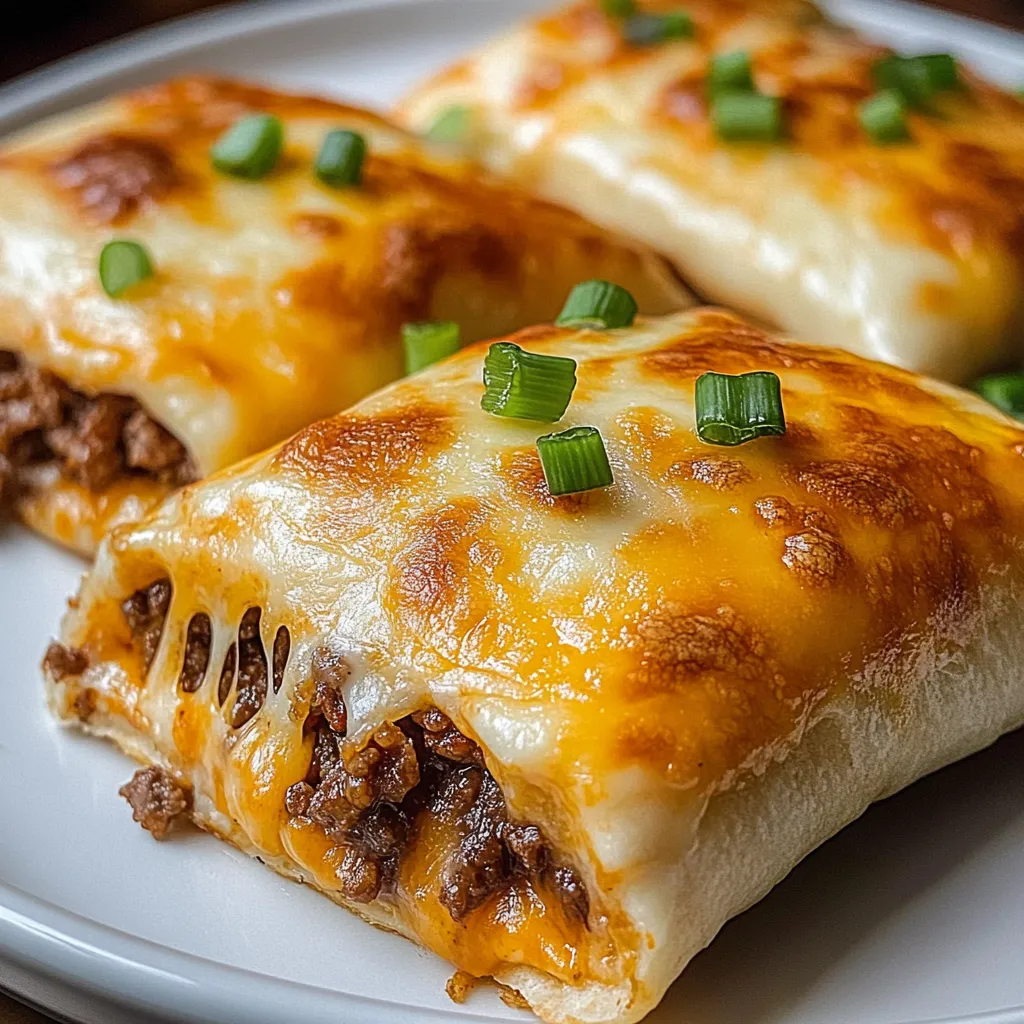
Jazz up your dinner routine with these mouthwatering stuffed cheesy taco pockets - a tasty blend of crunchy tortillas packed with flavorful ground beef, gooey cheese, and smooth sauce. Every pocket gets folded shut and cooked till crispy, making a grab-and-go treat that brings together what's great about tacos and cheesy quesadillas.

Must-Have Ingredients Breakdown

  • Ground beef: go with 80/20 for max taste
  • Cream cheese: make sure it's softened
  • Fresh tortillas: they'll fold much better
  • Tasty taco seasoning: brings all the flavor
  • Sharp cheddar: melts beautifully

Step-By-Step Pocket Building Guide

Step 1: Meat Preparation
  • Cook beef until no pink shows
  • Get rid of extra grease
  • Add just enough seasoning
Step 2: Filling Creation
  • Whip cream cheese till it's fluffy
  • Stir in your favorite salsa
  • Add to your meat mixture
Step 3: Pocket Assembly
  • Add filling to each tortilla
  • Make sure edges are pressed together
  • Coat with melted butter
Step 4: Baking Process
  • Put them on your baking sheet
  • Keep an eye out for brown edges
  • Turn the pan if needed
Step 5: Final Touches
  • Top with something fresh
  • Eat while they're warm
  • Set out some dips
Up-close shot of beef-stuffed cheesy taco pockets showing the melty cheese and savory meat filling inside. Pin it
Up-close shot of beef-stuffed cheesy taco pockets showing the melty cheese and savory meat filling inside. | recipesbytina.com

The Story Behind Pocket Tacos

The hot trend of stuffed cheesy taco pockets has changed the game for home cooks by mixing Mexican flavors with grab-and-go ease. These sealed hand-held bites turn classic taco ingredients into a portable, clean eating option that works great for busy families and party situations.

What Makes These Pockets Work So Well

Getting your taco pockets just right means understanding how heat works with your ingredients. The cream cheese doesn't just add flavor but actually protects the hot beef inside while holding everything together. When the edges are sealed tight and they're baked just right, the cheese gets all gooey as the tortilla turns crisp, giving you that awesome texture contrast.

Foods That Go Great Together

  • Homemade guacamole
  • Mexican rice
  • Refried beans
  • Green salad
  • Hot salsa

Fun Ways To Switch It Up

  • Shredded chicken and cheese
  • Beans and corn for veggie lovers
  • Morning version with scrambled eggs
  • Spicy buffalo chicken style
  • Try pizza flavors instead

Planning Ahead Options

  • Put together and freeze before baking
  • Keep in containers with tight lids
  • Warm up in the oven for crispness
  • Good in the fridge for 3-4 days
  • Write dates if you're freezing them

Ways To Serve Them

Set up a topping station with:

  • Chunky fresh tomato salsa
  • Crisp lettuce shreds
  • Tangy Mexican cream
  • Spicy pickled peppers
  • Zesty cilantro sauce
Closeup of a cheesy taco pocket cut open showing the juicy beef and rich cheese stuffing inside. Pin it
Closeup of a cheesy taco pocket cut open showing the juicy beef and rich cheese stuffing inside. | recipesbytina.com

Wrapping Up

These stuffed cheesy taco pockets are where comfort food meets easy eating. Whether you're cooking for the family, prepping meals for the week, or throwing a party, these handy pockets bring joy in every bite. The trick is in how you seal them and how carefully you bake them. Once you get that down, you'll have a crowd-pleaser that fits any occasion.

Frequently Asked Questions

→ Could I swap ground turkey with beef?
Of course! Ground turkey is lighter and pairs well with taco seasoning.
→ What can I do instead of frying?
Bake them at 375°F (190°C) for about 12-15 minutes for a healthier option.
→ Is it okay to freeze these?
Definitely! Freeze pre-cooked ones, then reheat them straight from the freezer.
→ Are these vegetarian-friendly?
Nope, they contain beef. Try using meat alternatives for a vegetarian choice.
→ How long will they last in the fridge?
Up to 3 days if you keep them sealed in a good container.

Cheesy Pocket Tacos

Crunchy pockets filled with beef, cheeses, and tasty toppings for a fresh taco spin.

Prep Time
15 Minutes
Cook Time
20 Minutes
Total Time
35 Minutes

Category: 30-Minute Meals

Difficulty: Intermediate

Cuisine: Mexican Twist

Yield: 8 Servings (8 taco pockets)

Dietary: ~

Ingredients

→ Protein Choices

01 1 pouch taco seasoning mix (about 1 oz)
02 1 pound of ground beef

→ Cheesy Combo

03 1 cup shredded mozzarella
04 1 cup shredded cheddar

→ Fresh Toppings

05 1 cup fresh diced tomatoes
06 1/2 cup green onions (finely diced)
07 1/2 cup black olives (optional, sliced)
08 1/2 cup salsa
09 1/2 cup creamy sour cream

→ Biscuit Dough & Oil

10 Vegetable oil for frying
11 8-count refrigerated biscuit dough pack

Instructions

Step 01

Brown the ground beef in a pan over medium heat, stirring often until it’s fully cooked. Drain off the grease to keep it lighter.

Step 02

Mix in the taco seasoning following the package’s directions. Add a bit of water and let it simmer for around 5 minutes so the flavors come together.

Step 03

Mix your shredded cheddar and mozzarella cheeses together in a bowl. This will give you a stretchy, cheesy filling later.

Step 04

Grab another bowl and stir together salsa, sour cream, tomatoes, green onions, and any black olives you’re using. This mix will bring a fresh punch to your tacos.

Step 05

Heat some vegetable oil in your fryer or a deep skillet to 350°F (175°C). Test the oil with a small drop of batter to make sure it’s sizzling nicely.

Step 06

Flatten each piece of biscuit dough from the package. Put a heaping spoonful of the seasoned beef right in the middle, followed by a bit of the shredded cheese mix.

Step 07

Fold the dough over the fillings and pinch or press all the edges tightly shut to keep everything locked in while frying.

Step 08

Carefully slip the filled biscuits into the hot oil. Fry each one for about 2-3 minutes per side until they’re golden and crispy. Drain them on paper towels afterward.

Step 09

Serve these hot little taco pockets topped off with extra sour cream, salsa, or whatever toppings you’re into. Enjoy every cheesy bite!

Notes

  1. These Cheesy Taco Pockets are quick, delicious, and the ultimate comfort food when you’re craving something hearty.
  2. Want to skip frying? Bake the sealed pockets at 375°F (190°C) for 12-15 minutes instead. They’ll still turn out crispy and tasty!
  3. Pair these pockets with guacamole or a fresh salad for a full and satisfying meal. The combo is unbeatable!

Tools You'll Need

  • Fryer or deep skillet
  • Regular skillet
  • Paper towels for draining
  • Fork or fingers for sealing up the dough
  • Slotted spoon

Allergy Information

Please check ingredients for potential allergens and consult a health professional if in doubt.
  • Has dairy (cheddar, mozzarella, sour cream).
  • Contains gluten (from biscuit dough).

Nutrition Facts (Per Serving)

It is important to consider this information as approximate and not to use it as definitive health advice.
  • Calories: 450
  • Total Fat: 25 g
  • Total Carbohydrate: 30 g
  • Protein: 18 g