
 Pin
Pin
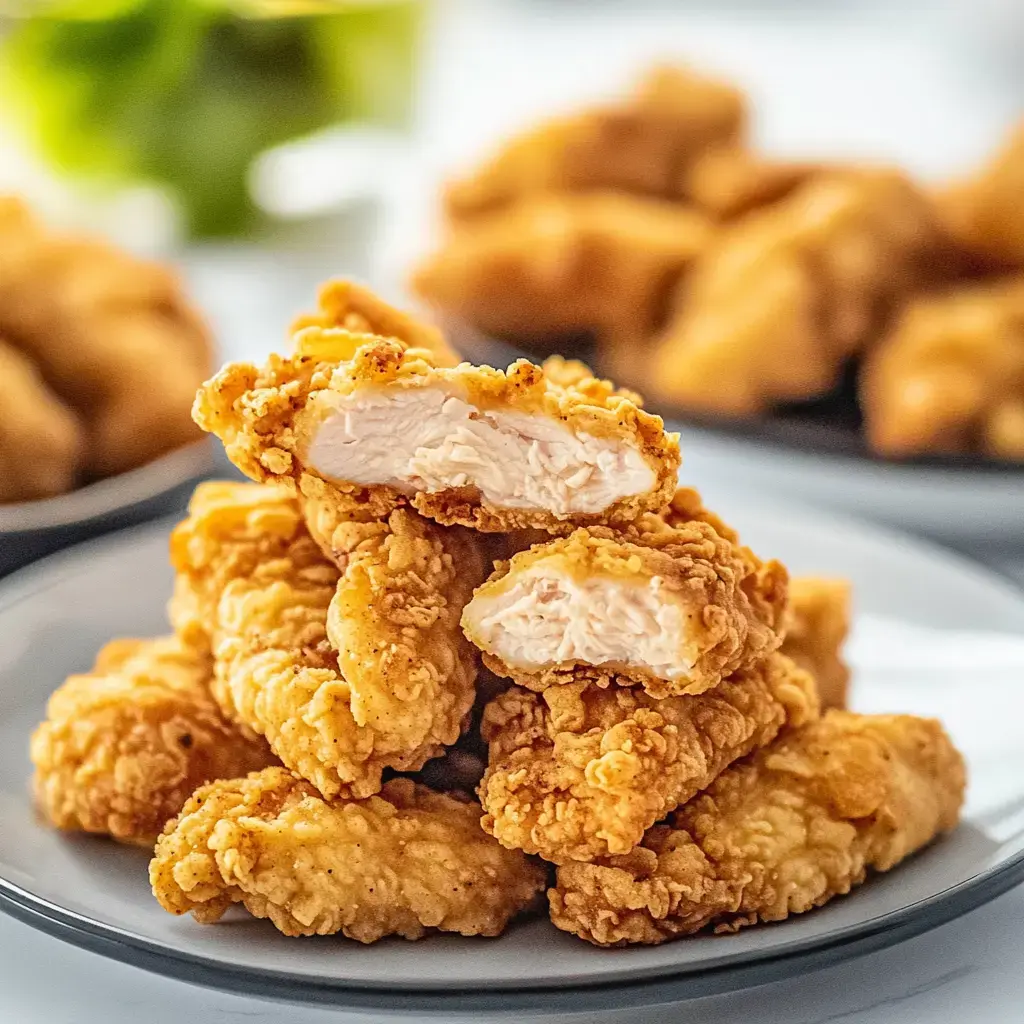
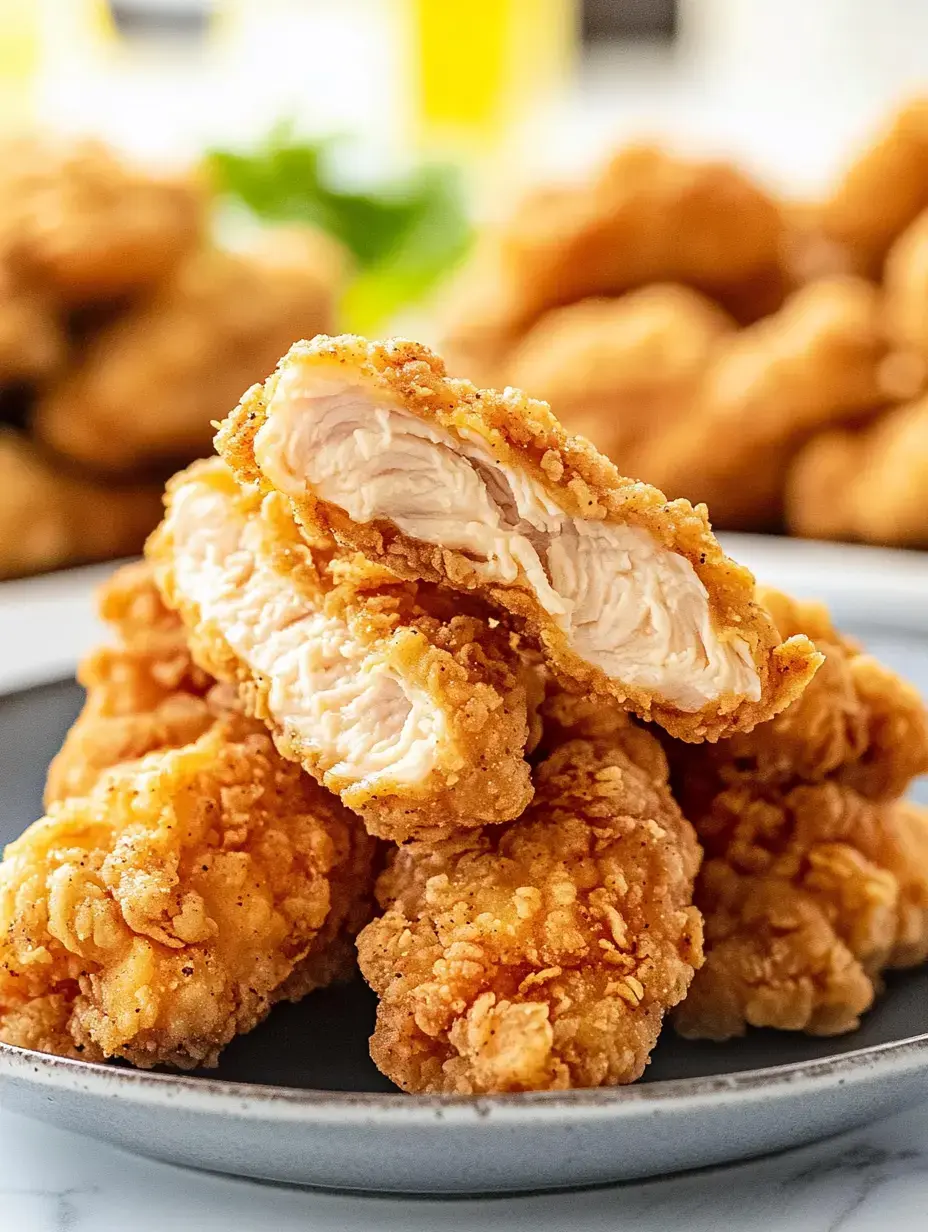
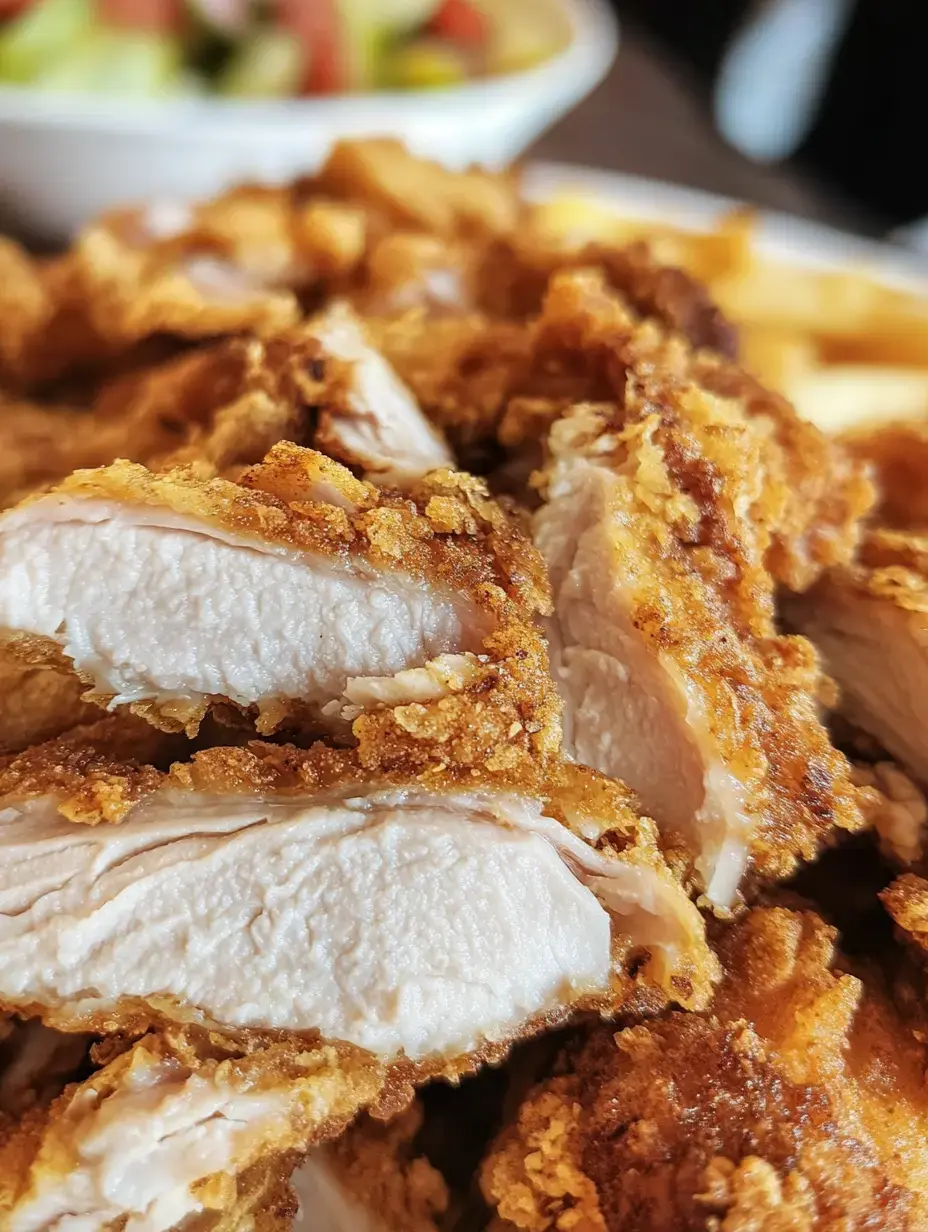
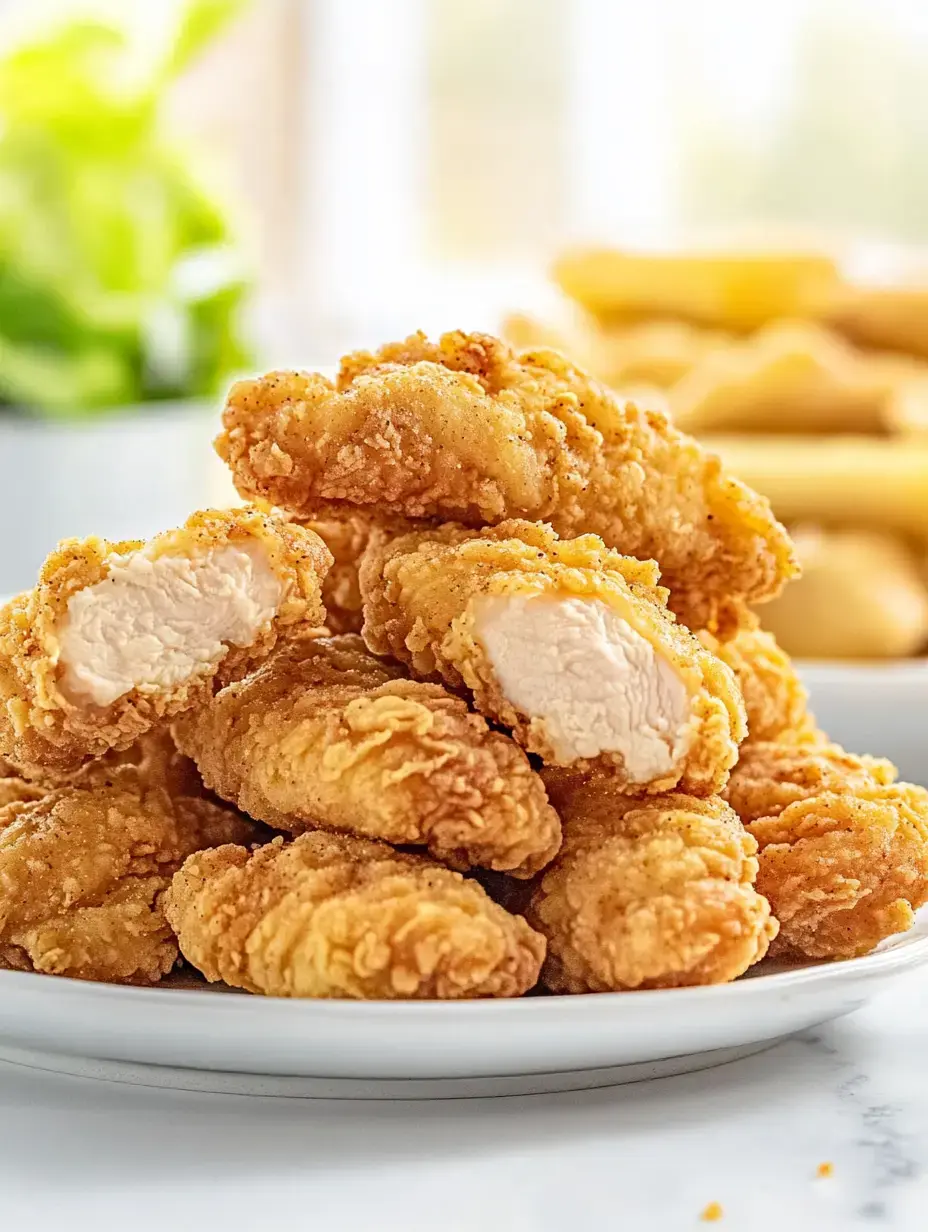
Hey there food buddies! I'm so pumped to share my knockout chicken tender formula with you today! I've tweaked this bad boy for ages and trust me, they're mind-blowing. Super crunchy on the outside, super juicy inside, and loaded with taste in every single mouthful. My crew asks for these constantly, and I bet your gang will too.
Homemade Crispy Tenders
Through tons of kitchen trials, I've finally nailed these mouthwatering treats. Wanna know the trick? A zesty buttermilk soak and my unique flour combo that builds the most incredible shell you'll ever munch on. Throw in some sriracha and watch the wonders happen. People always wonder if I got takeout when I pull these out.
Your Ingredient List
- Buttermilk: 2 cups straight from the cold fridge to make your chicken super soft
- Sriracha: 1 teaspoon but you can leave it out if heat isn't your thing
- Chicken Tenders: 2 lbs from my go-to meat shop
- Flour: 2 cups carefully measured for that ideal outer layer
- Cornstarch: 2 tablespoons my hidden trick for extra snap
- Salt: 2 teaspoons split between soaking and coating steps
- Black Pepper: 1 teaspoon ground right before using makes it way better
- Onion Powder: 1 teaspoon for that amazing flavor kick
- Baking Powder: ½ teaspoon you'll thank me later
- Smoked Paprika: ½ teaspoon my top pick for flavor boosting
- Eggs: 4 large at room temp
- Vegetable Oil: 6 cups for that dreamy golden cook
- Dipping Sauces: Any kind that makes you smile
The Cooking Process
- [The Magic Marinade]
- I start by blending my cold buttermilk with a dash of sriracha. The chicken takes a dip in this mix then heads to the fridge. This is when all the goodness starts to happen.
- [My Special Coating]
- While that's chilling I mix my awesome coating. Flour cornstarch and all those tasty seasonings get stirred together until they're totally mixed.
- [Egg Wash Time]
- I crack four eggs into a bowl and beat them well. This helps make that amazing outer layer we're going for.
- [Oil Talk]
- I warm up my favorite Dutch oven with the oil. My cooking thermometer helps me keep it right at 350°F.
- [The Coating Dance]
- Each piece gets the full treatment flour then egg then back to flour. Don't hurry here it really pays off.
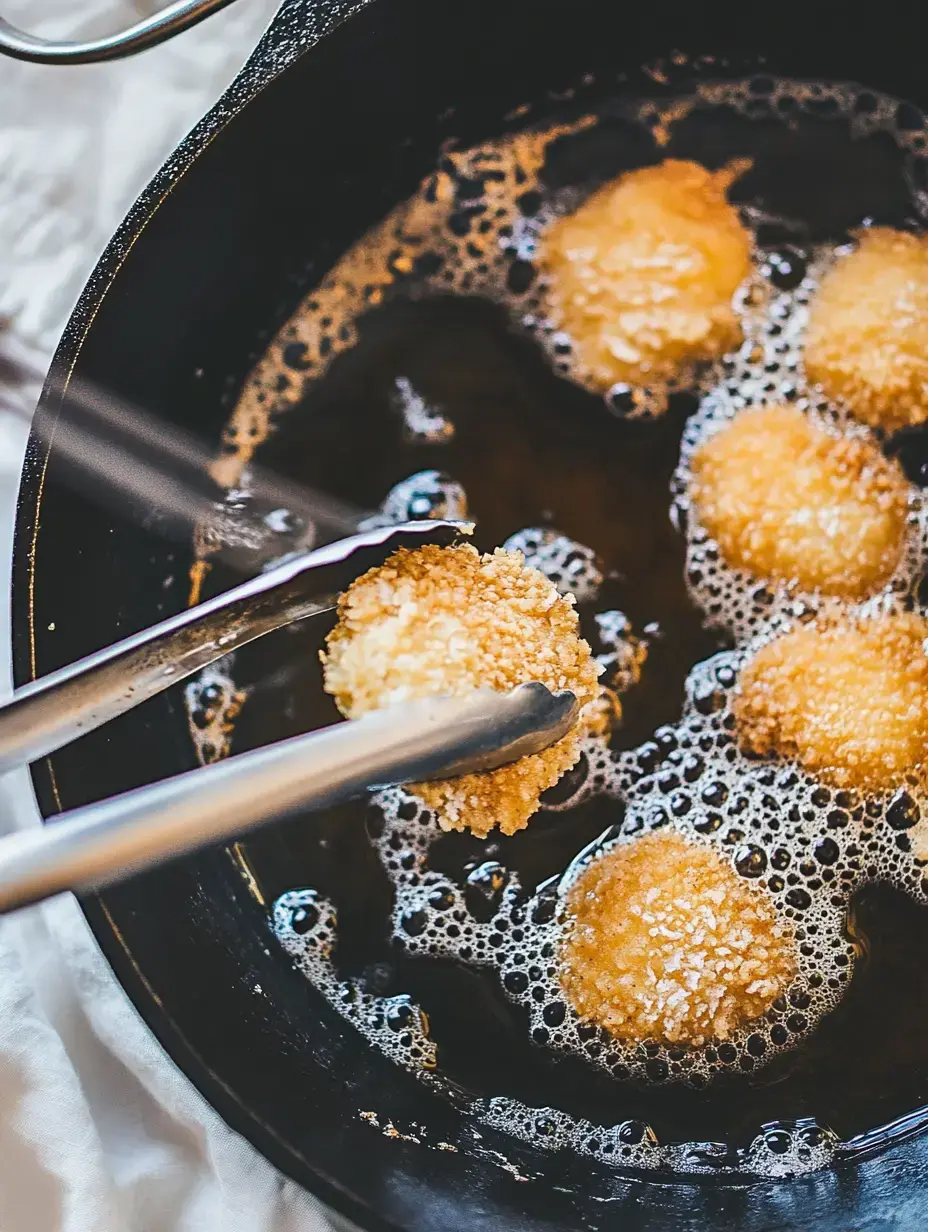
- [Frying to Gold]
- They go into the hot oil just a couple at a time. I watch them turn this awesome golden shade and my kitchen smells fantastic.
 Pin
Pin
The Buttermilk Magic
You'll be amazed what buttermilk does for chicken. It's basically a luxury treatment making everything super tender and moist. The tangy flavor seeps into every bite and helps that coating stick perfectly. I always do this step it completely changes the game.
Secrets To Crispiness
My top trick? Give those tenders two dips in the flour mix. Push it on really good too. Yeah it gets your hands messy but those chunky bits of flour turn into the crunchiest spots you've ever tried.
Oil Temperature Matters
My thermometer stays right by me when making these. Keep that oil steady at 350°F and you'll get awesome tenders every time. Too cool and they soak up oil too hot and they burn outside while staying raw inside. I found out the hard way so you don't have to.
Customize Your Flavor
Some days I want more kick so I add extra paprika or a bit of cayenne. Other times I keep it mild especially for my kids. Try different seasonings until you find what works for you.
 Pin
Pin
Baked Option Available
If frying isn't your thing I've got another way. Heat your oven to 400°F put some parchment on a baking sheet and spray those tenders with oil. They'll still taste great just a bit lighter.
Great Side Dishes
At my place these tenders never show up alone. I love them with fresh coleslaw or a big green salad. Sometimes we have sweet potato fries or creamy mac and cheese too. You can pair them with so many things.
Sauce Options
We take our dipping very seriously here. I always make at least three choices honey mustard ranch and my tasty sriracha mayo are big hits. My little ones enjoy mixing sauces together it gets pretty wild.
Storing Leftovers
These goodies stay nice in the fridge for several days. Just put them in a sealed container. When you want some more warm them in the oven at 375°F on a rack. They'll get crispy again like new.
 Pin
Pin
Freezing For Later
I always keep some of these in my freezer for crazy nights. Just freeze them on a tray first then put them in bags. Whenever you need them stick them in a 375°F oven right from frozen. About 20 minutes later you've got hot crispy tenders ready to eat.
Cooking With Children
My youngsters don't love spicy food so I often make some without the hot stuff. They enjoy helping me measure flour and watching the tenders turn golden. We've made it our family cooking ritual.
Time-Saving Tips
When life gets crazy here's my shortcut. I buy pre-cut chicken tenders and keep a big batch of my seasoned flour ready to go. Cuts prep time in half on those hectic evenings.
Healthier Approach
Want to cut back on oil? I understand. Try cooking in just a shallow layer of oil or use your air fryer. A little oil spray 380°F for about 12 minutes flipping once and they're perfectly golden.
 Pin
Pin
Fun Variations
Sometimes I go crazy and add some parmesan to the mix or crush up cornflakes for extra crunch. Maybe throw in some lemon zest or fresh herbs. The basic formula works great but feel free to play around.
Crowd Pleaser
These tenders rock at game day parties and gatherings. I set up a sauce bar with different dips and watch them vanish. Everyone asks me how I make them they've become my famous dish.
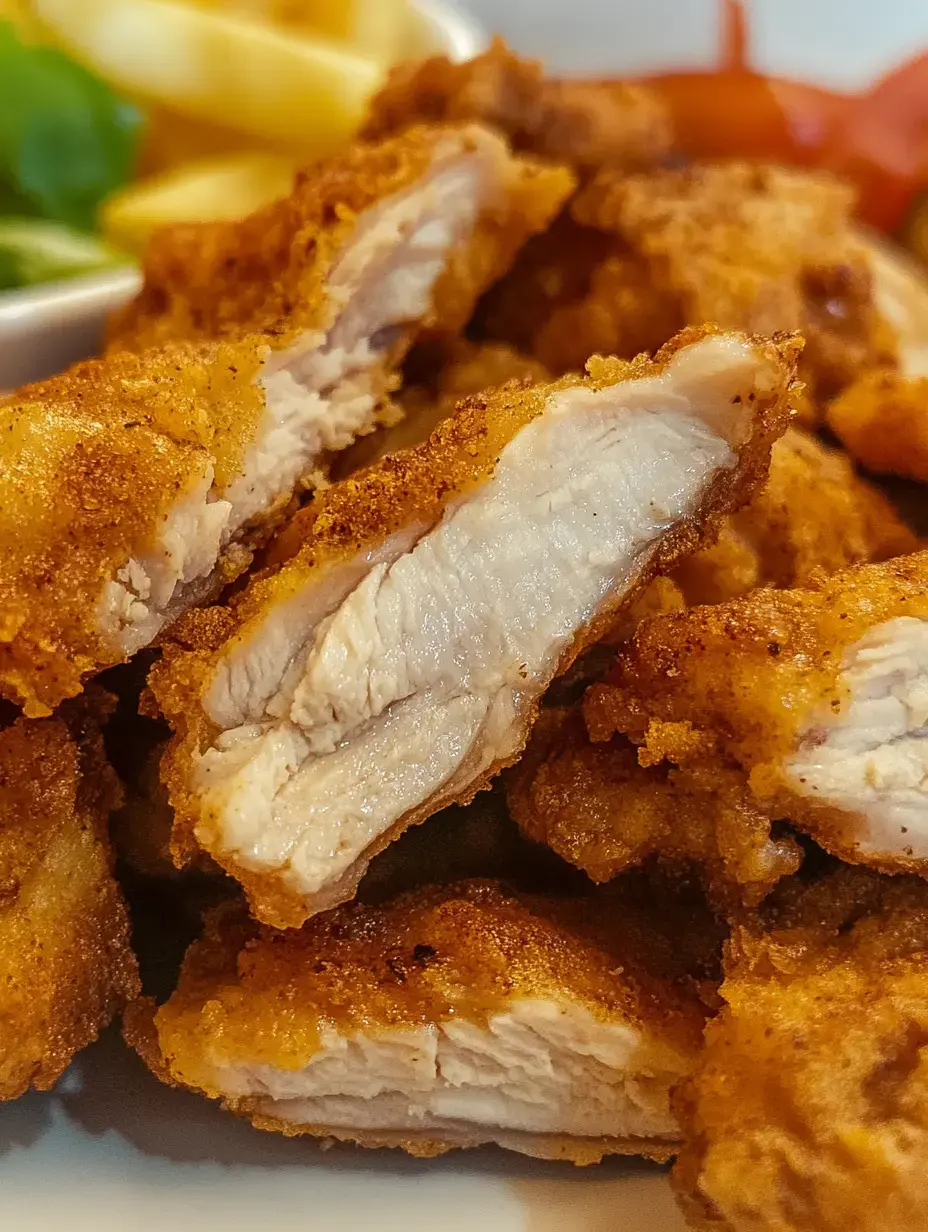
Guaranteed Results
This whole recipe just clicks. The buttermilk softens the double coating makes perfect crunch and the cooking time gives you juicy chicken every single time. It took so many tries but I finally got it exactly right.
Try Them Tonight
After you make these homemade tenders you'll never go back to store-bought. They're everything you want crunchy juicy perfectly flavored and totally easy to make at home. Grab your stuff and start cooking you're about to become the favorite cook in town.
 Pin
Pin
Recipe Questions & Answers
- → What does buttermilk do?
Buttermilk softens the meat, making it juicy inside, and helps the flour stick better for that crispy outer layer.
- → Why keep the oil at 350°F?
It helps fry everything evenly. Hotter oil burns too fast, and cooler oil makes greasy bites.
- → Will kids like this?
The coating's got a little kick from the sauce and spices. If needed, tone it down for picky eaters.
- → What's the point of double-dipping?
Flour, egg, and then flour again creates an extra crispy, thick coating that stays put even after frying.
- → How many pieces can I cook at once?
Stick to frying 4-5 at a time. Crowding the pot drops the oil temperature, making things uneven.