
 Pin
Pin
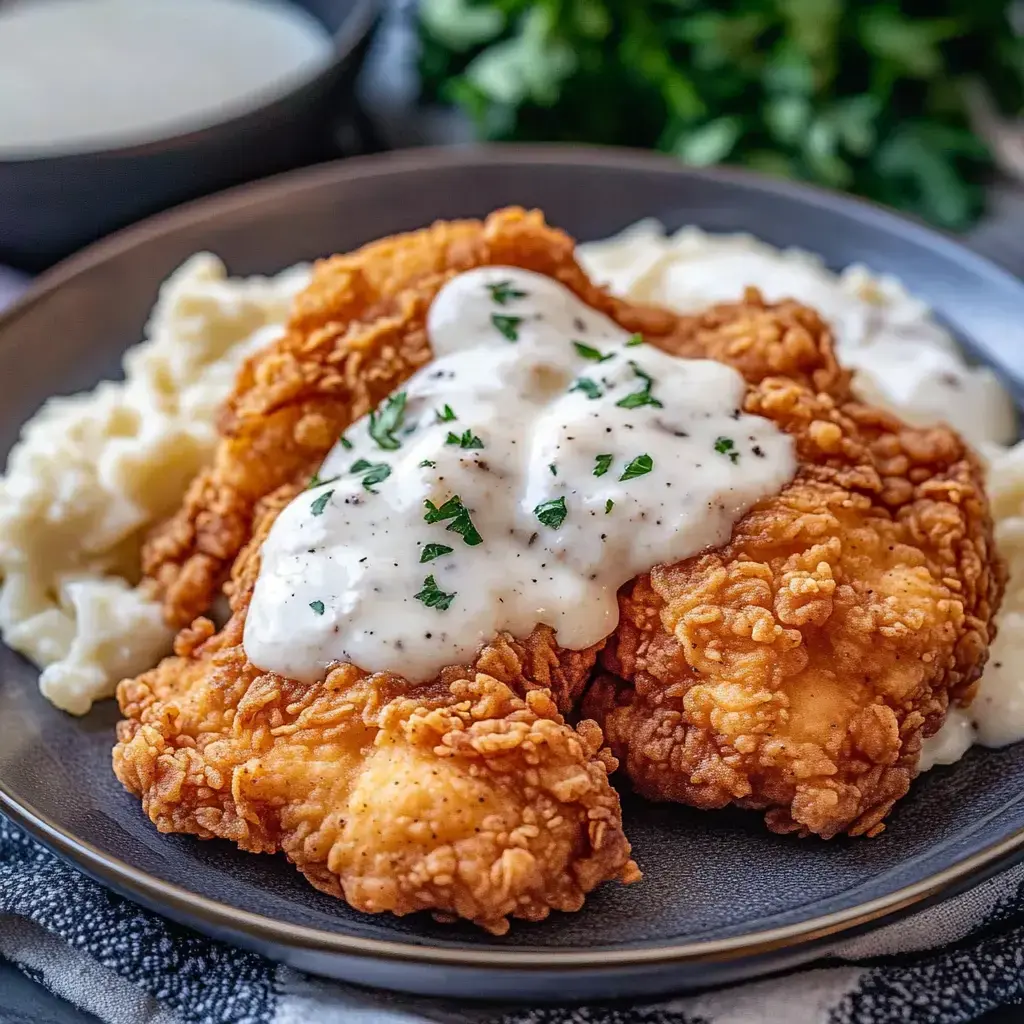
The aroma of this Chicken Fried Chicken always takes me back to those wonderful Sunday meals at grandma's. That crunchy coating and smooth gravy never stops bringing joy to everyone at my table. I've tweaked her old method through the years to fit into our busy lives while keeping all that homey taste we all want.
Unveiling Exceptional Chicken Fried Chicken
After cooking countless family meals, I've found this dish works best when kept basic. Cutting chicken pieces thinly guarantees that perfect crispiness every single time. You'll only need common stuff from your cupboard—nothing special required—and that gravy, wow. It grabs all those tasty bits from the pan making every mouthful incredibly yummy.
Thoughts From My Home
- Chicken: I pick up fresh chicken breasts at my neighborhood shop and cut them thin at home. You might also try butterflying bigger pieces—they'll turn out great either way.
- Flour Mixture: My coating combines everyday items: regular flour, baking soda and powder, plus my favorite mix of salt, pepper, and garlic powder. Adjust spices until they match your taste buds.
- Buttermilk Bath: Using actual buttermilk really makes this dish better. I throw in some hot sauce and an egg to make that coating stick perfectly.
- Oil for Frying: Add enough oil to your pan for good depth. I always keep my temperature gauge nearby to stay around 325°F.
- That Dreamy Gravy: Keep some of that tasty oil to begin your gravy—mix in flour, milk, and spices. Just stir constantly until it gets nice and smooth.
Starting The Cooking Process
- Preparing Your Workspace
- I always start by combining my spiced flour in one bowl. In another, I mix up the buttermilk blend until everything's combined well.
- Coating Your Chicken
- Roll each chicken piece in flour first, then dunk in buttermilk, and back to flour again. Push that coating down firmly—you'll want it to stay put.
- Frying Time
- Heat your oil properly in a sturdy pan. I use the same cast iron my grandma loved. Look for that beautiful golden brown color, roughly 4 minutes each side. Always make sure the inside reaches 165°F.
- Creating Wonderful Gravy
- Drain most oil but leave about a quarter cup in the pan. Stir in some flour, then slowly pour in your milk. Keep mixing until it thickens nicely—add just enough seasoning.
 Pin
Pin
Perfect Companion Dishes
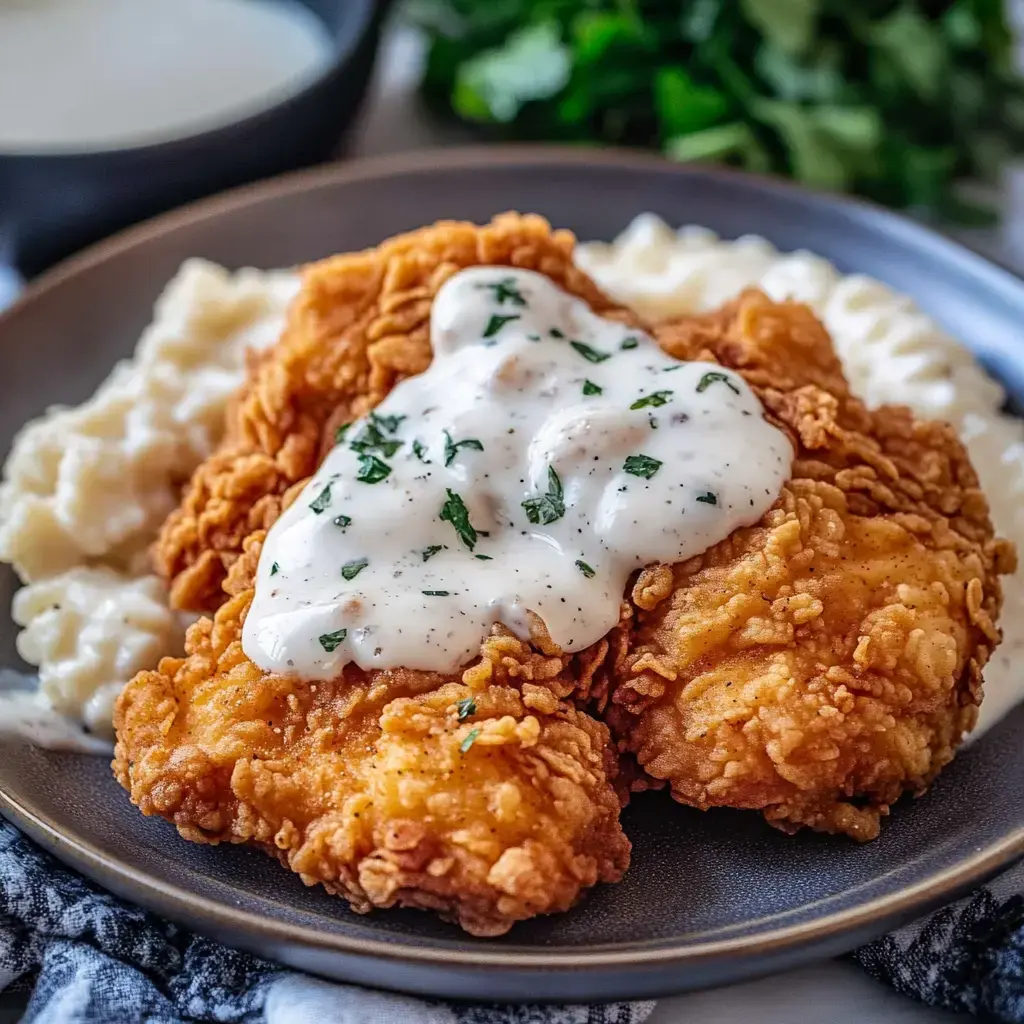
I love dishing this up with a heaping spoonful of smooth mashed potatoes. I might add my gooey mac and cheese or soft buttermilk biscuits too. Some bacon-flavored green beans finish off the meal just right.
Tried And True Tips
Through years of family meals, I've noticed thinner chicken pieces always work better. My deep fryer helps when cooking for lots of people, but a good old cast iron pan does the job great too. I sometimes try different spices for variety, and using a bit of bacon fat can make your gravy taste even more amazing.
Enjoyable During Any Month
This chicken dish has become my reliable comfort food throughout the year. It feels just right during cold winter nights yet somehow fits perfectly with summer dinners outdoors. Whenever I make it, someone always wants to know how I did it—and that makes me feel so proud.
Final Thoughts
Golden-fried chicken coated in crisp breading and topped with velvety gravy. Uses simple ingredients and takes only half an hour.Recipe Questions & Answers
- → Why slice chicken thinly?
- Thin pieces cook faster and more evenly, delivering perfect tenderness with a crispy crust.
- → Can gravy ingredients be swapped?
- Sure, replace the oil with a bit of butter or drippings to tweak the flavor.
- → Why add baking powder to the breading?
- It makes the crust lighter and crunchier by introducing tiny air bubbles.
- → Can a deep fryer be used instead?
- Absolutely, just make sure the oil stays at 325°F for even cooking.
- → How do I check if the chicken's done?
- The outside should be crispy and golden after 3-5 minutes per side; inside temp needs to hit 165°F.