
 Pin
Pin
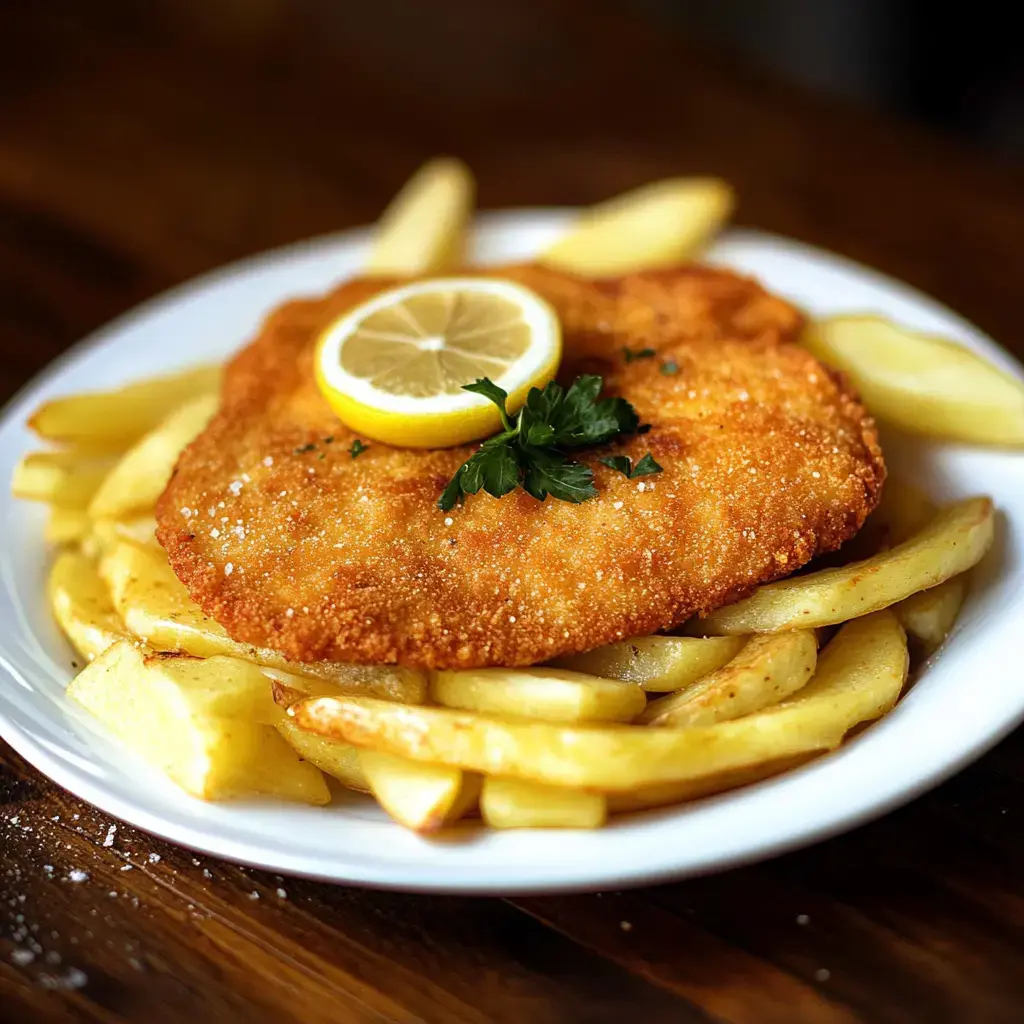
Whipping up Chicken Milanese in my little kitchen always brings back wonderful memories of those big family Sunday meals. There's nothing quite like hearing that crunch when you cut into the juicy chicken—it's seriously magical. I've tweaked this dish through countless get-togethers and quiet family dinners, and it always gets rave reviews.
The Wonder Inside My Kitchen Creation
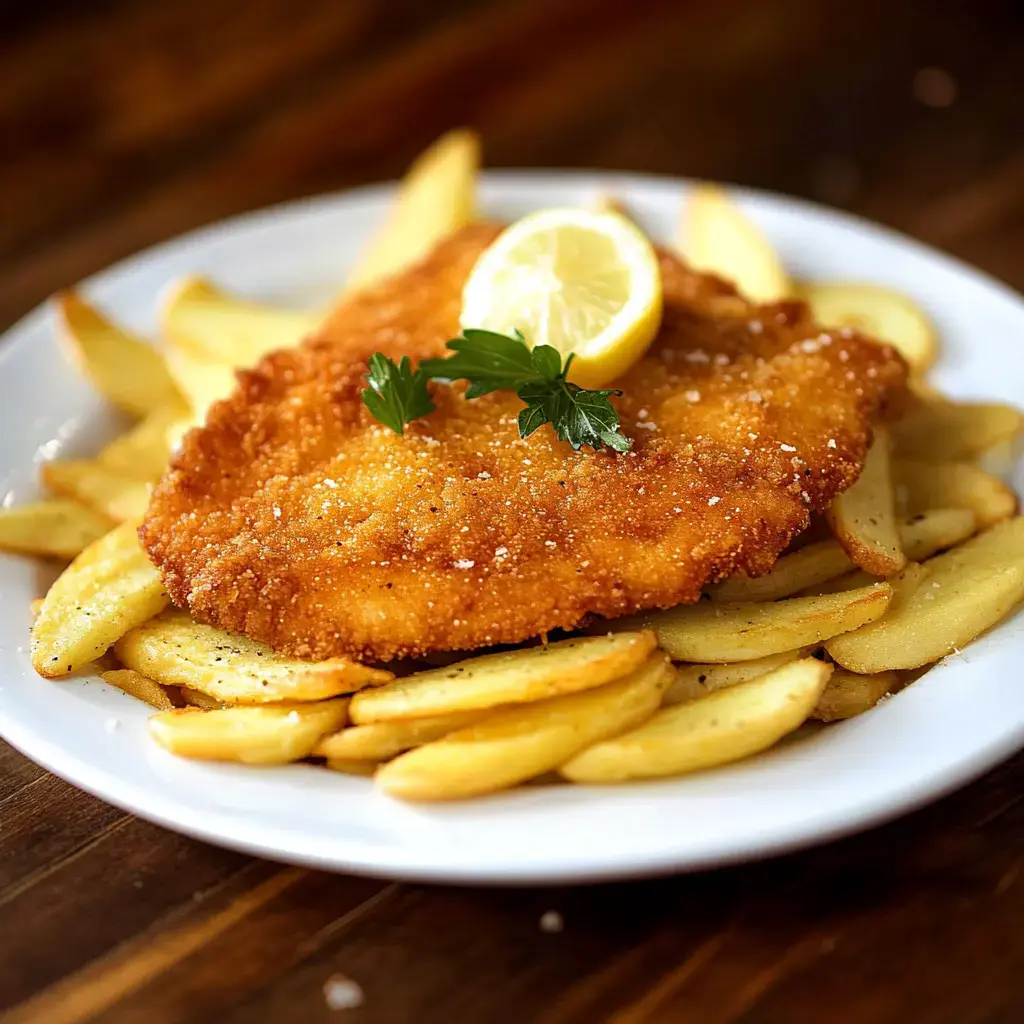
Throughout my cooking journey and recipe sharing online, this Chicken Milanese has never failed to impress. What makes it special? That incredible golden exterior surrounding tender chicken. Just add a splash of fresh lemon juice and the whole dish comes alive. When I need something fast but fancy enough for company, this is what I make.
My Grocery List Essentials
- Chicken: I prefer getting boneless chicken breasts and thinning them myself. If you don't want to bother, your butcher can help out—just mention you want scallopini cuts.
- Eggs: I grab mine from the local farmers market for the best results. Just whisk up two large ones with some sea salt and fresh pepper.
- Flour: Nothing fancy needed—standard all-purpose flour creates that crucial first layer. You'll want about ¾ cup.
- Bread Crumbs: I usually go for the Italian seasoned kind, though sometimes I make my own from stale bread. You'll need roughly a cup.
- Oil: Pick a decent vegetable oil, about ¼ cup, to get that beautiful golden color on your chicken.
- Lemon: Don't skip the fresh lemons—that final squeeze totally transforms the dish.
Cooking Process
- First Things First
- I start by warming my oven to 200°F. This keeps all my chicken pieces warm as I work through cooking each batch.
- Creating My Workstation
- I arrange three shallow bowls in a row—whisked eggs with seasonings first, then flour, and bread crumbs last.
- Coating Technique
- Every chicken piece gets rolled in flour, dipped in egg mixture, then covered with bread crumbs. Press them down firmly so everything sticks well.
- Frying Method
- Heat your oil in a large skillet until it's sizzling. Cook each piece until it turns golden, around 3 minutes each side. I always double-check with a thermometer for that safe 165°F inside.
- Staying Warm
- After cooking, place each batch on a baking sheet in your warm oven. This way everybody gets to enjoy hot, crunchy chicken together.
 Pin
Pin
My Tried-and-True Tips
After tons of attempts, I've learned you should really push those bread crumbs onto the chicken before cooking. Don't pack your pan too full—each piece needs room to get crispy. And remember, thin chicken is crucial for perfect results because it cooks fast and evenly.
Questions My Followers Ask
Can I use panko instead? Absolutely! Panko gives an amazing crunch. Try mixing in some grated parmesan cheese for an extra flavor kick.
What's the best oil choice? Any neutral oil that handles high heat works great. I switch between vegetable, canola or light olive oil depending on what's in my pantry.
How can I make this gluten free? Just swap in your go-to gluten free flour and bread crumbs. My friends with celiac disease can't even tell the difference.
What about leftover chicken? Store it in a sealed container for up to 3 days. To get that crunch back, warm it in a 350°F oven for about 10 minutes.
Tasty Companions
At my table, this chicken pairs wonderfully with smooth mashed potatoes or a fresh arugula salad. Sometimes I'll throw together a quick lemon butter sauce or heat up some marinara. Add a glass of chilled white wine or my homemade lemon iced tea and you've got a complete meal.
Presentation Touches
I like to arrange these golden cutlets on my grandma's old serving dish. Scatter some lemon wedges and fresh parsley around for color. When I want to get fancy, I'll sprinkle some fresh parmesan or truffle shavings on top to turn this comfort food into something really impressive.
Recipe Questions & Answers
- → Why do we slice chicken so thin?
Thinner pieces cook faster and evenly, avoiding any burnt edges while staying crispy outside.
- → How do I keep them crispy?
Place the cooked ones in a warm oven to stay crunchy while you finish frying the rest.
- → Can I prep this ahead of time?
Sure! Bread your chicken earlier in the day and refrigerate until it's time to fry.
- → Why do we coat in three steps?
The flour, egg, and breadcrumb method locks in a perfectly crunchy layer that doesn’t fall apart.
- → Which oil works the best for frying?
Go for a neutral oil like vegetable, canola, or peanut oil since they’ve got high heat tolerance and won't overpower flavors.