 Pin
Pin
A Luxurious Spin on Classic Brownies
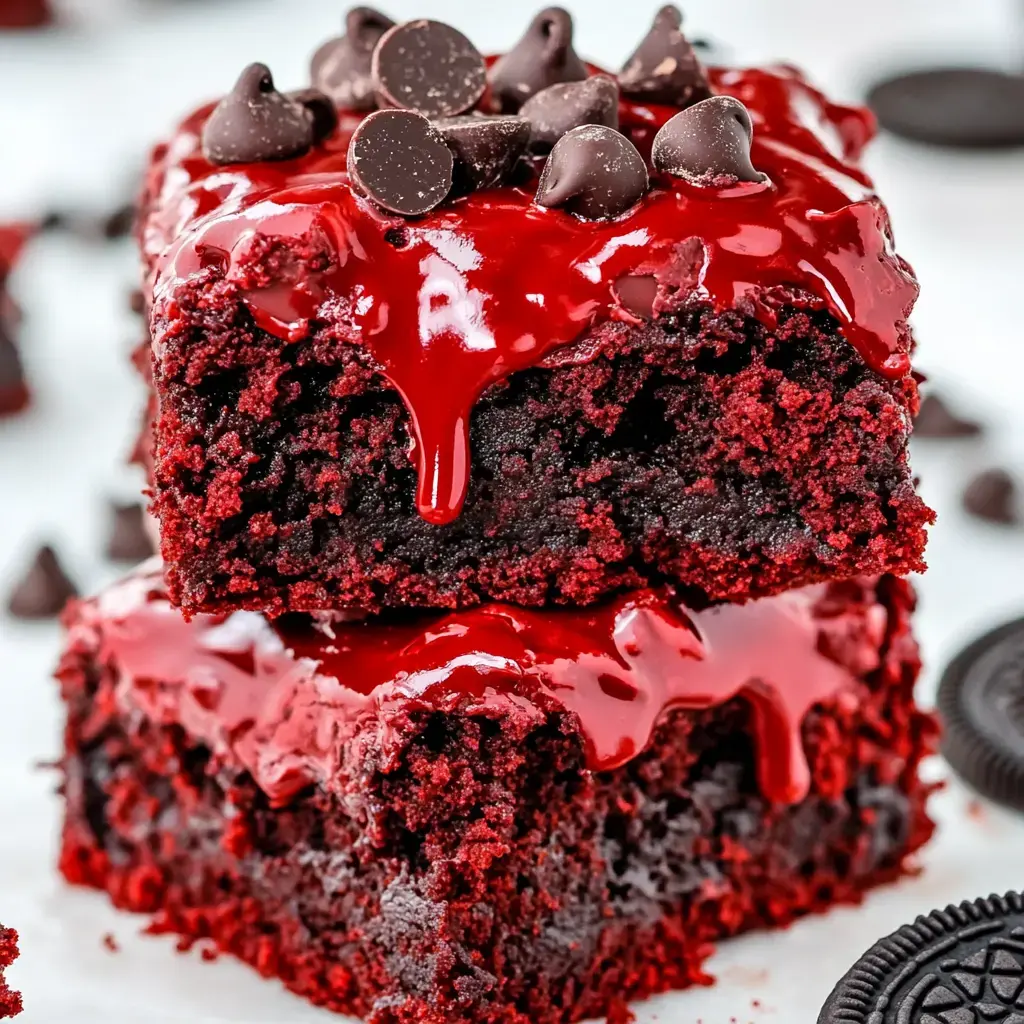
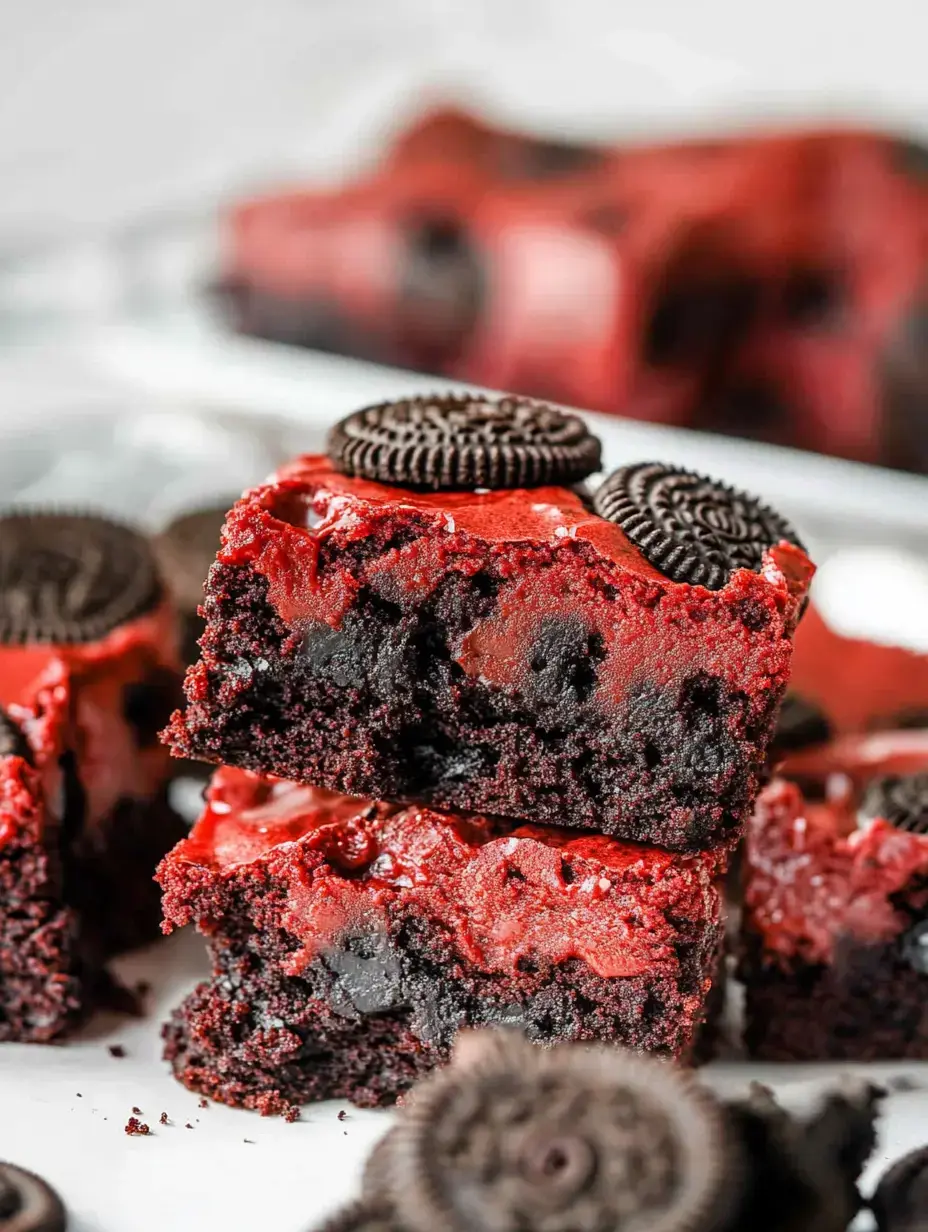
I've got to tell you about the treat everyone always asks me for - these amazing Red Velvet Oreo Brownies! I came up with them during one of those moments when I couldn't pick between red velvet, regular brownies, or just munching on some Oreos (we've all been there!). The combo turned out absolutely fantastic! Picture super moist brownies with that distinctive red velvet taste, packed with Oreo pieces throughout. Whenever they're baking, the smell fills up the house and my family suddenly appears wondering what's coming out of the oven soon!
What Makes These Brownies So Special
You know those treats that make people's faces light up instantly? This is definitely that kind! I love watching folks try to pinpoint exactly what they're tasting. Is it the rich red velvet? Those crunchy Oreo bits? That incredible fudgy texture? Actually, it's the perfect storm of all three! And they're not nearly as complicated as they seem. Seriously, once you've tried these, you'll never look at ordinary brownies the same way again!
What You'll Need For Baking
Here's the full lineup for these delicious treats:
- The Must-Haves:
- - Tightly packed brown sugar
- - Softened, unsalted butter
- - Eggs (go for farm-fresh if you can)
- - Real vanilla extract (worth spending extra on!)
- - Quality cocoa powder
- - A bit of baking powder for some rise
- - That essential red food coloring
- - Regular all-purpose flour
- - A good amount of Oreos (grab extra - they tend to vanish!)
- - Some tasty chocolate chips
- - Just a touch of salt to enhance flavors
Time To Get Cooking!
Let's start by setting your oven to 350°F! While it warms up, find your 9x9 baking dish. Here's a handy trick: put some foil in the pan and hit it with cooking spray. This will make getting the brownies out so much easier!
Now for the exciting part! Grab your mixer (or just a large bowl if you're going traditional like my grandma showed me), and beat the butter with brown sugar until it gets all light and fluffy. I usually time it for about 3 minutes - this step really counts! Then drop in your eggs one after another, mixing each one fully. Add in the vanilla (I always put in a bit extra because why not?).
Next, toss in cocoa powder, baking powder, and salt. Mix until you've got a lovely chocolate mixture, then carefully add your flour. Don't mix too much here - we want them fudgy, not tough!
 Pin
Pin
Getting That Stunning Look And Feel
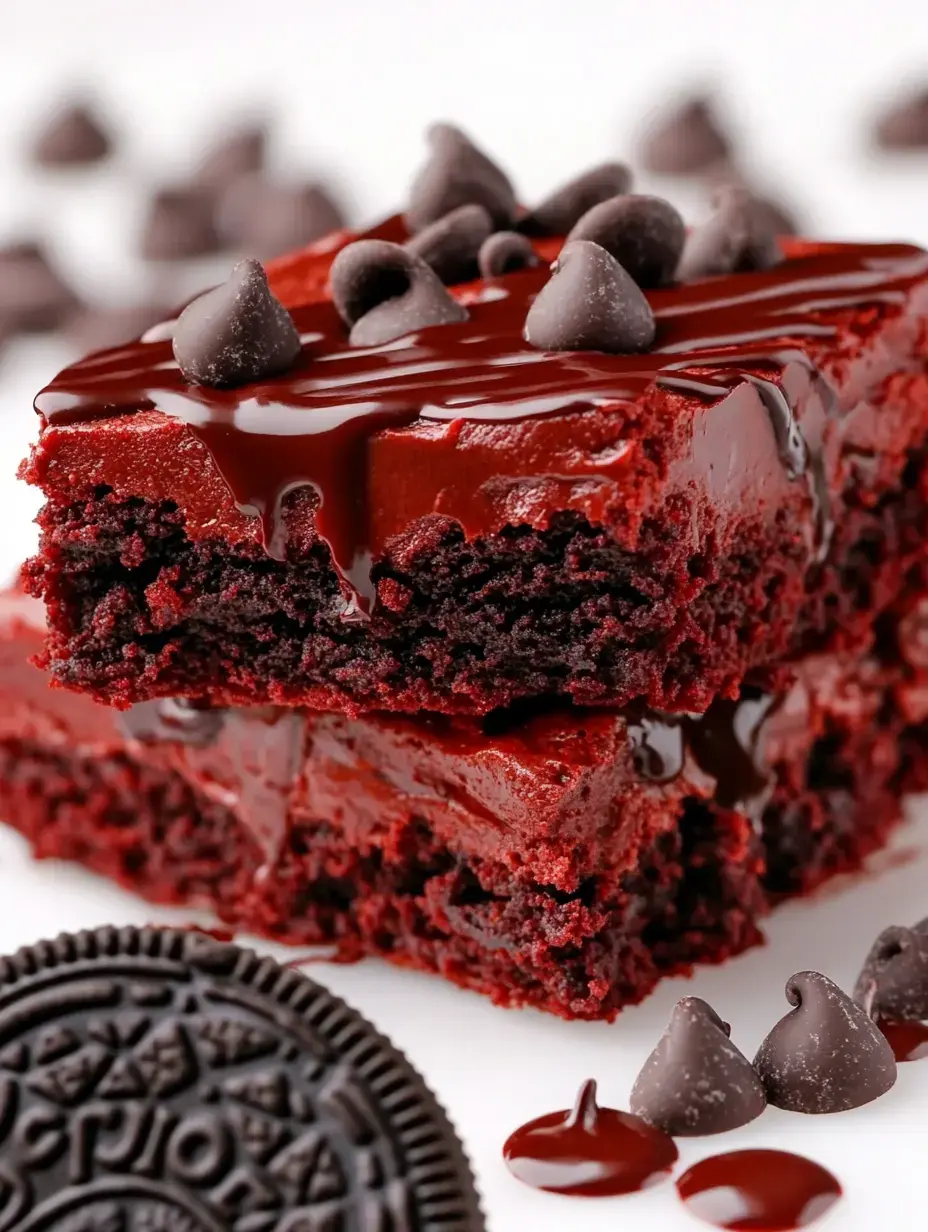
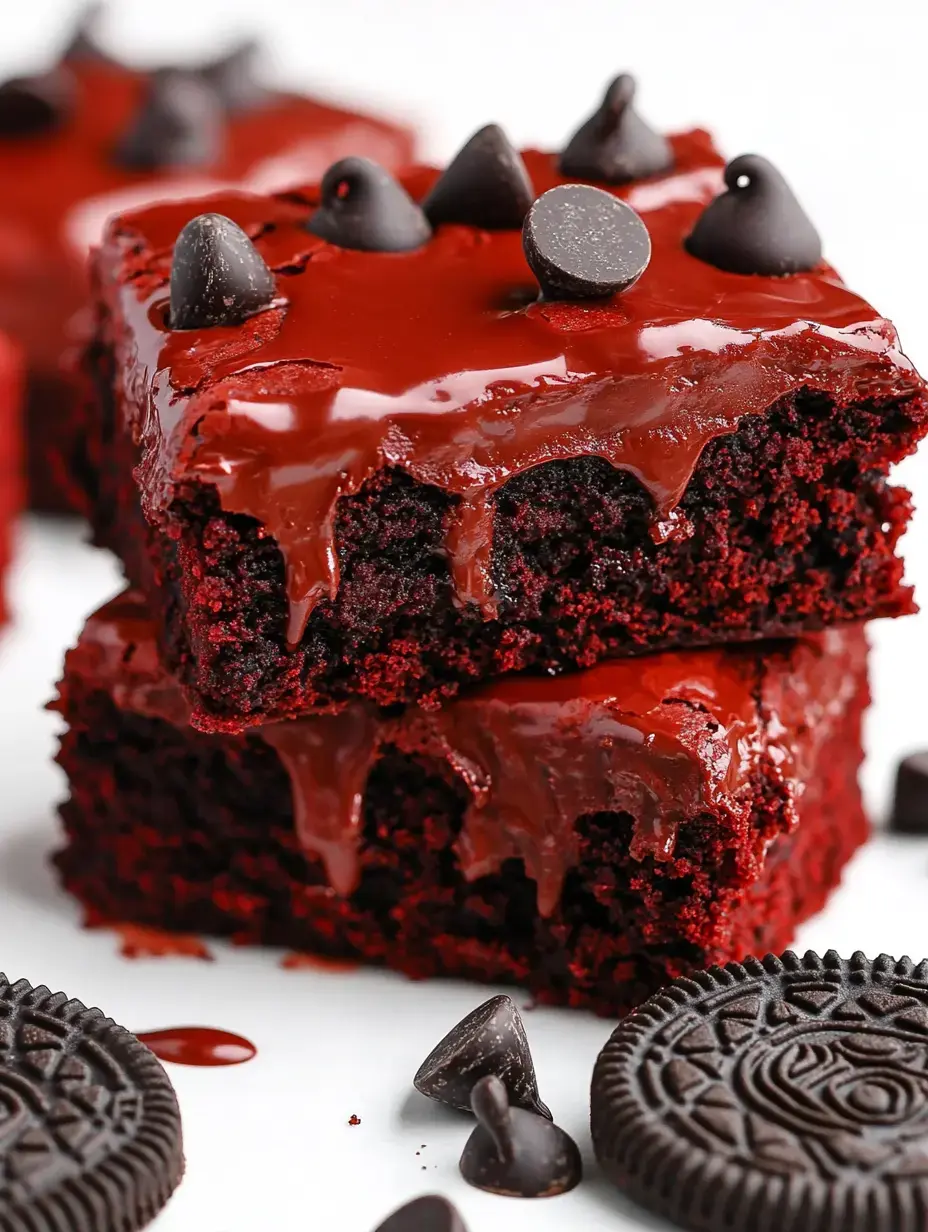
Now for the fun transformation - pour in that red food coloring! Watch your chocolate batter turn into this gorgeous deep crimson color. It's such a cool moment! Then carefully mix in those broken-up Oreos. I prefer to leave some bigger chunks for texture. Spread it all into your pan, and don't forget to scatter those chocolate chips across the top. They'll create these wonderful pockets of melted chocolate as everything bakes!
Oven Time
Pop them in the oven for around 22-24 minutes! Your house will soon smell incredible. Here's my trick for perfectly fudgy results: look for a slight wobble in the middle when you gently shake the pan. The sides should be firm, but the center should stay a little soft. Remember, they'll keep cooking after you take them out. It's always better to pull them out too early than end up with dry brownies!
The Waiting Game
Now comes the toughest part - waiting for them to cool! I know you'll want to grab a piece right away (I've been there so many times!), but letting them cool fully makes such a difference. If you can stand it, stick them in the fridge for a couple hours. This helps them set perfectly and makes cutting way easier. Plus, those Oreo bits get extra crunchy when they're cold!
Storage Tips
If you somehow have leftovers (which hardly ever happens at my place!), put them in a sealed container. They'll stay good for about 3-4 days on your counter. Want to save some for later? They freeze really well! I wrap single pieces in plastic, then foil - it's like having a sweet emergency stash hidden away!
 Pin
Pin
Handy Tricks I've Learned
After whipping these up so many times, I've picked up a few tips! Don't leave them in too long - that slightly underdone center is what we're going for. I love trying different Oreo types too. The mint ones are fantastic during Christmas! And feel free to play around with extras. Sometimes I throw in white chocolate chips or even some chopped walnuts for extra crunch.
Putting Your Spin On Them
What's really cool about this recipe? How easy it is to make it your own! Sometimes I use peanut butter Oreos (my hubby's top pick), or around Christmas, I'll sprinkle some crushed candy canes on top. There are endless options! My daughter goes crazy when I swirl some cream cheese through the batter - it creates this beautiful marbled look and tastes fantastic.
Bringing Joy To The Table
Want to take these brownies to the next level? Serve them a bit warm with a dollop of vanilla ice cream on top. The way that ice cream melts into the fudgy brownie is just amazing! Sometimes I'll add a little drizzle of chocolate or caramel over everything. For my afternoon coffee breaks, I enjoy them just as they come - the perfect sweet bite to brighten my day!
Great For Every Gathering
These brownies have come to my rescue at so many get-togethers! They're what I always make for bake sales (they're always the first to go!), potlucks, and holiday parties. Their beautiful red color works perfectly for Valentine's Day or Christmas, but really, they're fantastic any time of year. They're also super easy to transport - just keep them in the pan and head out!
 Pin
Pin
Prep-Ahead Wonder
Here's a little tip: these brownies actually taste better the day after you make them! All those flavors get to mix together overnight. I often bake them a day before I need them - it makes hosting so much simpler, and they turn out perfect. Just remember to hide them well, or they might disappear before your guests even arrive!
Crowd Pleaser
You know what I really love about these treats? How they bring folks together! There's something about mixing red velvet, chocolate, and Oreos that just makes everyone smile. I've passed this recipe along countless times, and it's become a hit in many families besides mine. That's what baking is really about - spreading joy!
Quick Cleanup Hacks
Let me share my favorite kitchen trick: that foil liner isn't just for getting brownies out easily - it makes cleanup super quick! I also keep a wet cloth nearby while mixing to wipe up any spills right away (red food coloring can be messy!). And try this: spray your measuring cups with cooking spray before using sticky stuff like brown sugar - it'll slide right out!
Great For The Freezer
Like having snacks ready for surprise visitors? These brownies freeze amazingly well! I wrap single pieces in plastic, then foil (double wrapping works best!), and toss them in a freezer bag. When friends drop by unexpectedly, I can grab a few pieces, let them thaw about an hour, and there you go! Instant dessert that tastes freshly baked. Sometimes I even warm them slightly in the microwave - so good!
 Pin
Pin
Show-Stopping Dessert
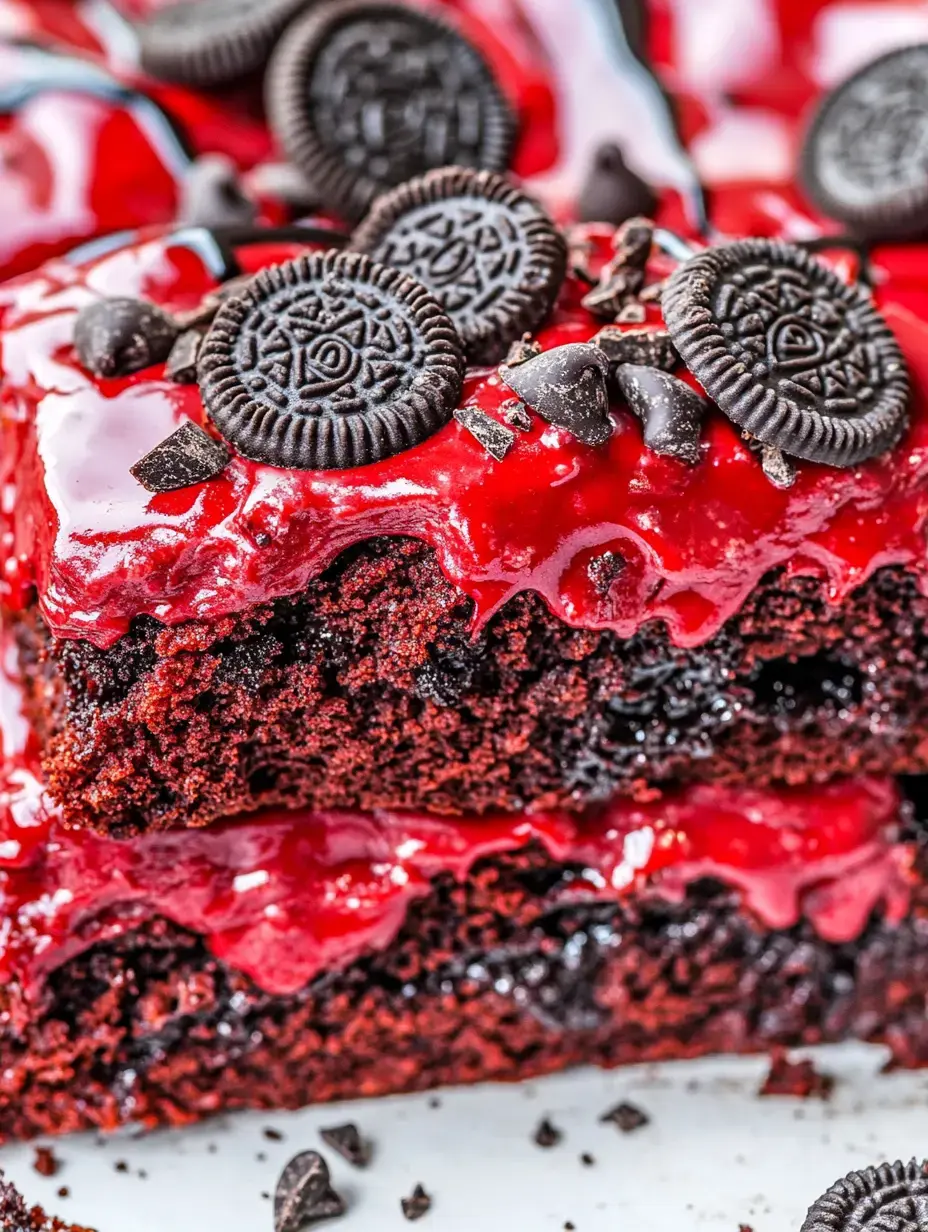
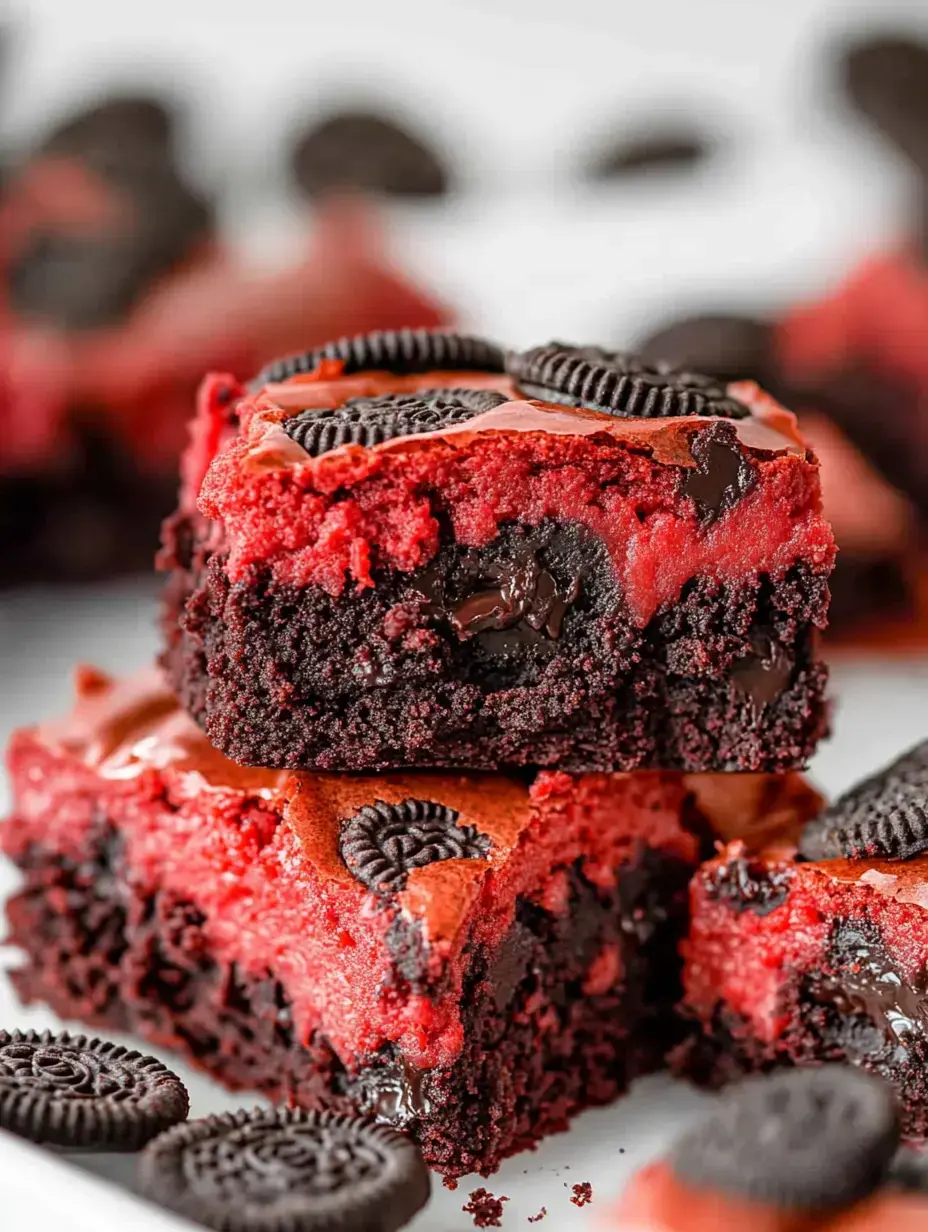
These brownies have become my go-to sweet for important events. Their red color makes them look so festive, and those Oreo pieces create such a pretty contrast! I've made them for tons of birthday parties, baby showers (perfect for chocolate cravings!), and even my niece's graduation. They always get tons of compliments, and I love seeing people's expressions when they take that first bite.
Easy Yet Impressive
You know what's best about this recipe? How something so straightforward can feel so fancy! With just a few basic items and some Oreos, you can create something that looks and tastes like it came from an expensive bakery. It's the perfect thing to know how to make when you want to wow people without spending all day in the kitchen.
The Ultimate Texture Combo
Let's talk about what really makes these brownies amazing - that texture! The brownie base is rich and moist, while those chunks of Oreos add a wonderful crispness. Every bite gives you that perfect mix of chewy and crunchy. And those melty chocolate chips scattered throughout? Absolutely divine! It's like getting three treats in one magical mouthful.
Sweet Memories
These Red Velvet Oreo Brownies have brought so much happiness to my kitchen, and I bet they will to yours too! They're more than just a sweet treat - they're a way to share love and create wonderful moments with people you care about. Whether you're making them for a special day or just because you feel like it, I hope they become a favorite in your home like they have in mine. Happy baking!
 Pin
Pin
Recipe Questions & Answers
- → Why is a metal pan better?
- Metal heats evenly, so you'll get proper browning and balanced texture compared to glass or ceramic.
- → How can I tell they’re done?
- Take them out when the center still wiggles lightly. They'll set perfectly as they cool.
- → Can I skip food coloring?
- Sure! Use less or none at all. You’ll get tasty blondies with Oreo pieces instead.
- → What’s the point of foil lining?
- Foil makes it simple to lift the whole batch out, keeps it mess-free, and stops sticking in the pan.
- → How do I store them best?
- Store in a sealed container for up to 5 days on the counter, or pop them in the freezer to keep longer.
