
 Pin
Pin
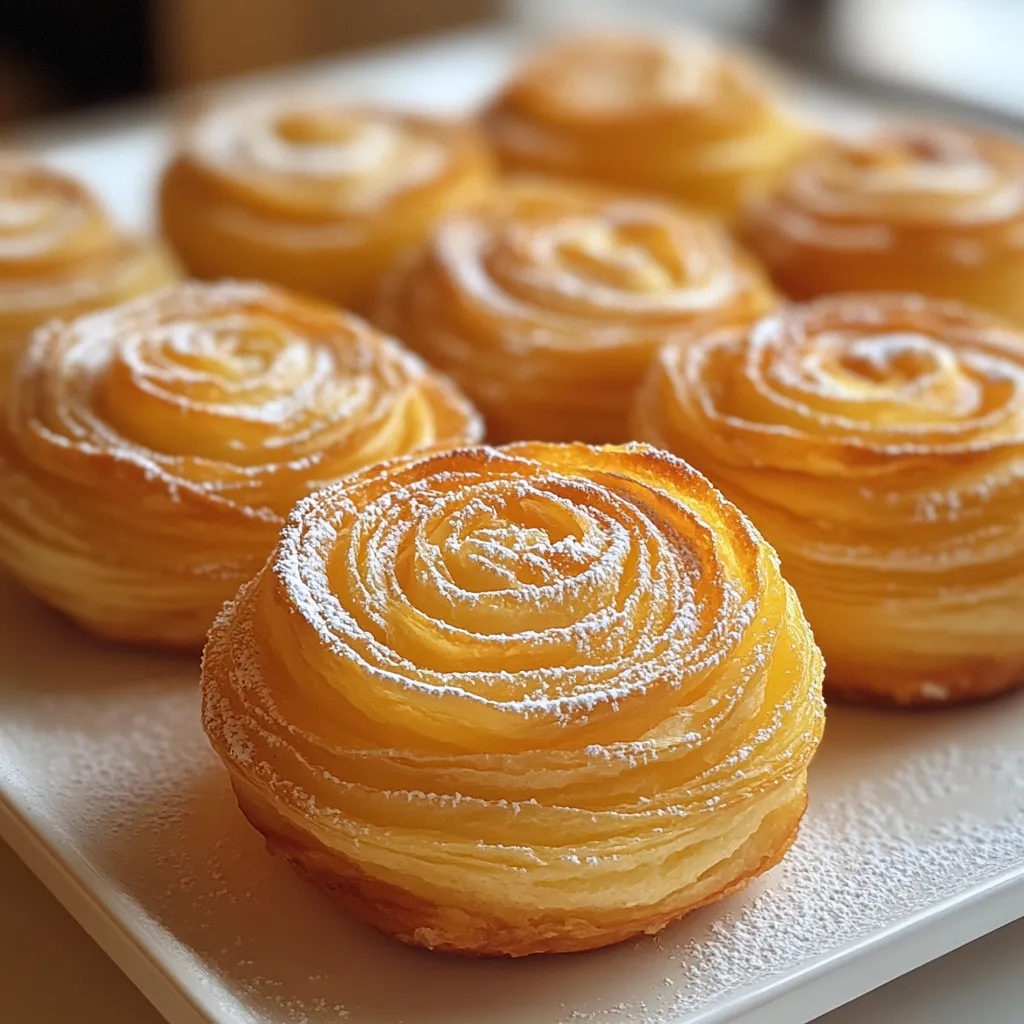
Airy, delicate layers of pastry curl into spirals in these gorgeous treats that blend the crisp texture of croissants with the shape of muffins. Every bite offers the perfect mix of crunchy edges and soft, cloud-like centers, making a bakery-style goodie you can actually make at home.
I first tried cruffins at a fancy bakeshop where they charged almost $8 for just one! I knew I had to figure out how to make them myself. What started as just playing around in the kitchen has turned into our family's Sunday morning must-have, with my kids always arguing about what fillings to use.
Key Components
- All-Purpose Flour: Forms the basic structure that lets those lovely layers develop properly.
- Active Dry Yeast: Gives a slow, steady rise that keeps all the distinct layers intact.
- Unsalted Butter: The magic ingredient that creates those amazing flaky bits when folded into the dough.
- Warm Milk: Wakes up the yeast and adds a rich taste that works with the butter flavor.
- Granulated Sugar: Adds sweetness while feeding the yeast to help everything puff up nicely.
Making Outstanding Cruffins
- Starting Your Dough:
- Mix your yeast with warm milk and wait for it to get bubbly, showing it's ready to work. Then mix in your dry stuff until you get a stretchy, smooth ball that'll change as it sits.
- Creating Layers:
- Once it rises, flatten the dough into thin sheets and smear with soft butter. This key step builds those separate flaky layers that make cruffins so special.
- Forming The Shape:
- Slice your buttered dough into strips and twist them into spirals with the cut sides up. This shows off the pretty layers and gives cruffins their signature look.
- Waiting Game:
- Let your shaped dough rest again in muffin pans, giving the yeast time to work through the butter layers. This second rest is crucial for getting the right height and texture.
- Final Baking:
- Cook until they're rich brown, so the outside gets that satisfying crunch while inside stays tender and slightly chewy. You'll know they're close when your kitchen fills with an amazing smell.
 Pin
Pin
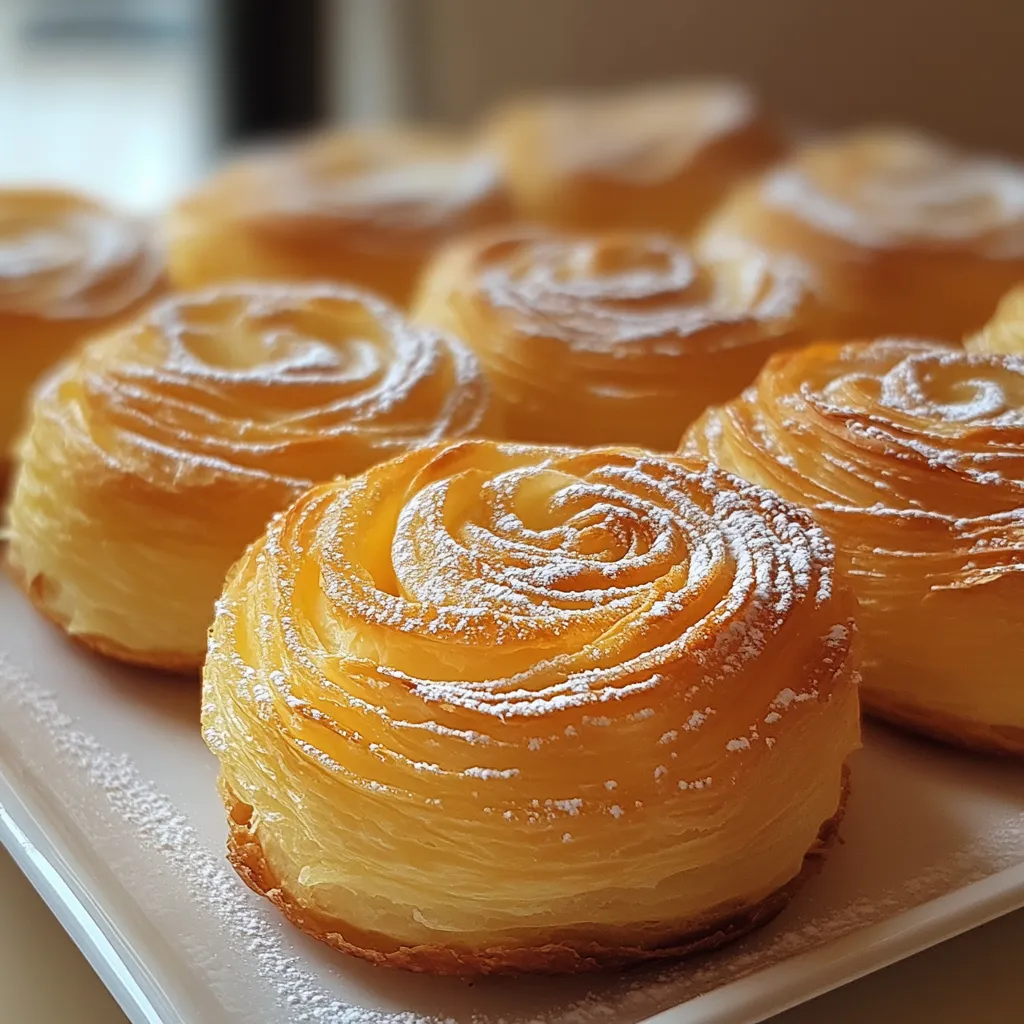
My first try at making these was almost a total flop when I tried to hurry things along. The butter got too warm and melted everywhere, creating what my husband started calling 'depressed croissant pancakes.' I learned that working in a cool kitchen with chilled ingredients totally changed my results.
Great Companions
Enjoy these beautiful pastries with a hot cappuccino or thick hot chocolate for the best breakfast treat ever. When hosting brunch, set up different fillings and toppings so everyone can make their own custom version.
Tasty Twists
Switch things up by adding some orange zest and cardamom to your dough for a fragrant change. Make chocolate ones by spreading a thin chocolate layer with the butter. For non-sweet options, try mixing in herbs and cheese for breakfast or snack time.
Keeping Them Fresh
Keep fully cooled cruffins in a sealed container at room temp for a couple days. If you want them to last longer, wrap each one in plastic and freeze them for up to two months. Just warm them up in a 350°F oven for about 5-7 minutes to bring back their crispiness.
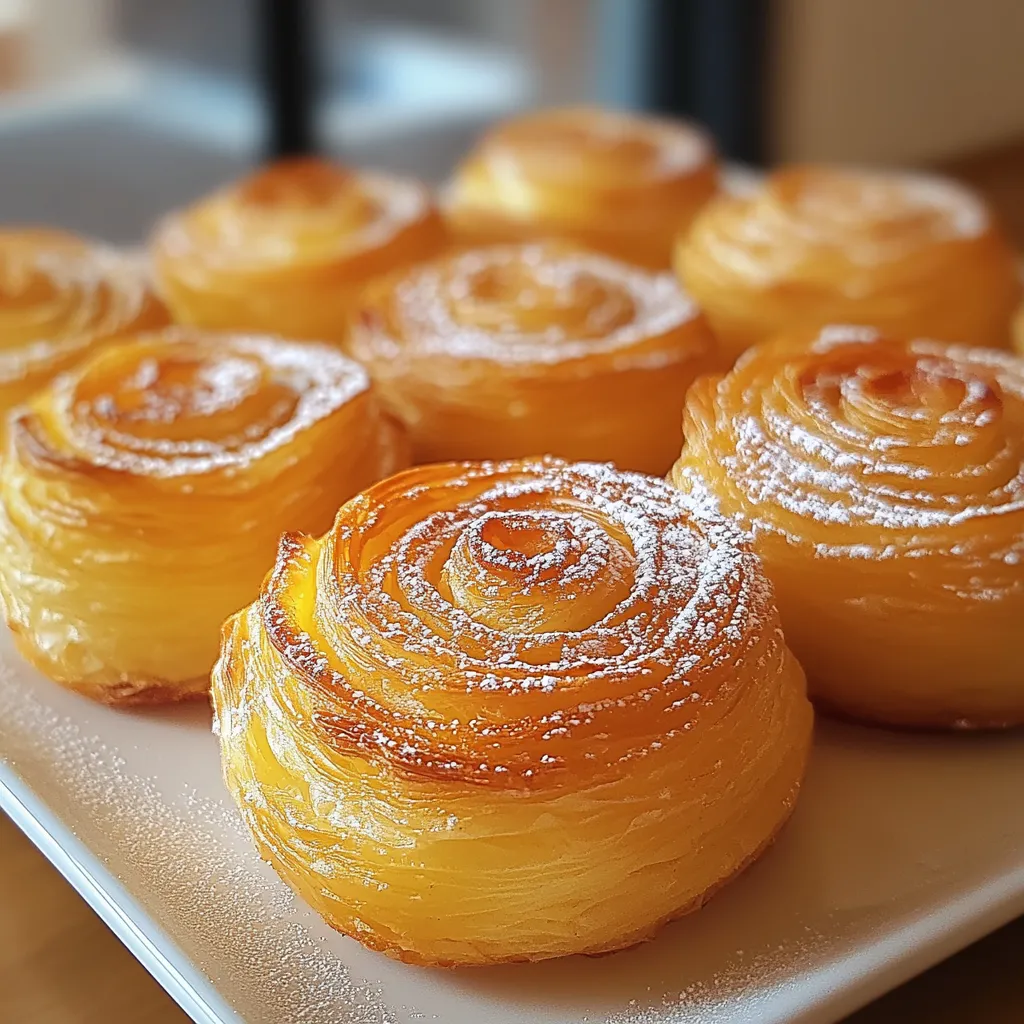
Once I got the basic method down, I found out cruffins are way more forgiving than regular croissants. You can play around with them and make them your own while still getting that wow-factor look that makes people think you spent all day in the kitchen. Whether you have them for breakfast or serve them with ice cream for dessert, these swirly treats always make people happy.
 Pin
Pin
Recipe Questions & Answers
- → How are cruffins different from croissants?
- Cruffins have laminated dough too, but they're shaped in muffin tins, forming spirals instead of the classic crescent.
- → Can I make this with pre-made dough?
- Absolutely! You can swap the dough with store-bought croissant or puff pastry. Just roll, fill, and bake as needed.
- → Why didn't the layers look fluffy?
- If the butter melted too soon, your dough may have warmed too much. Try chilling it during prep to keep the butter intact.
- → What tools will I need?
- A muffin tin and basic rolling pin are all you need. A stand mixer is helpful for kneading but not necessary.
- → Can I make smaller versions?
- Definitely! Use a mini muffin tin and bake for about 15 minutes. Keep an eye on them to prevent overbaking.