
 Pin
Pin
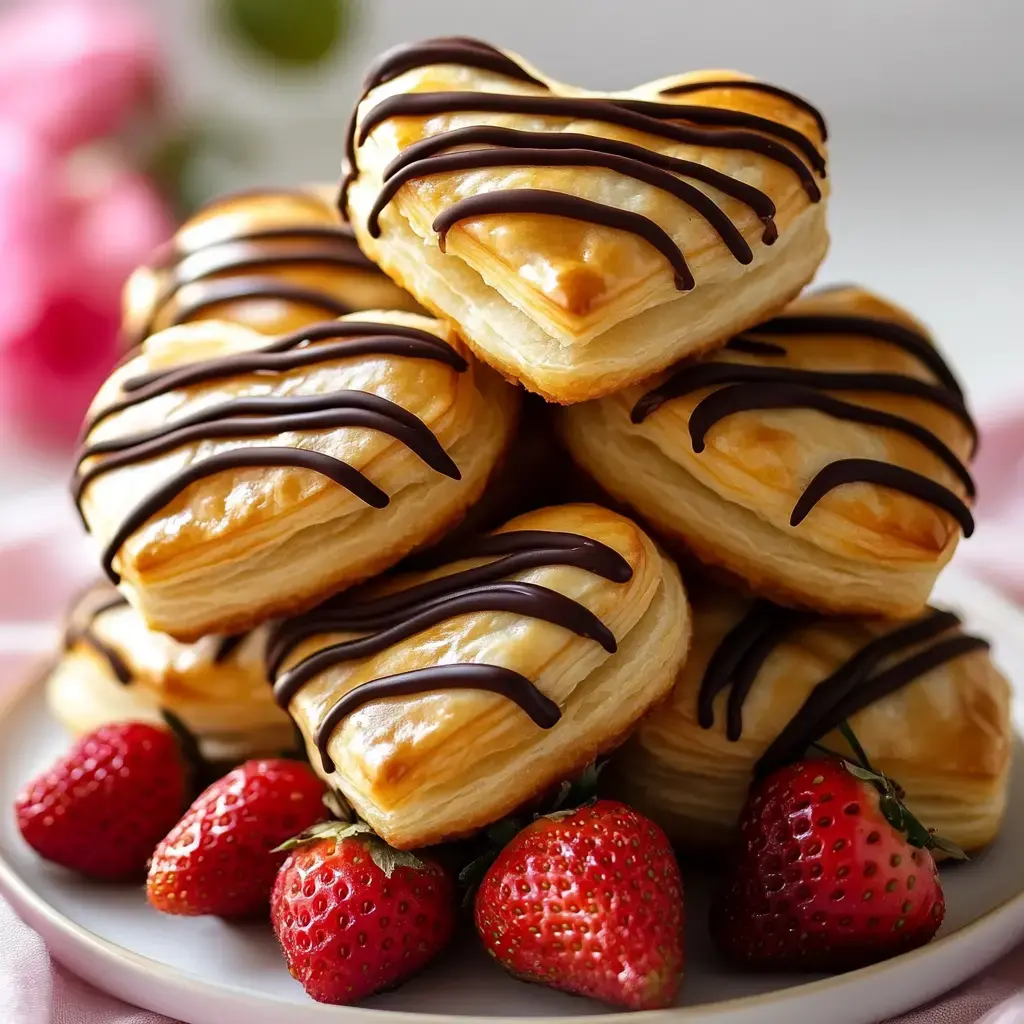
Buttery puff pastry hearts always bring back memories from my tiny bakery days. Customers couldn't get enough of them! I'm still amazed watching those thin layers of butter and dough puff up like magic when they hit the hot oven. What I really love about them is how they fit any occasion—fancy dinner or casual get-together, they're always the star. Nothing beats seeing someone's face light up at that first flaky, buttery bite. Throughout my cooking adventures, I've stuffed them with everything from rich dark chocolate to tangy herb-filled cheese.
Delicious Pastries You'll Make Again And Again
Store-bought puff pastry completely changed my approach to baking. Back when I started my food blog, I thought everything needed making from scratch. Then I tried good quality pre-made puff pastry and it was a game-changer. So easy yet so impressive every time. You get those perfect crispy, melty layers without all the work. I've tried tons of different fillings in my kitchen—sweet and savory ones. My friends can't believe something so fancy-looking could be so quick to make.
Must-Have Basic Ingredients
After trying loads of recipes in my kitchen, here's what you really need. Get yourself a sheet of quality puff pastry—I always keep some in my freezer for quick treats. Regular sugar works perfectly for the sweet versions. If you're going savory, grab whatever cheese you like and some fresh herbs. A little melted butter helps everything turn golden brown. Sometimes when I've got company coming, I'll use an egg wash for extra shine. My favorite fillings are raspberry jam, Nutella, and sharp cheddar. The herbs growing by my window add fresh flavor to all my savory versions.
Getting Ready To Bake
First thing, heat your oven to 400°F. This high temperature is what makes those amazing flaky layers happen. While it warms up, roll your puff pastry on a lightly floured surface. Try to get it about 12×10 inches across. I usually grab my heart-shaped cookie cutters, but you can just use a knife if that's what you've got. Make them any size you want—small ones are great for parties, bigger hearts work better for individual desserts.
Making Your Heart Shapes
Cutting out the hearts might be my favorite part of the whole process. Don't rush this step. I've found a sharp knife gives me the best control over how my hearts turn out. Put them on your baking sheet with parchment paper underneath, and don't crowd them. After making these hundreds of times, I can tell you they need room to grow and get all flaky. That extra space makes them look so much better when they're done.
Adding Your Tasty Fillings
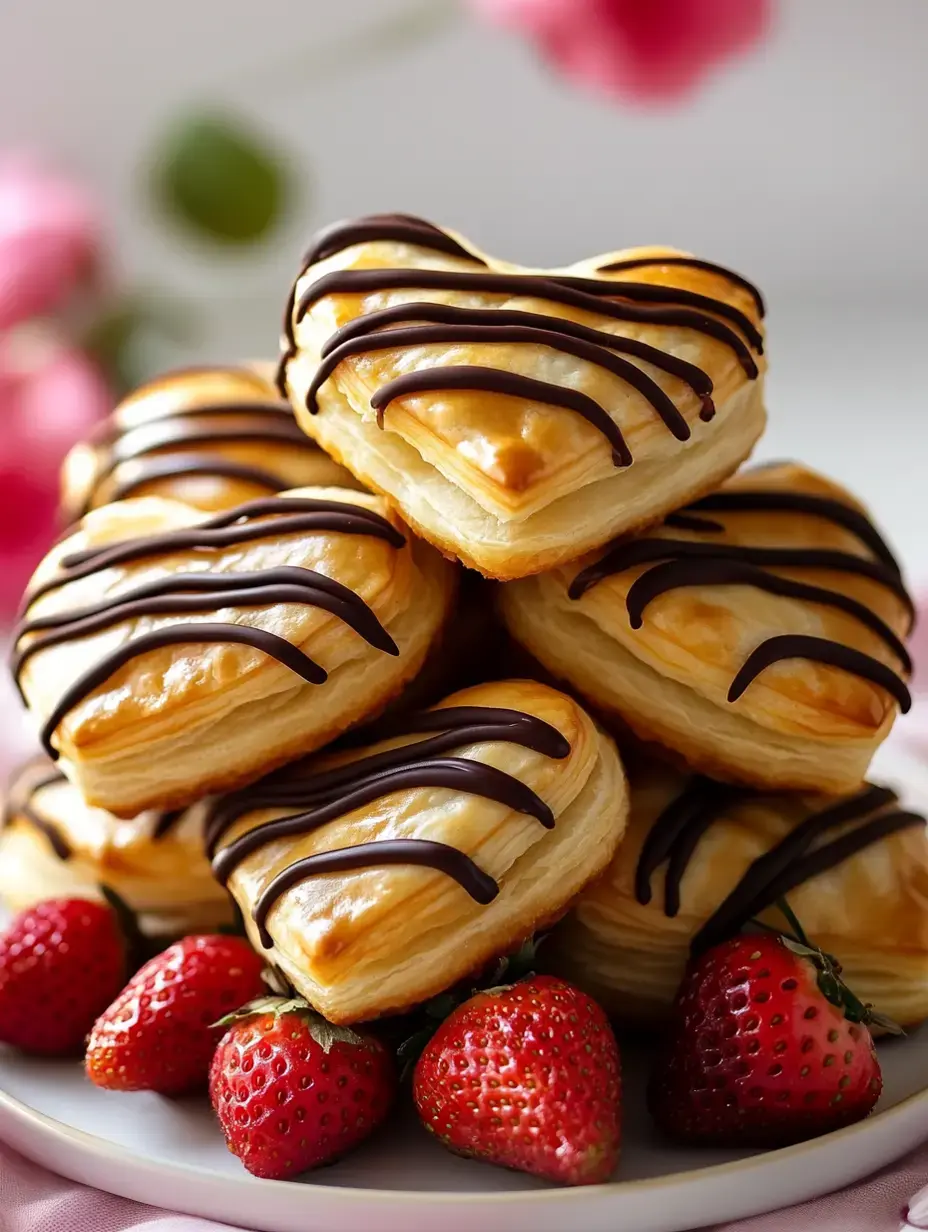
This is where you can play around and have fun. For sweet ones, a spoonful of good jam works wonders. I really love raspberry but strawberry and apricot taste amazing too. Nutella makes them super chocolatey and rich. For savory versions, sharp cheddar or creamy brie always works. Sometimes I mix soft goat cheese with herbs from my garden. Even caramelized onions with a bit of thyme taste fantastic.
 Pin
Pin
Folding Techniques
You need a soft touch when folding these hearts. Put your filling right in the middle and gently fold the edges over. Leave enough room for the pastry to puff up while keeping everything inside. I actually like when they look a bit rustic with uneven edges. Just press the sides enough to keep them closed without squashing all those nice dough layers.
Getting That Perfect Color
A quick brush of melted butter works wonders in the oven. For fancy occasions, I mix an egg with a splash of water and brush that on top. You'll get that beautiful bakery shine that makes people think you spent all day in the kitchen. Both ways give you gorgeous golden brown pastries.
Baking Time
Don't forget to give your pastries plenty of space on the baking sheet. They'll need about 10 to 15 minutes to turn golden. I usually check them after 10 minutes and keep watching. Your kitchen will smell amazing—all buttery and warm. You can tell they're ready when they've puffed up tall and turned that beautiful golden color.
Enjoying What You Made
Let them cool just enough so you won't burn yourself. I like sprinkling powdered sugar on the sweet ones for a pretty finish. On savory ones, sometimes I drizzle a bit of honey or add a pinch of sea salt. They taste best warm when you can enjoy that contrast between the crispy outside and soft layers inside.
Try These Variations
You can make so many different kinds of these hearts. Try Nutella with mini chocolate chips for chocolate fans. Mix fresh berries with jam for fruity versions. My favorite savory combos range from spinach and feta to prosciutto with mozzarella. For the easiest sweet treat, just brush with butter and sprinkle with cinnamon sugar.
Answers To Your Baking Questions
You can totally use store-bought puff pastry here. I use it all the time in my own cooking. And yes, you can make these ahead. I often shape them the night before and keep them in the fridge until I'm ready to bake. Just make sure they're wrapped well so the pastry stays fresh.
 Pin
Pin
Storing In The Freezer
These hearts freeze really well. Shape them first, freeze them on a tray until solid, then put them in freezer bags. When you want to bake them, you can go straight from freezer to oven. Just add a few extra minutes to your baking time. I always keep some in my freezer for unexpected guests.
What To Serve With Them
The sweet ones go great with afternoon tea. Savory versions taste amazing with a fresh salad or hot soup. I love serving them at brunch too. They work for pretty much any meal, depending on what's inside. Sometimes I take them on picnics or bring them to potluck parties.
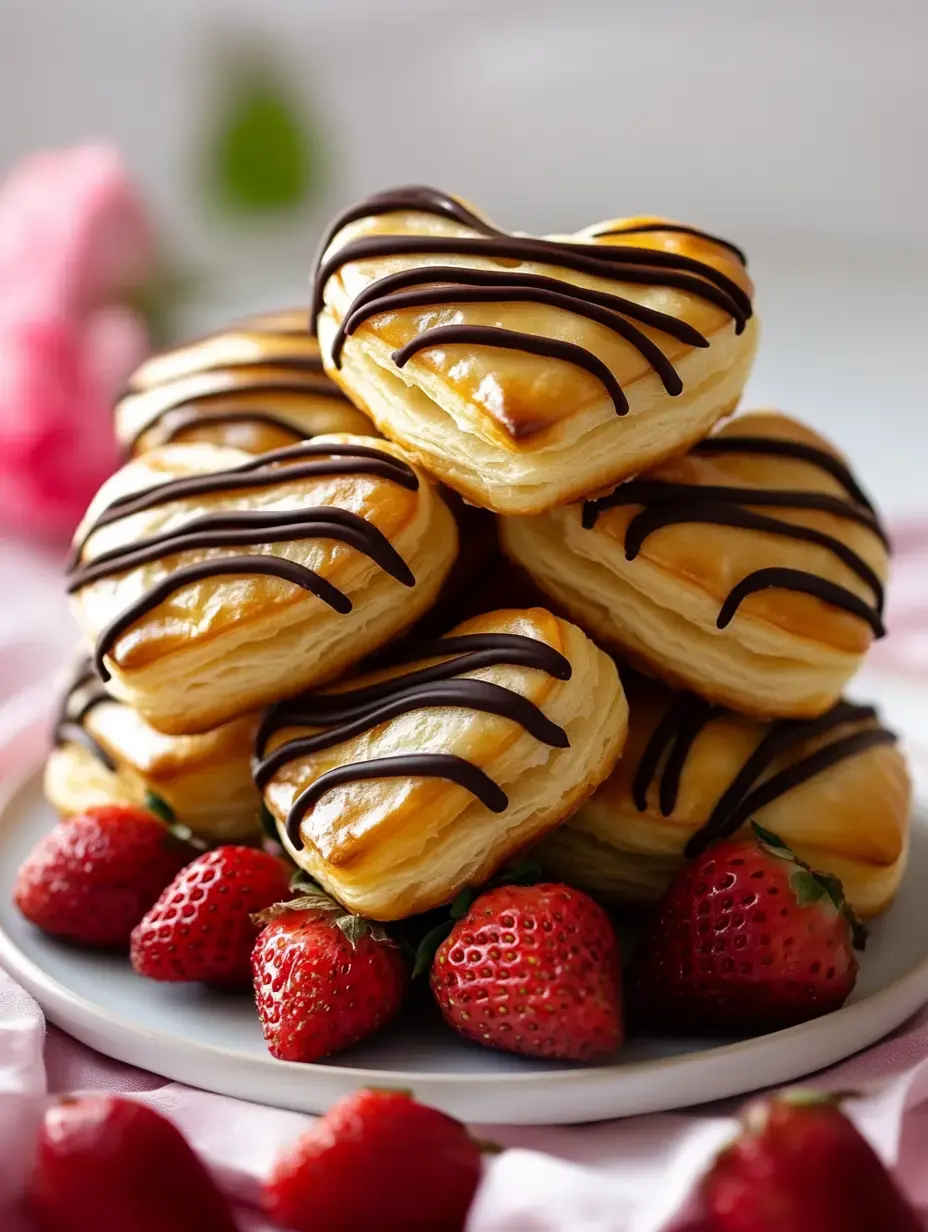
Making Them Look Great
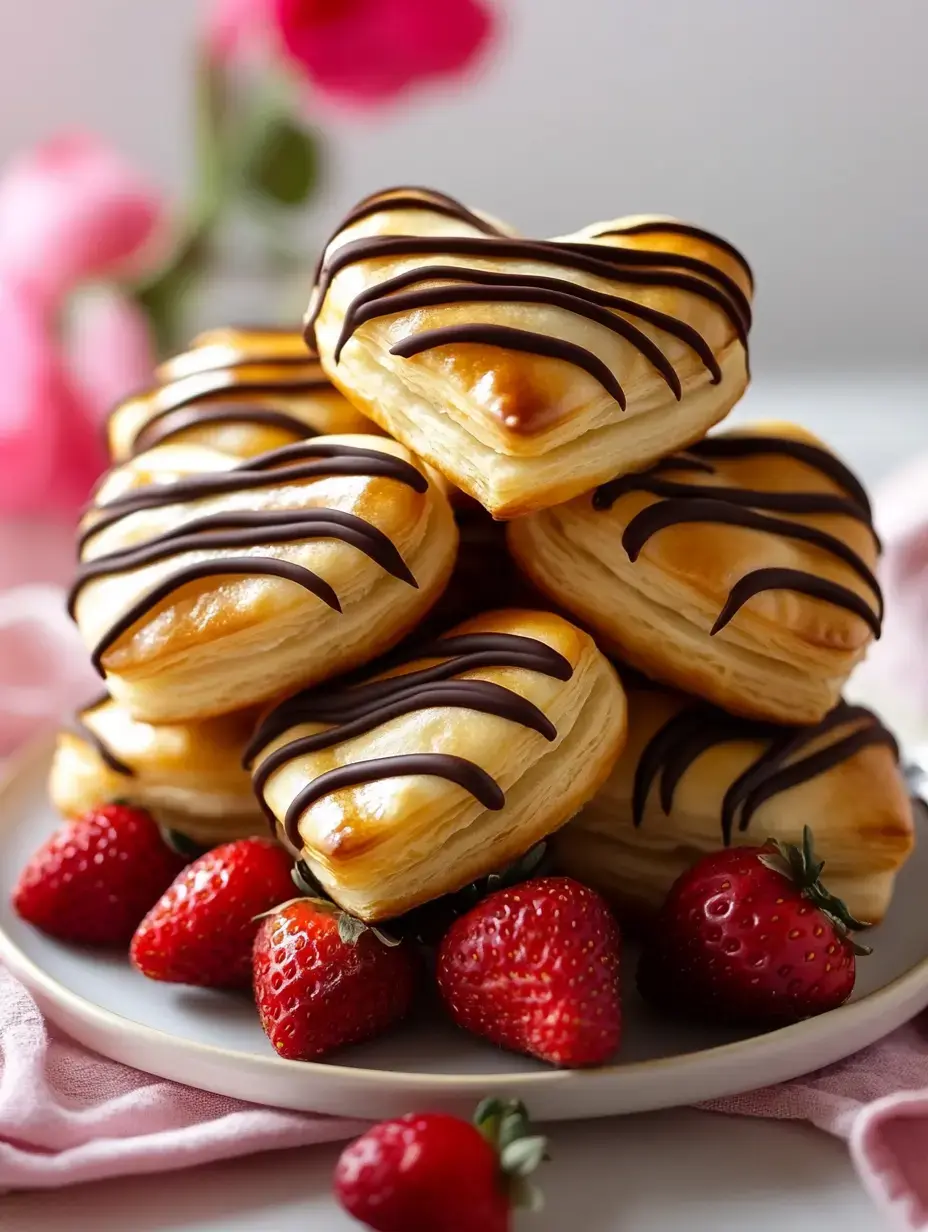
Put these cute hearts on your nicest serving plate. Sweet ones look pretty with a light dusting of powdered sugar. Sometimes I drizzle chocolate sauce back and forth across the plate. Savory ones make fancy appetizers when passed around on a wooden board. Half the fun is making them look good!
Great For Every Event
Whether you're hosting a fancy dinner or just hanging out at home, these pastry hearts fit right in. You can change what's inside based on the season. Summer brings fresh berries, fall is perfect for apples, winter calls for chocolate, and spring means fresh herbs. Each version adds something special to your table.
Creating Sweet Memories
These hearts have shown up at so many celebrations in my home. Valentine's Day feels extra special with chocolate-filled ones. Holiday gatherings look prettier with seasonal fruit versions. Even regular Sunday mornings feel special with freshly baked pastry hearts.
They Won't Last Long
Put these out at your next get-together and they'll be gone in no time. People can't resist that combo of flaky pastry and yummy fillings—everyone reaches for seconds. I love watching people's surprise when they find out how easy they are to make.
Tips For Perfect Results
Keep your pastry cold until you're ready to use it—that's how you get the flakiest results. Don't stuff them too full or they might leak while baking. Be gentle when folding to keep all those nice layers intact. These small tricks really make your pastries turn out better.
 Pin
Pin
Final Thoughts
Whipping up puff pastry hearts always brightens my day. They've become part of so many celebrations and quiet moments in my life. It's amazing how basic ingredients can turn into something so wonderful. I hope you'll give them a try in your kitchen and make some happy memories of your own.
Recipe Questions & Answers
- → Should I use store-bought puff pastry?
- Totally fine! Ready-made puff pastry saves time. Just roll it out and cut your shapes.
- → What’s the purpose of egg wash?
- Egg wash makes pastries golden and shiny. You can use melted butter instead if that’s easier.
- → Can I prepare these in advance?
- Shape them up early if needed, but bake them just before eating to keep them perfectly crisp.
- → What’s the easiest way to cut hearts?
- Cookie cutters make it quick, but you can also slice them out by hand with a sharp knife.
- → How should I store leftovers?
- Keep them in a sealed container, but know they’re crispiest the day you bake them.