
 Pin
Pin
The aroma of chocolate floating through my kitchen on lazy Sunday afternoons is unbeatable. This Chocolate Swirl Loaf was born during one of my kitchen experiments when I couldn't choose between making brownies or chocolate bread. What happened? A divine chocolatey creation that combines everything we adore about both treats.
How This Sweet Treat Came To Be
I ran into this concept last winter while playing with recipes for my upcoming cookbook. The real magic started when thick hot fudge met soft chocolate bread batter creating something wonderfully unique. My kids kept grabbing more slices and I just knew this was too good not to pass along.
Ingredients You'll Want
Throughout my baking journey I've noticed good stuff makes better results. For this loaf grab some regular flour, fantastic cocoa, top-notch hot fudge, fresh buttermilk and if you're feeling fancy throw in some chocolate bits or crunchy nuts. Believe me these small touches really count.
Tricks From My Kitchen
After tons of tries in my home kitchen I've found a few game-winning moves. Everything works better at room temp for the right feel. I always go for Dutch cocoa because nothing beats its rich taste. Don't mix too long or you'll miss out on that soft bite we want.
First Steps
Crank your oven to 350°F. My grandma's old bread tin works like a charm for this recipe. Just rub some butter inside and dust with cocoa instead of flour to keep everything nice and dark. That warming oven smell always brings my family running.
 Pin
Pin
Setting Up
Mixing dry stuff might look easy but it's super important for spreading chocolate evenly. I always use my red bowl from mom - it's become my lucky charm for perfect bread making. The cocoa and flour need to get friendly before everything else joins in.
Whipping It Good
This part builds our bread's backbone. My mixer Betty has helped me through so many recipes I've lost count. The butter and sugar turn into this amazing fluffy mix that looks like soft clouds. When I spot those gentle peaks I know we're doing great.
Bringing The Mix Alive
Your eggs should feel slightly warm in your hand. Put them in one after another watching the mix get smooth as silk. The vanilla goes in last - I spend extra on the good Madagascar kind because it makes everything taste like home.
Mixing Wet And Dry
This is when I love watching everything change. The buttermilk and dry stuff take turns going into the bowl. My aunt Sarah taught me this trick and always said taking your time makes bread turn out better. Going back and forth three times works perfectly.
Creating Chocolate Rivers
When that warm fudge hits the mix it's like kitchen art happening. I enjoy making soft swirls and watching chocolate streams form. Sometimes I get lost just looking at the pretty patterns - each batch turns out different like tasty artwork.
 Pin
Pin
Add Your Touches
All my testing taught me that add-ins come down to what you like. Big dark chocolate pieces from my hidden stash or nuts from last year's gathering both taste amazing. Sometimes I add both because why should anyone have to pick just one?
Filling The Pan
The mix pours like smooth satin into your ready pan. I learned from my husband's mom to tap the pan on the counter a few times. This helps everything settle and pushes hidden air up. A quick smooth-over with my favorite rubber scraper and we're all set.
Watching The Clock
Every oven acts differently. Mine runs a bit cool so I let it go the whole hour. The stick test works every time but I also trust what my nose tells me. When my kitchen smells like chocolate heaven and the top bounces back when touched, it's done.
Let It Rest
Those ten minutes feel so long when your kitchen smells amazing. I usually make coffee while I wait. The bread needs this break to firm up properly. My cooling rack has seen many wins and some flops too.
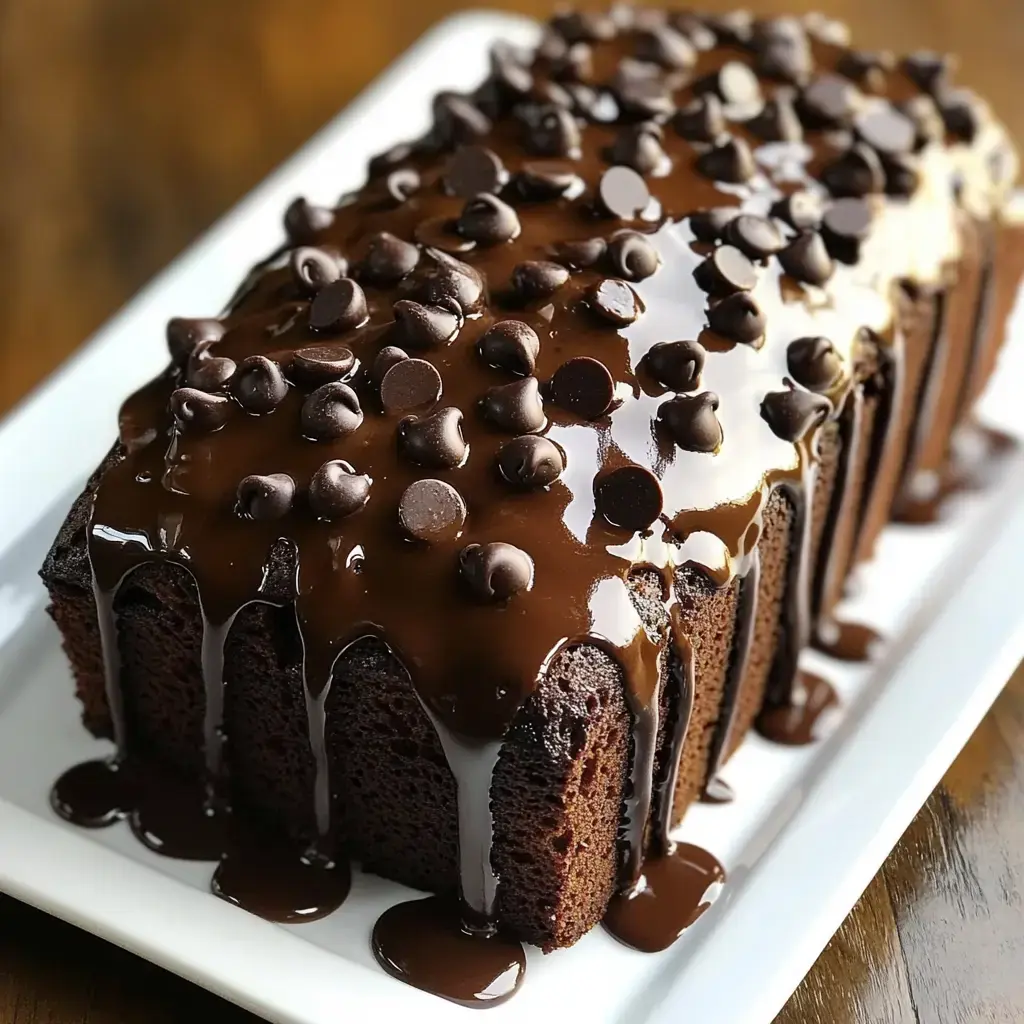
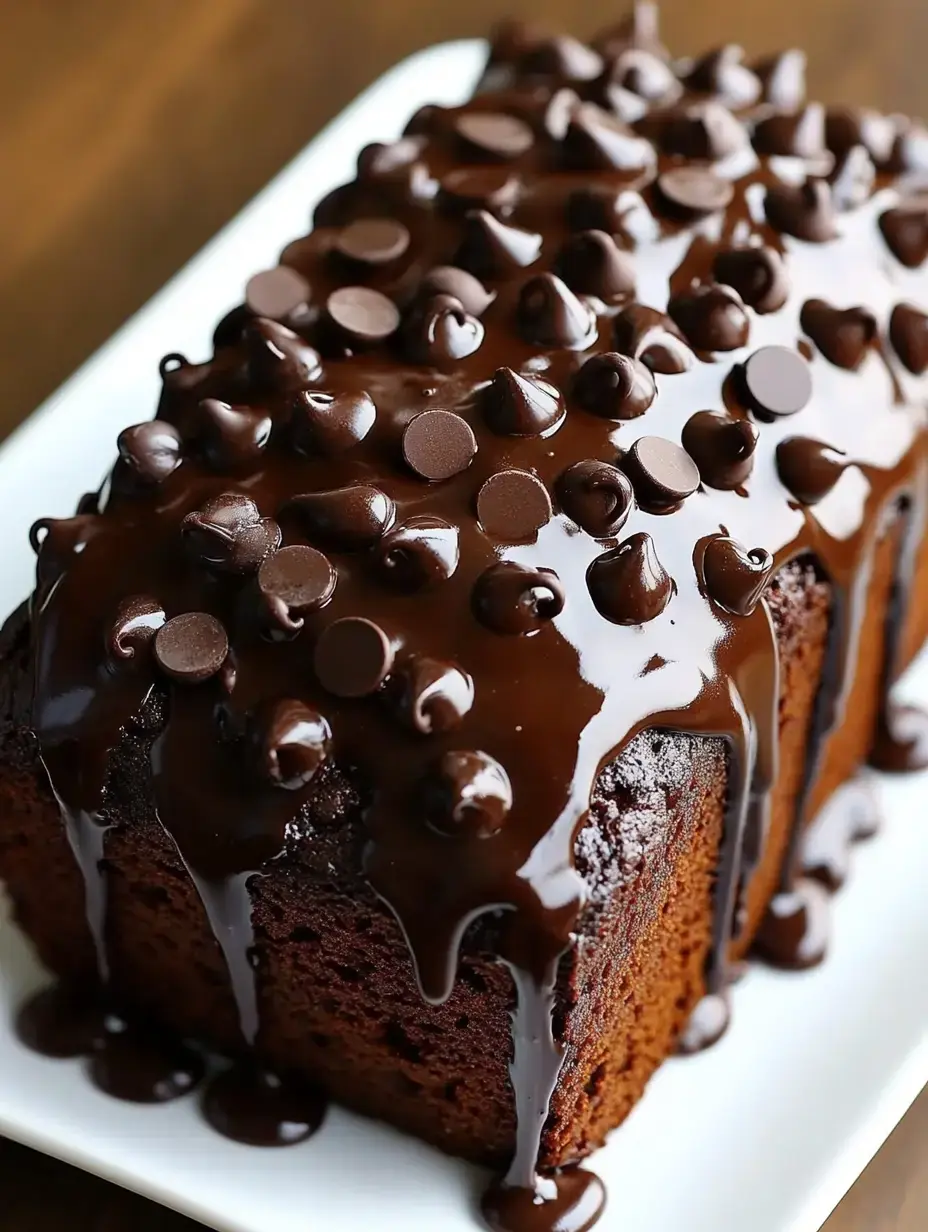
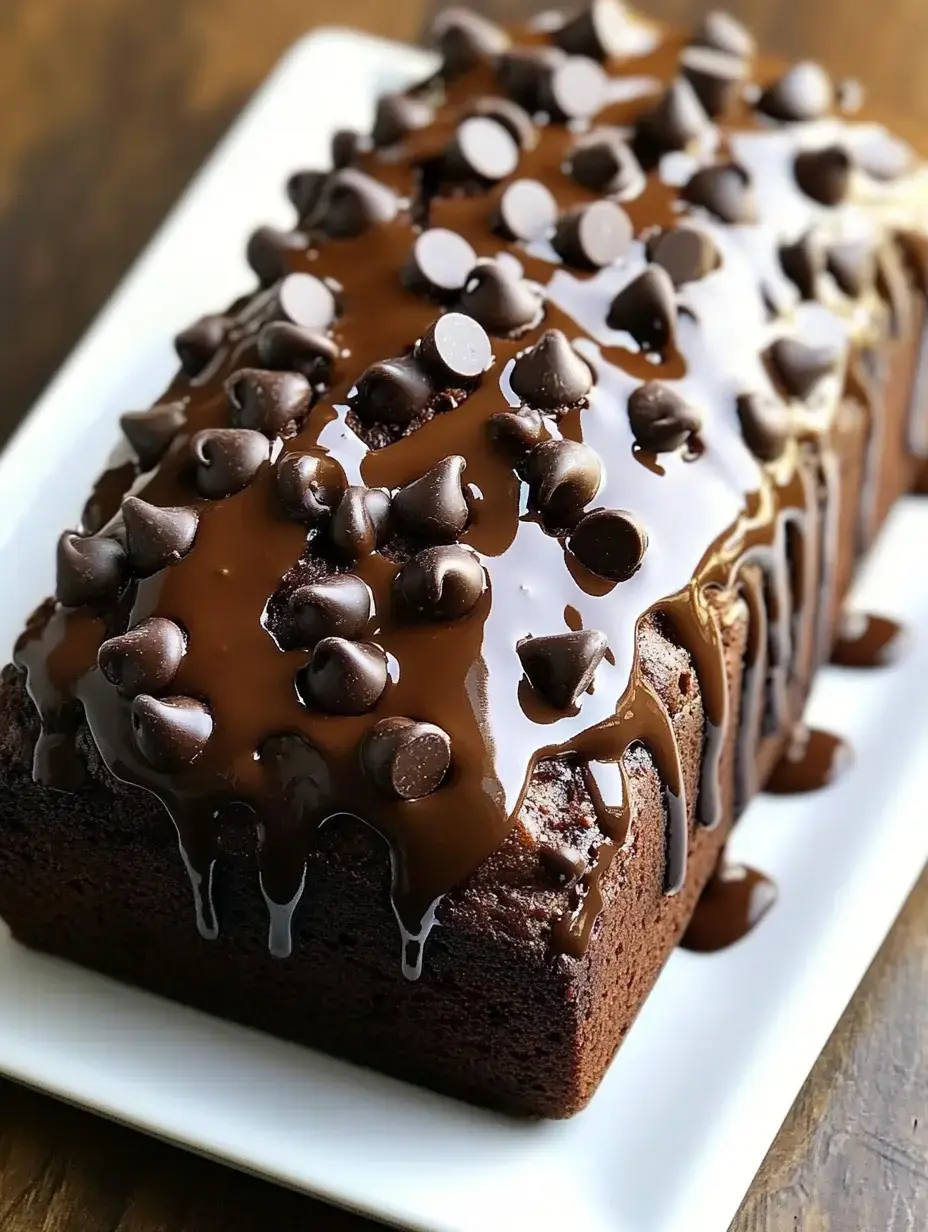
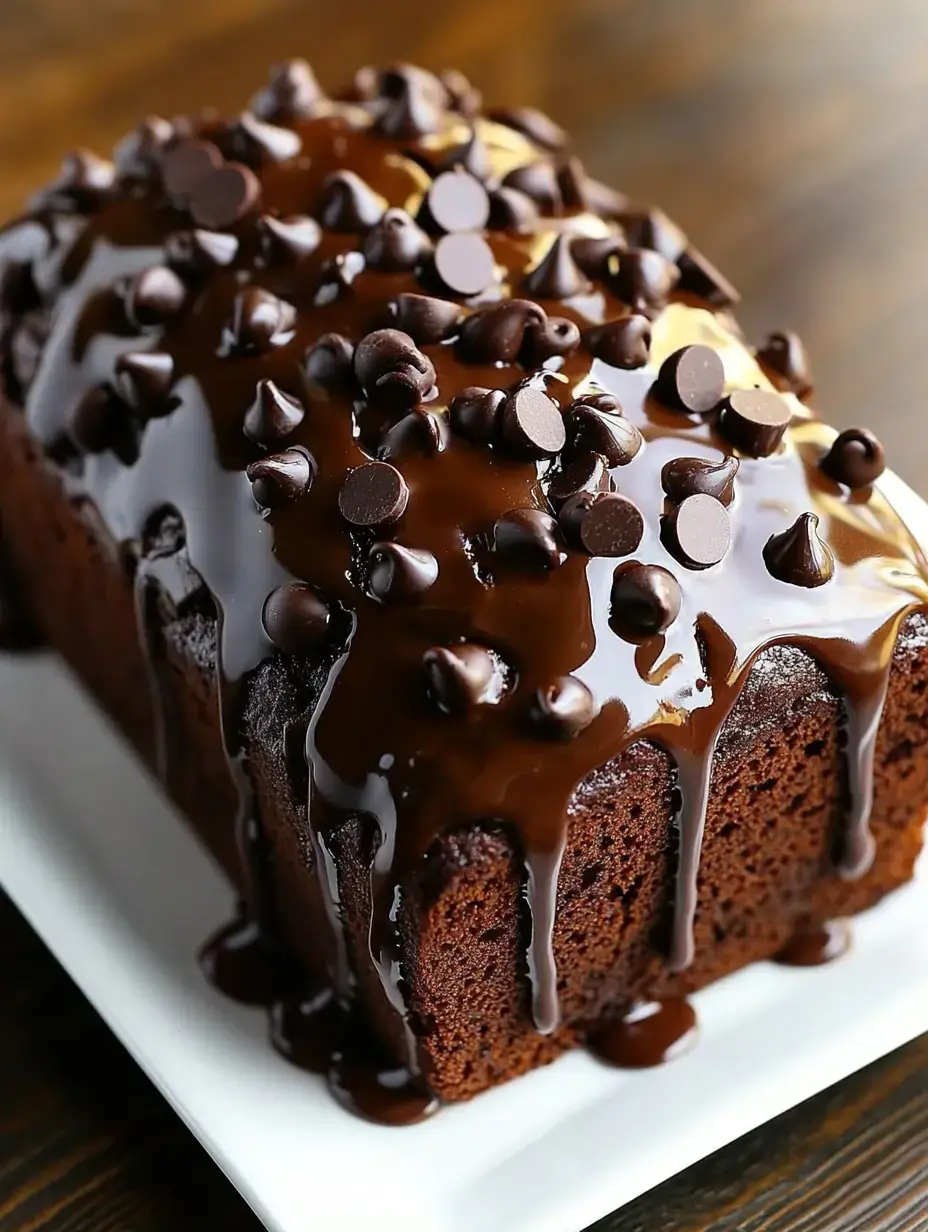
The Final Touch
That last pour of warm fudge sauce is totally worth it. I heat it just enough so it runs down the sides making those beautiful drips. My little girl always wants to clean the spoon - a family tradition I'm happy to keep going from when I was small.
 Pin
Pin
Enjoy Your Creation
That first piece is always so tempting. On cold nights we love adding vanilla ice cream. For weekend brunches just a sprinkle of powdered sugar works great. There's no wrong way to eat this bread and I've certainly tried them all.
Staying Delicious
If your bunch is anything like mine this loaf won't stick around long. But when it does I keep it on my old cake stand with a cover. The fridge works fine too but let it warm up before eating to wake up all those yummy chocolate flavors.
Storing For Later
When I lived by myself I got good at freezing baked goods. Single slices wrapped in paper then tucked into freezer bags keep beautifully. A quick warm-up brings them back to life perfect for when you really need chocolate right away.
Fun Changes To Try
My kitchen playtime led to some tasty finds. A swirl of peanut butter creates something wonderful. Fresh mint from outside inspired a minty chocolate version. And during my late baking sessions I found that adding coffee really deepens those chocolate tastes.
From My Heart
This bread stands for everything I love about baking making something that brings smiles to people. Each time I bake it I think about the happy faces around my table. It's way more than just ingredients it's making memories together.
Recipe Questions & Answers
- → What if I don't have buttermilk?
If buttermilk isn't available, just mix 1 tablespoon of lemon juice or vinegar with regular milk. Let the mixture sit for 5 minutes and it's good to go.
- → How do I store leftover loaf?
Keep the loaf in an airtight container at room temperature for up to 4 days. For longer storage, wrap it tightly and freeze for up to 3 months.
- → Why is my loaf coming out dry?
The most common problem is overbaking. Start checking it a little earlier than the suggested time. Also, ensure you're not adding extra flour by scooping straight from the bag—spoon it into your measuring cup instead.
- → Can I include other mix-ins?
This loaf tastes great with extras like chocolate chips, nuts, or dried fruits. Just keep the total additions to about 1/2 cup to prevent changes to the texture.
- → Why should I alternate dry and wet ingredients?
Adding wet and dry ingredients in turns helps make the batter smooth without overmixing. It stops curdling and creates a soft, tender crumb.