
 Pin
Pin
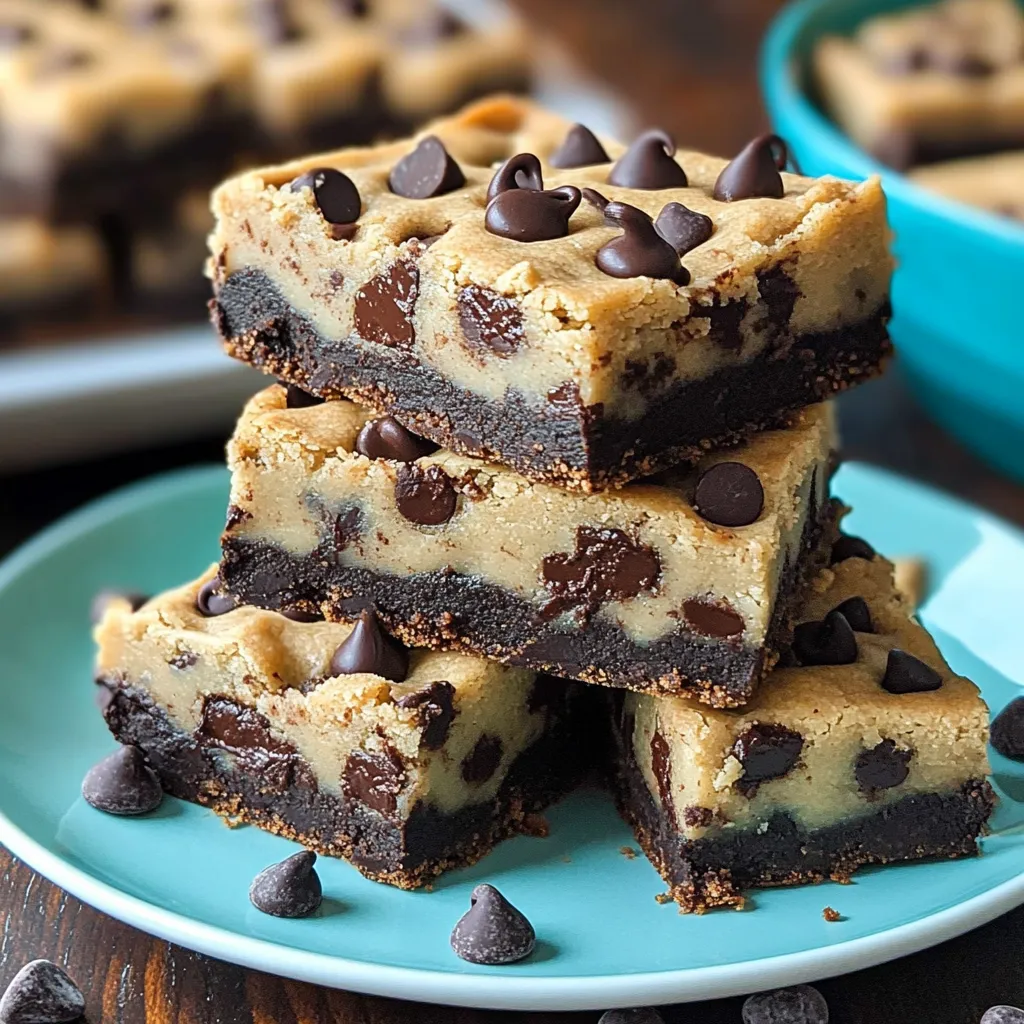
What happens when you mix a gooey brownie with a buttery cookie? Pure magic! These chocolate chip cookie brownies bring you the best of both worlds—a fudgy, intense bottom layer topped with a soft, chip-studded cookie crown. Every bite takes you on a texture journey from chewy brownie base to slightly crisp cookie top, with melty chocolate bits throughout. They're just what you need for school events, family get-togethers, or that well-deserved treat after a tough day.
I remember taking these to my kid's soccer team gathering last spring. I thought I'd just drop them off and leave quickly. Boy was I wrong! I couldn't even put the container down before parents started asking how I made them. The plate was empty in minutes! Something about the mix of textures and flavors won over everyone—from kids who usually turn up their noses at desserts to adults who consider themselves dessert experts.
Delicious Brownie Base
- Unsalted butter (1/2 cup, melted): Gives that moist, rich base you want; try fancy European butter for even better results
- Granulated sugar (1 cup): Adds sweetness and helps make that classic crackly top brownies are known for
- Large eggs (2): Holds everything together and makes things fudgy; using room temp eggs works better
- Vanilla extract (1 teaspoon): Makes the chocolate taste even better; real vanilla beats the fake stuff by miles
- Unsweetened cocoa powder (1/3 cup): The heart of your brownie flavor; Dutch-processed gives a richer color and taste
- All-purpose flour (1 1/4 cups): Gives structure but keeps things fudgy; weighing it works better than cup measures
- Salt (1/4 teaspoon): Brings out sweetness and chocolate flavor; sea salt works really well here
- Baking powder (1/4 teaspoon): Gives just a bit of lift without making things too cakey; check it's still good before using
Scrumptious Cookie Topping
- Unsalted butter (1/2 cup, softened):
- Makes your cookie layer soft and tasty; make sure it's truly room temp.
- Granulated sugar (1/2 cup):
- Helps your cookie top get that nice crisp edge.
- Brown sugar (1/2 cup, packed):
- Brings moisture and caramel flavors to your cookies; dark brown makes it even tastier.
- Large egg (1):
- Holds cookie dough together and adds richness; works better at room temp.
- Vanilla extract (1 teaspoon):
- Gives that warm, homey flavor we all love.
- All-purpose flour (1 1/4 cups):
- Creates the cookie structure; don't pack it down when measuring.
- Baking soda (1/2 teaspoon):
- Helps your cookie layer puff up just right.
- Salt (1/2 teaspoon):
- Balances the sweet and makes flavors pop.
- Semi-sweet chocolate chips (1 cup):
- Creates pockets of melty goodness throughout; good quality ones really make a difference.
Baking Steps
- Getting the Brownie Ready:
- Heat your oven to 350°F (175°C) and get a 9×13-inch pan ready by greasing it well or using parchment paper with extra hanging over the sides for easy lifting later. Mix your melted butter and sugar in a bowl until they're well combined, then add eggs one at a time, mixing well after each until the mixture looks a bit lighter.
- Adding Dry Stuff:
- Sift the cocoa right into your wet mix to avoid lumps, then add flour, salt, and baking powder. Fold in chips by hand with a spatula, making sure they're spread out evenly.
- Making the Base:
- Pour your brownie mix into the pan and spread it out so it's even and flat. This thin layer will be the chewy foundation of your treats.
- Mixing Cookie Dough:
- In another bowl, beat the soft butter with both sugars using a mixer on medium for about 2-3 minutes until it's fluffy and light. Add the egg and vanilla and keep mixing until it looks smooth and shiny.
- Finishing the Dough:
- Mix flour, baking soda, and salt in a separate bowl, then add it to your wet mix in three batches, mixing on low just until it comes together each time. Stir in the chocolate chips by hand so they're evenly spread throughout.
- Putting It Together:
- Drop spoonfuls of cookie dough all over your brownie batter, then carefully spread it out with a spatula without mixing into the brownie layer. Don't worry about making it perfectly smooth—a little unevenness looks homemade.
- Baking Time:
- Put your pan in the middle of your preheated oven and bake for 25-30 minutes until the cookie part is golden at the edges and mostly set in the middle. A toothpick should come out with a few crumbs but not wet batter.
- Cooling Down:
- Let your creation cool completely in the pan on a rack, which might take 1-2 hours. This waiting part is super important for the right texture. For extra neat cuts, chill in the fridge for 30 minutes after it reaches room temp.
 Pin
Pin
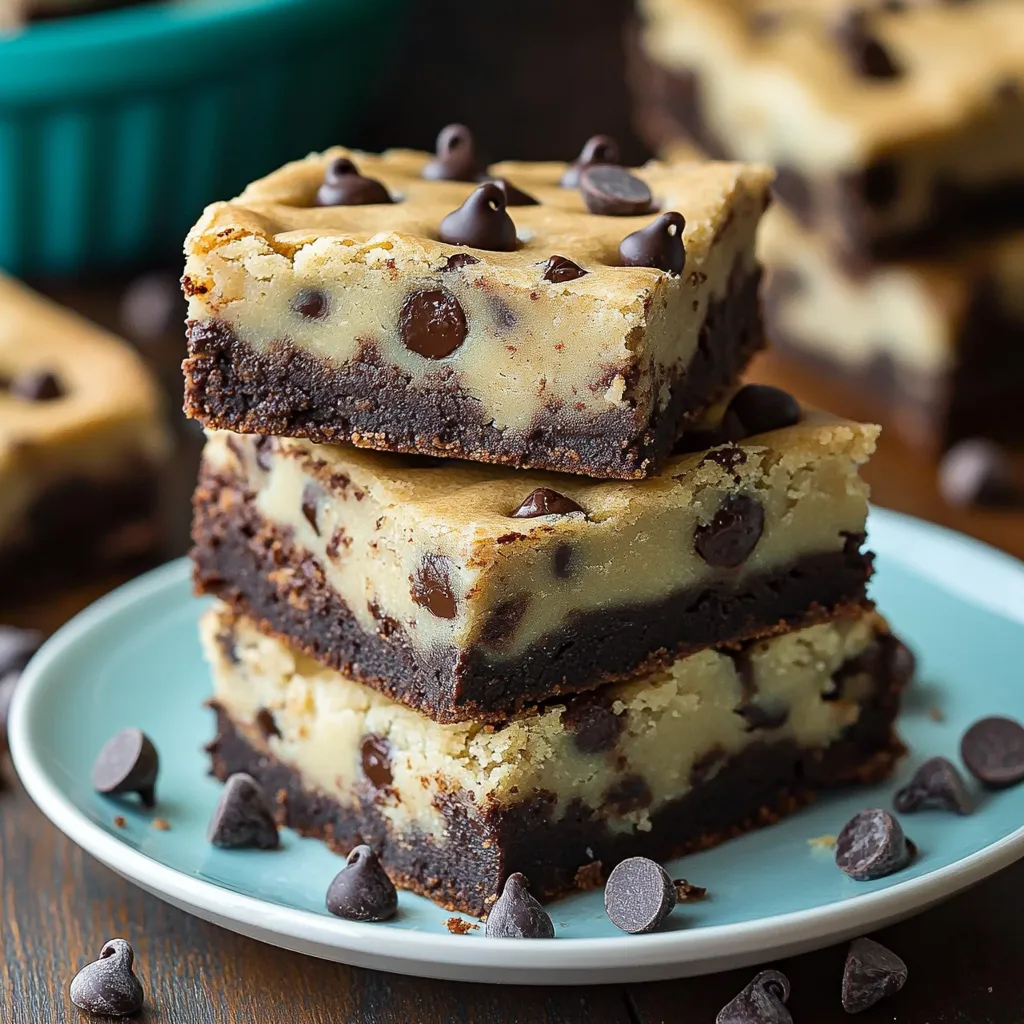
My grandma always warned me about cutting into layered treats too soon. I can still picture her gently pushing my hand away when I tried to slice into her famous dessert bars before they'd cooled. 'The good stuff comes to folks who hold on,' she'd tell me with a knowing look. That's so true with these cookie brownies—proper cooling changes them from a hot, gooey mess into beautiful squares with clear layers that hold their shape when cut.
Tasty Combos
These cookie brownies go great with so many things. Try them warm with a scoop of vanilla ice cream for that amazing hot-cold combo. Coffee lovers will enjoy them alongside a fancy cappuccino topped with Greek yogurt, cinnamon, and a touch of honey. Want to impress guests? Break up the brownies into chunks, layer them with whipped cream and fresh berries in clear glasses for easy but fancy-looking parfaits. During Christmas, try serving them with peppermint ice cream or drizzle some raspberry sauce over them for a fruity twist.
Flavor Twists
You can easily change up this recipe to make it your own. If you love peanut butter, swirl about 1/4 cup of the creamy kind into the brownie mix before adding the cookie layer. More of a white chocolate fan? Just swap the regular chips in the cookie dough for white ones. During the holidays, mix 1/2 cup crushed peppermint candy into the cookie dough, or try adding 1/3 cup chopped dried cherries for a Black Forest feel. Want more crunch? Sprinkle 1/2 cup of toasted walnuts or pecans between the layers before baking.
Keeping Them Fresh
Your cookie brownies will stay yummy if you store them right. Keep them in an airtight container at room temp for up to 3 days with wax paper between layers so they don't stick together. Need them to last longer? Pop them in the fridge in sealed containers for up to a week, but let them warm up before eating for the best taste. They freeze great too—wrap each piece in plastic wrap then foil and freeze for up to 3 months. When you want one, let it sit at room temp for about an hour, or warm it in a 300°F oven for 5-10 minutes to make it taste fresh-baked again.
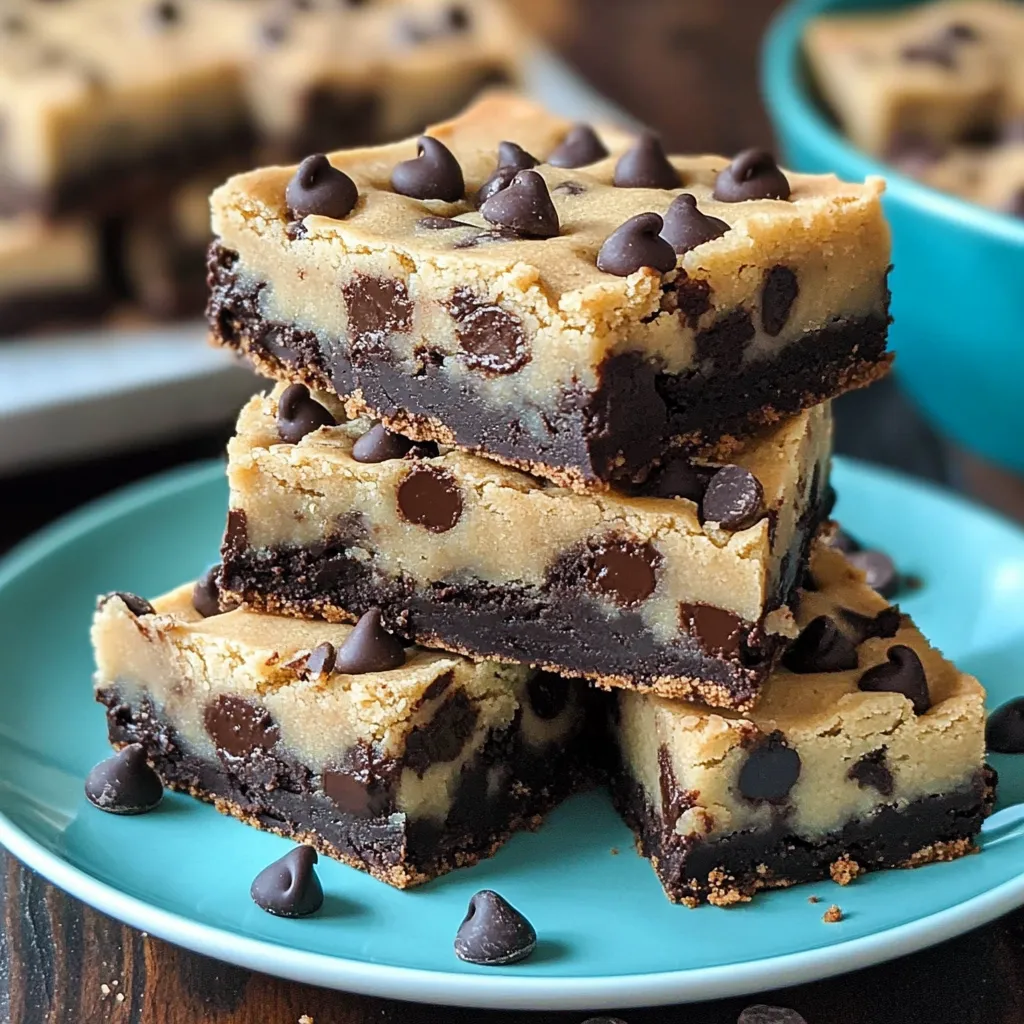
These cookie brownies have become my go-to treat when friends ask me to bring something to parties. People request them over and over. What makes them so popular is how they make everyone happy—whether you're team brownie or team cookie, you'll love these. The contrast between the dense, chocolatey bottom and the sweet, chip-filled top makes something that's way better than either dessert on its own.
 Pin
Pin
Recipe Questions & Answers
- → Can I use a brownie box mix instead of homemade batter?
- For sure! Go ahead and use your go-to boxed mix. Just follow the mix instructions, pour into the pan, and spread the cookie layer on top.
- → How do I know when they're ready to take out?
- Check for slightly firm edges and a soft center. A toothpick should have moist crumbs, but no raw batter.
- → Can these cookie brownies be stored in the freezer?
- Yes. Let them cool and slice into pieces. Store in airtight containers with parchment in between to keep them fresh for up to 3 months. Thaw before eating.
- → What size baking pan works best?
- A 9×9-inch square pan works great. For a 9×13 pan, the layers will be much thinner, and you’ll need to shave about 5 minutes off the baking time.
- → Can I add extras to change the flavor?
- Totally. Try dropping in caramel pieces, nuts, or flavored chips like peanut butter or butterscotch to mix things up.
- → Why did mine turn out too dry?
- Dry brookies usually happen if they're overbaked. Keep in mind they keep cooking as they sit, so it's better to pull them early for that soft texture.