
 Pin
Pin
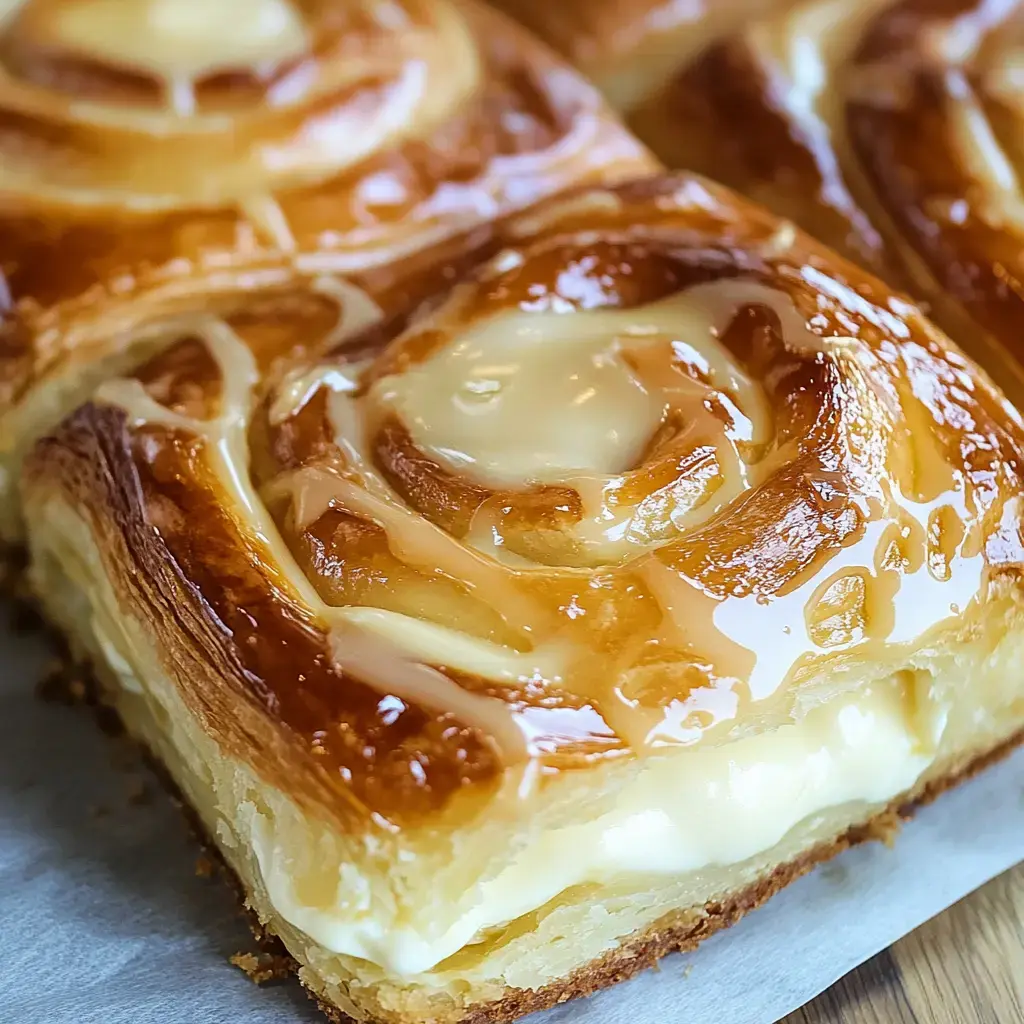
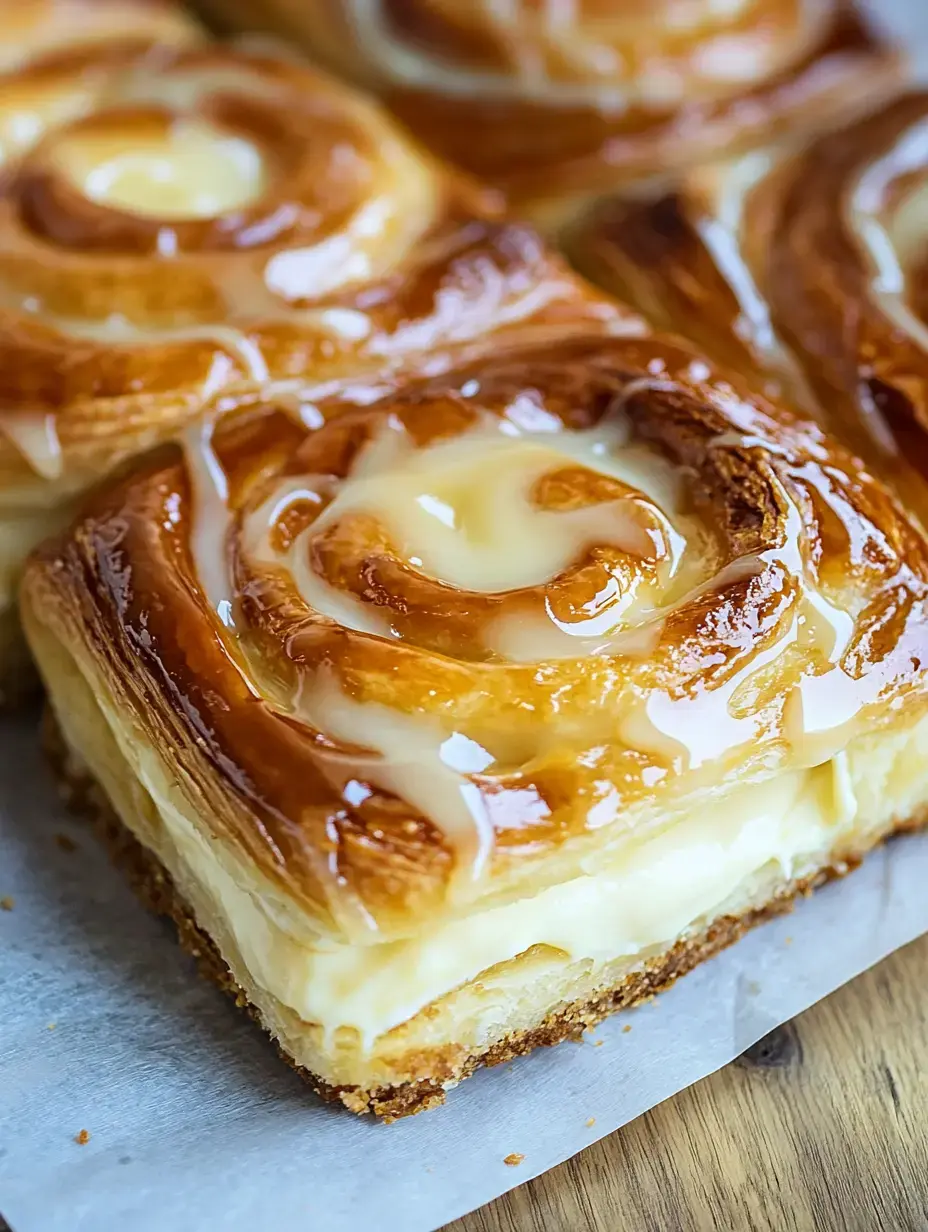
I'm totally hooked on these Easy Sweet Roll Cream Cheese Pastries lately. Imagine fluffy King's Hawaiian rolls packed with silky cream cheese filling. A bit of brown sugar and nutmeg turns these basic ingredients into something incredible. And they're ready in just 22 minutes! Everyone who tries them always wants to know how I make them.
How These Delicious Pastries Came To Be
I came up with this idea during a laid-back kitchen session one weekend. That morning, the amazing smell filled my home just as my family returned from their Saturday morning run. They couldn't wait for the pastries to cool down before grabbing some. Now it's their weekly request, and I totally get why.
Why They Taste So Incredible
There's something magical about pairing soft Hawaiian rolls with that velvety cream cheese mixture. You first get that soft, pillowy texture before melting into sweet creaminess. Just a dash of nutmeg brings this wonderful warmth you'll love right away. These pastries show how everyday ingredients can turn into something extraordinary with minimal effort.
Great For Every Occasion
You can enjoy these sweet treats whenever you want. They're great with your first cup of coffee, perfect for weekend gatherings, or a nice afternoon snack. The mix of cream cheese, cinnamon and nutmeg feels so comforting. I often whip them up when friends stop by unannounced, and they always think I've been cooking all day.
Ingredients List
- Unsalted butter: It really does make everything taste better.
- King's Hawaiian sweet rolls: They're the key to getting this recipe right.
- Brown sugar: Gives that perfect hint of caramel flavor.
- Ground cinnamon: The aroma alone will brighten your day.
- Fresh nutmeg: A small amount goes a long way.
- Cream cheese: Go for full fat for the creamiest results.
- One egg: This helps create just the right consistency.
- White sugar: It works perfectly with the tangy cream cheese.
 Pin
Pin
Initial Preparation
Set your oven to 375°F and find your favorite baking dish. I always coat the bottom and sides with melted butter. It might seem like a small thing, but you'll be glad you did when it's time to serve these treats.
Preparing Your Hawaiian Rolls
Place your rolls in the baking dish. Now for the fun bit - take a sharp knife and cut an X on top of each roll. Don't cut all the way through, just enough to make a pocket for the filling. It's like creating little nests for all that yummy cream cheese.
Mixing The Butter Topping
Stir together your melted butter, brown sugar, cinnamon, and nutmeg in a small bowl. I love watching these ingredients blend together. The butter gets little flecks of cinnamon, and the smell is just amazing. I often pause just to take in that wonderful scent.
Coating The Rolls
Drizzle that tasty butter mix all over your rolls. Make sure it gets everywhere - between and around all the rolls. This step creates that delicious caramelized flavor that makes everyone ask for seconds.
Whipping Up The Filling
Now for the main attraction. Whip your cream cheese until it's nice and fluffy, then mix in the sugar and keep beating. After that, add your egg. The mixture should be smooth and creamy without any chunks. It's so good I can't help stealing a tiny taste.
Stuffing The Rolls
This is the best part - filling those little X-cuts in the rolls. I use a piping bag because it's easier, but a spoon works fine too. Fill each roll carefully, making them full but not overflowing. It's like tucking little puffs of cream cheese goodness into each roll.
 Pin
Pin
Baking Time
Stick your dish in the oven and let it bake for about 12 to 15 minutes. You'll know they're done when they turn a nice golden brown on top. I always check that they're warm all through - about 145°F if you've got a food thermometer handy.
Cooling Down
Let them cool for just a few minutes before you dig in. The filling gets really hot, so this short break lets it set a bit. Plus, you can grab some coffee or set the table while your kitchen fills with that amazing smell.
Storing Leftovers
If you happen to have any left, put them in a sealed container in the fridge. They'll stay good for 3 or 4 days. A quick 20 seconds in the microwave makes them taste freshly baked again. But honestly, at my house they rarely last past the first day.
Helpful Cooking Tips
Always let your cream cheese soften first, it really makes mixing easier. Don't worry about buying a fancy piping bag - even a plastic sandwich bag with the corner snipped off works great. Sometimes I add a drop of vanilla or drizzle some caramel sauce on top when I want them extra special.
Creative Variations
My kids love helping make these treats. We sometimes sprinkle chocolate chips on top or stuff in some marshmallows. In autumn we use pumpkin spice instead of nutmeg, and around the holidays a touch of ginger gives them a festive flavor. You can try so many different things.
Make-Ahead Options
Want to save time in the morning? Get everything ready the night before, cover the dish and stick it in the fridge. When you wake up, just pop it in the oven and enjoy. This trick has saved me countless times when I've had morning guests.
Perfect Serving Occasions
I've brought these to everything from casual family breakfasts to fancy brunches. They're just right when you need something impressive but don't want to spend forever cooking. People always think you put in way more effort than you actually did.
Customization Ideas
While Hawaiian rolls are my go-to, other bread types work well too. Sometimes I mix a spoonful of jam into the filling or toss some chopped pecans on top. This recipe is super flexible, so don't be afraid to try your own twists on it.
Fast Answers To Your Questions
Can you swap out the rolls? Sure thing, brioche rolls are fantastic too. Can you make them ahead? Absolutely, just keep them wrapped up in the fridge. Are they good for kids? Definitely, especially if you get them involved in the kitchen. They'll have a blast helping you fill the rolls or add toppings.
Recipe Questions & Answers
- → Can I prep these danishes early?
- Yes. You can make them a day in advance. Just keep them chilled and reheat gently before serving for the best taste.
- → What if I don’t have a piping bag?
- No worries! Use a zip-top bag and cut a small hole in the corner. You can also spoon the filling carefully if that’s easier.
- → Can these danishes be frozen?
- Absolutely! Wrap them tightly and freeze for up to 2 months. Thaw overnight in the fridge and warm before enjoying.
- → How do I know when they’re baked?
- They’re ready when the tops turn golden and the cream cheese sets. The edges should feel firm while the centers stay tender.
- → How should I store leftovers?
- Pop them in an airtight container and store in the fridge for up to 4 days. Warm them for a few seconds before digging in to keep them soft.