 Pin
Pin
An Unexpected Spin on Traditional Brownies
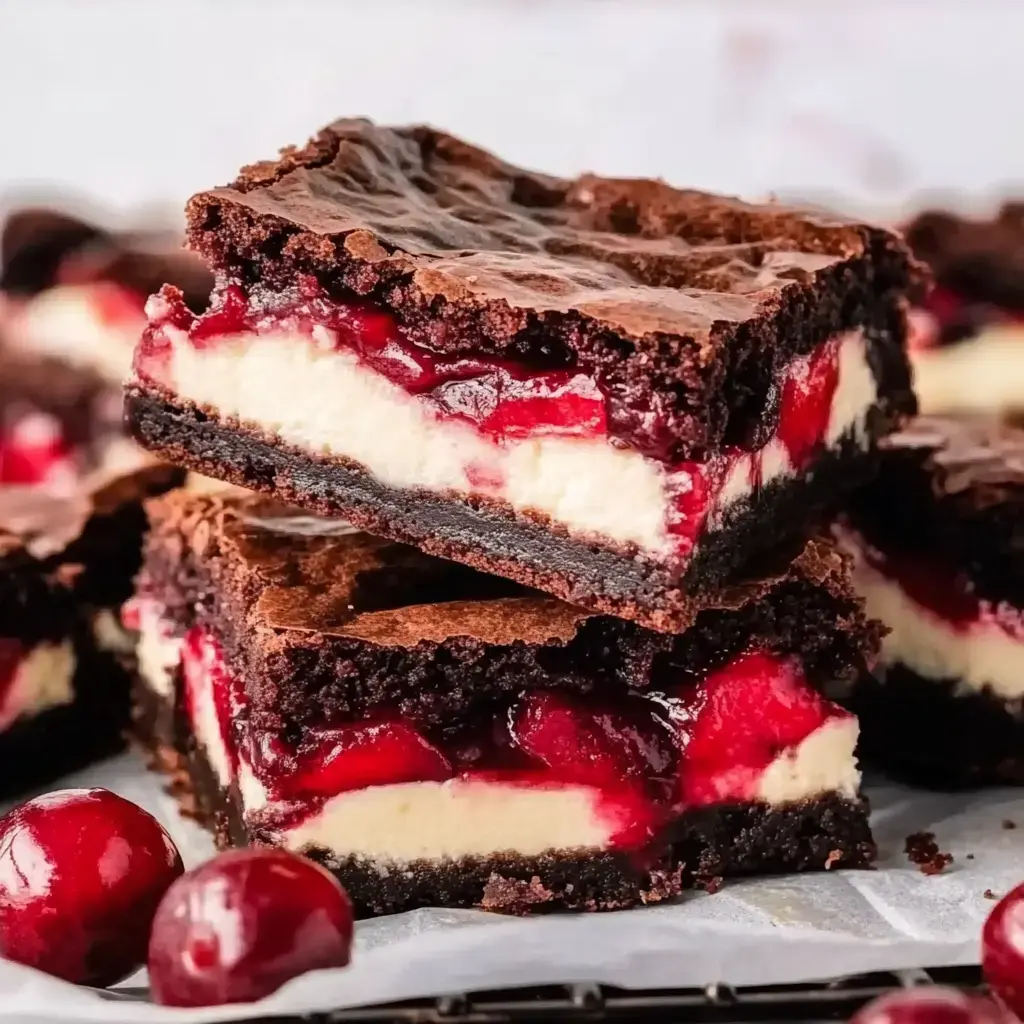
I stumbled onto something amazing when I mixed up Cherry Cheesecake Brownies! This combo happened one day when I couldn't pick between two desserts, and wow, what a happy accident! They bring together the deep richness of fudgy brownies with a smooth cheesecake top, and those cherry swirls? They're something else! My whole house fills with the most tempting chocolate smell whenever I bake these – everyone always comes running to check what's cooking.
What Makes These Treats Stand Out
Don't you just love desserts that make people gasp when they see them? This is definitely that kind of treat! The mix of dark, fudgy brownie base with tangy, velvety cheesecake creates something truly fantastic in every mouthful. The cherry pattern on top adds just enough fruity flavor. And guess what? They're surprisingly easy to make! I always watch for that moment when folks take their first bite – the way this combo works just brings smiles all around.
Ingredients You'll Need
Here's what to grab before we start baking:
For Our Fudgy Base:
- Unsalted butter (gives you better flavor control)
- Granulated sugar (plain white works great)
- Real vanilla extract (worth spending extra on)
- Eggs at room temp (this really matters!)
- All-purpose flour
- Cocoa powder
- Some baking powder
- A bit of salt
For That Creamy Cheesecake Top:
- Softened cream cheese (must be soft!)
- Extra sugar (for sweetness)
- One more egg to hold it together
- A bit more vanilla because it's so good
Time To Get Baking!
Let's start by warming up that oven to 350°F! While that's happening, grab your 9x13 pan and put down some parchment paper. Here's a neat trick from my grandma: let the paper hang over the edges – you'll thank me when it's time to take these goodies out!
Now let's make some brownie magic! Grab your biggest mixing bowl and beat the butter and sugar until they're fluffy and light. I really let my mixer go to town here – it makes the brownies super fudgy! Add a good splash of vanilla (I always pour in extra), then drop in your eggs one at a time. Make sure to mix well after each egg goes in.
For the dry stuff, I mix them in a separate bowl first. This way you won't bite into cocoa powder lumps later! Fold everything together gently – we want them dense and fudgy, not tough!
 Pin
Pin
Whipping Up Silky Cheesecake
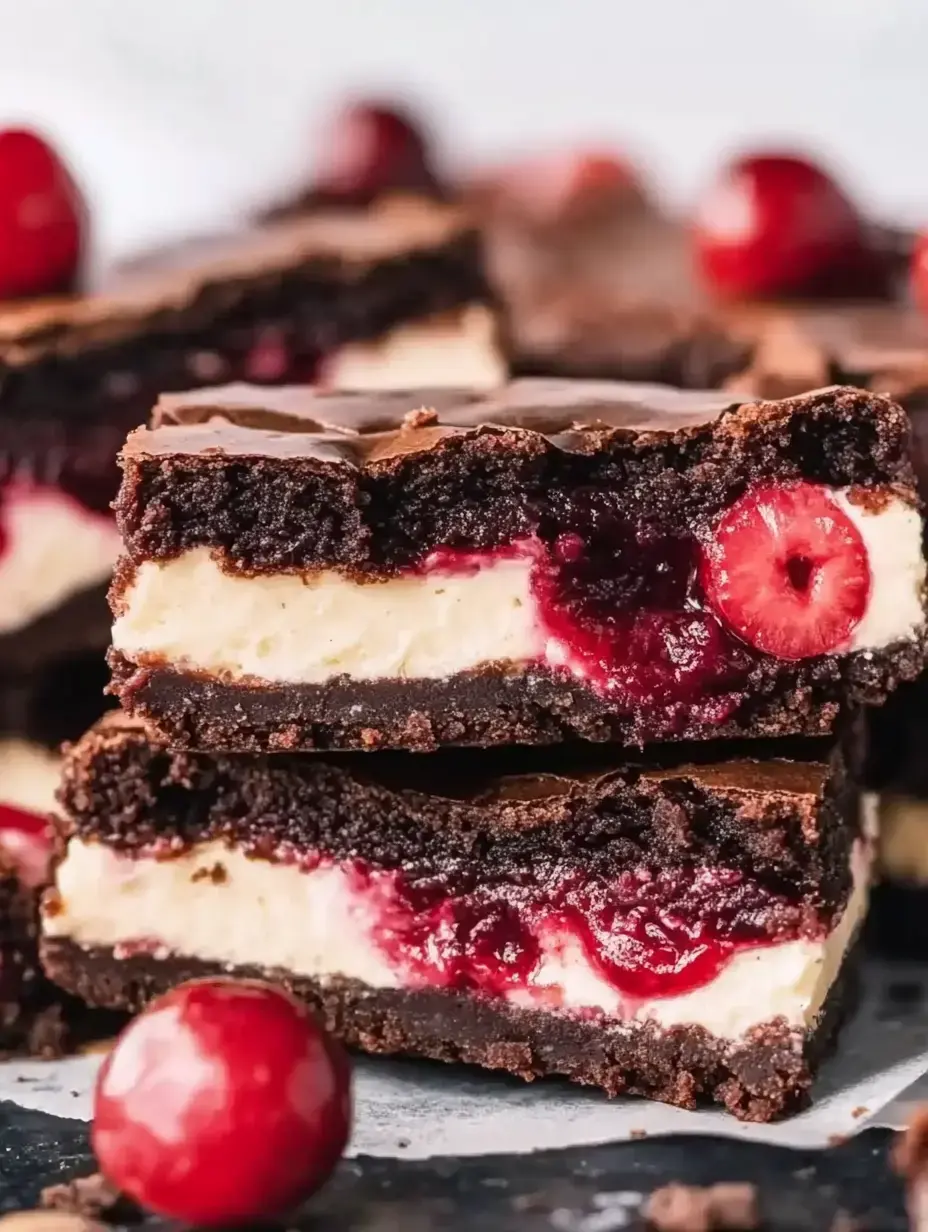
Now comes my favorite part – that amazing cheesecake layer! Your cream cheese must be totally soft – this isn't optional if you want that smooth-as-silk texture we're after. Mix it with sugar until it's super fluffy (go ahead and taste it – I always do!), then blend in your egg and vanilla until it's perfectly creamy.
Putting It All Together
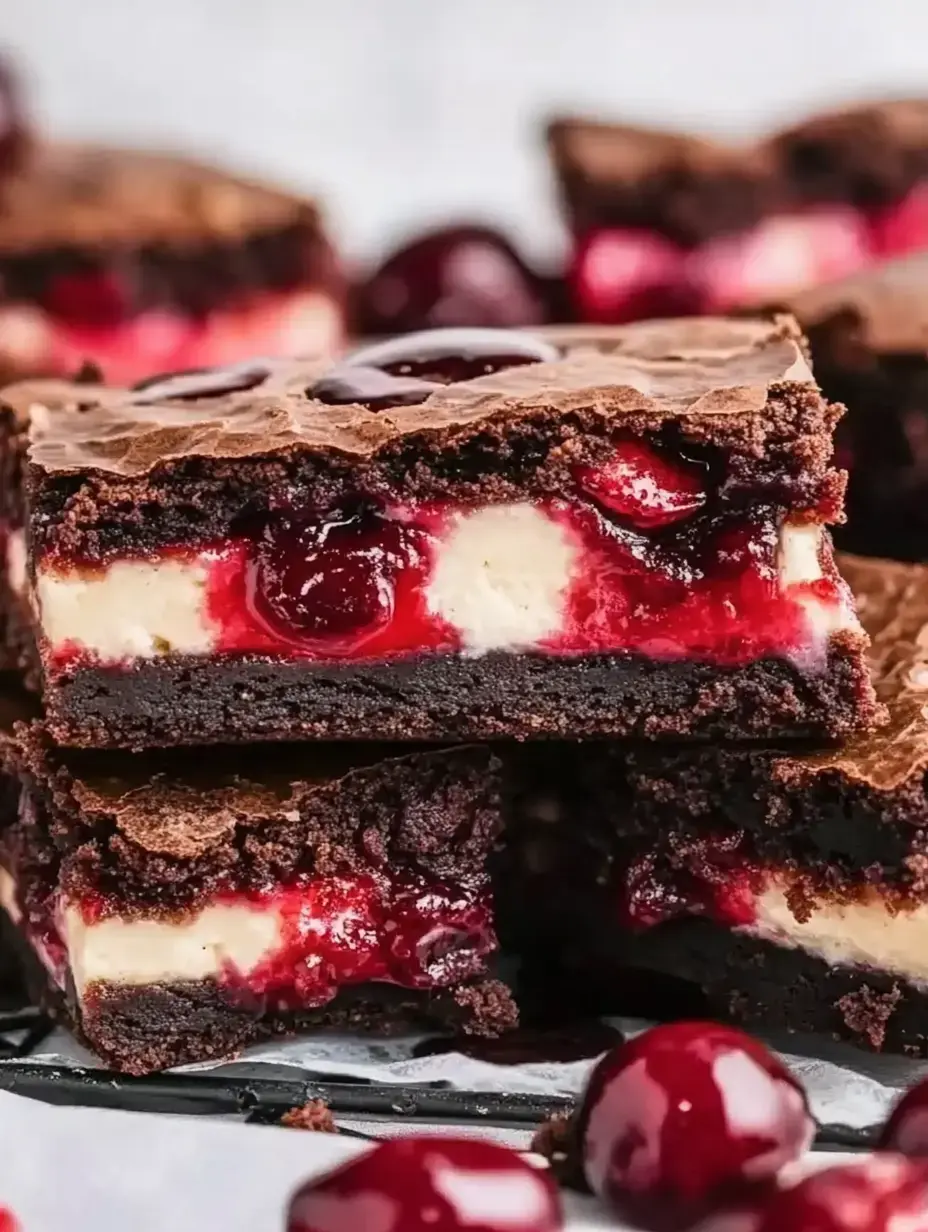
Here's where the magic happens! Spread most of your brownie mix into the pan, but save a bit for the top. Then smooth that gorgeous cheesecake mixture all over it – look at those layers forming! Now drop small spoonfuls of the leftover brownie batter on top and swirl with a knife. I love this step – it's like making food art!
Now they go into the oven for about 30-35 minutes. Your house will smell incredible! They're ready when the middle still wobbles a tiny bit – think of how Jell-O moves. Don't worry, they'll set up perfectly while cooling!
How To Store Them
Let me tell you about keeping these fresh! If you somehow don't eat them all right away (which hardly ever happens at my place!), just put them in a sealed container in your fridge. They actually taste even better after sitting for a day – all the flavors mix together beautifully. Want to save them longer? They freeze really well! I wrap each piece in plastic, then foil – perfect for when you need a chocolate fix!
Tricks I've Learned
After making these tons of times, I've picked up some handy tips! First, don't skip letting your ingredients warm up to room temp. Cold cream cheese will ruin your smooth topping! And here's my biggest advice: don't leave them in the oven too long. I start checking at 30 minutes – you want them still slightly jiggly in the middle. They'll finish setting as they cool, giving you that perfect fudgy bite we're going for.
 Pin
Pin
Prepare Them Ahead
Want to know a great party shortcut? Make these a day early! Not only does it save you time, but they honestly taste way better the next day. All those flavors need time to mingle overnight. I've even made them two days before parties, and they still turn out fantastic. Just keep them covered in the fridge until you're ready to eat.
Customizing Your Creation
I've tried so many different versions over the years! Sometimes I swap cherries for raspberries – my husband can't get enough of that version. Throwing some chopped nuts into the brownie mix? So good! During Christmas, I love adding a little peppermint extract to the cheesecake part. Don't be scared to try new things – that's how great recipes come to life!
Great For Any Event
You know what I really love about these brownies? They're always gone first at every party! I've taken them to backyard cookouts, Christmas dinners, and even my nephew's graduation. Something about that mix of fudgy chocolate and smooth cheesecake just works for everyone. Plus, they look so pretty on a dessert table – I always get asked about those swirls!
Ways To Serve Them
These brownies taste amazing by themselves, but sometimes I like to jazz them up! Try putting some vanilla ice cream on a slightly warm brownie square – it's incredible! During the holidays, I'll add some fresh whipped cream and a cherry on top. And my guilty pleasure? They're so good with morning coffee (but hey, they've got fruit and dairy, right?).
 Pin
Pin
Fantastic Texture Combo
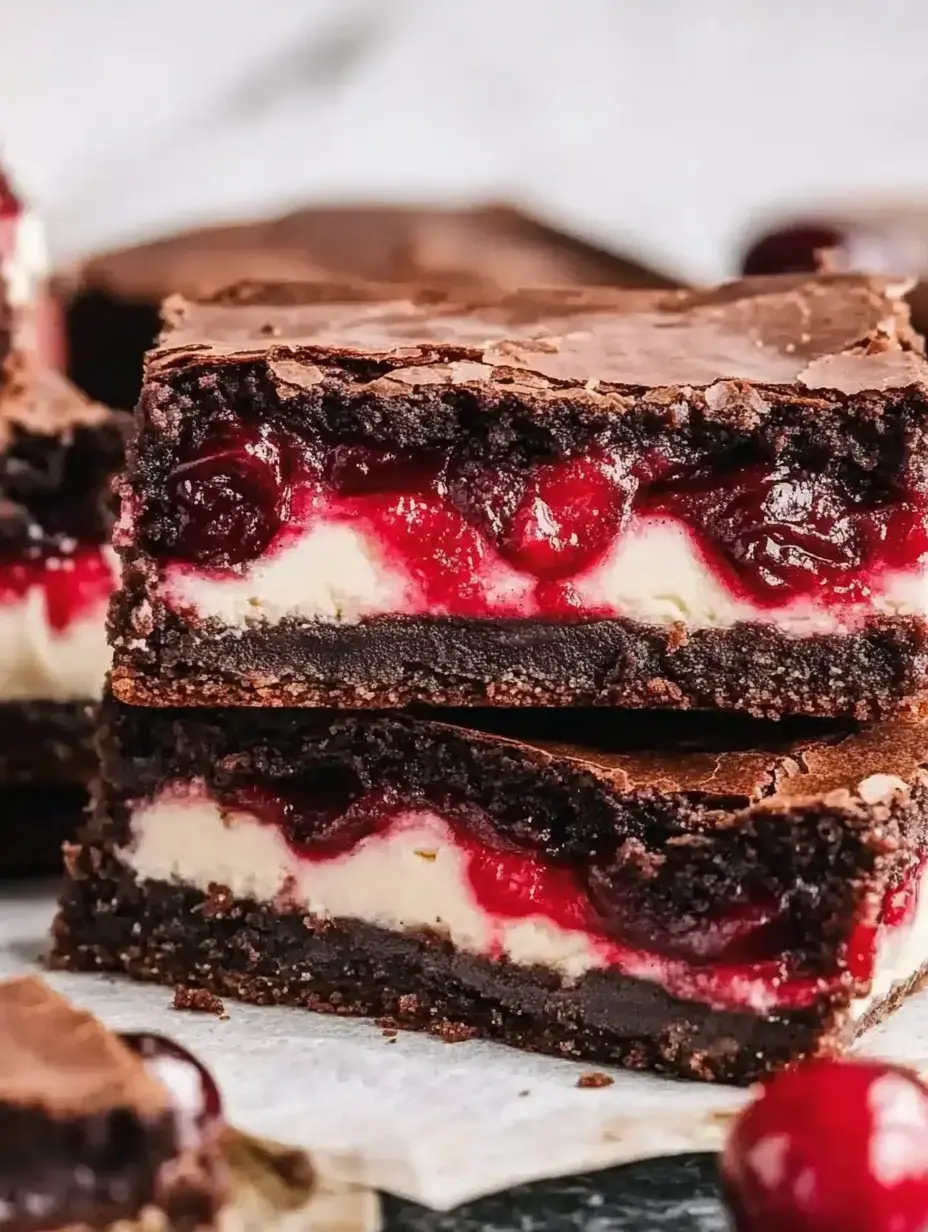
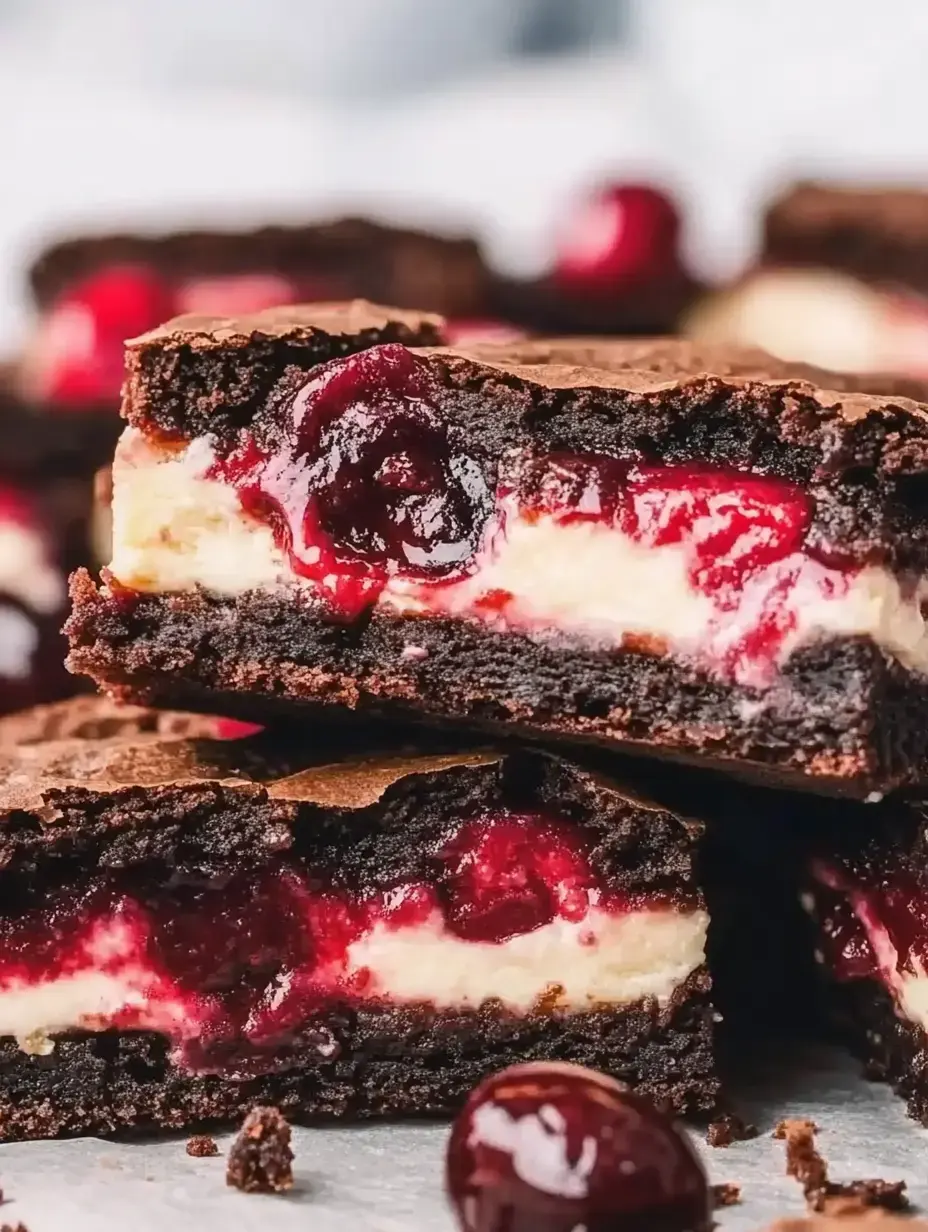
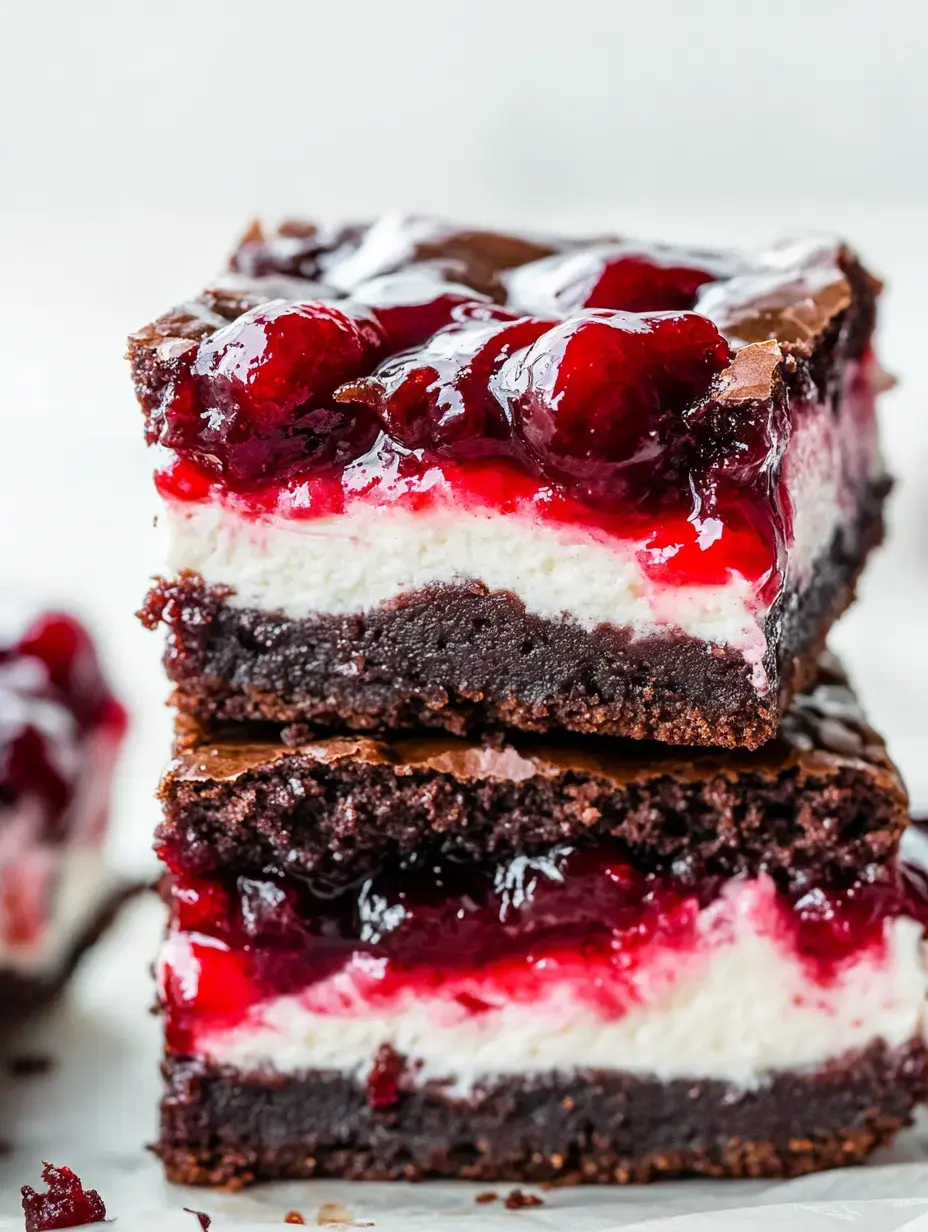
What makes these brownies really special? It's all those amazing layers! The brownie base stays thick and rich, while the cheesecake layer is smooth and creamy. When you take a bite, you get both textures at once, plus that sweet cherry surprise. It's like eating three desserts in one go!
Creating Flawless Cheesecake
Want my secret for that velvety smooth cheesecake layer? Besides making sure your cream cheese sits out for at least 2 hours, I add the eggs one by one and mix just until they blend in. If you mix too much, you'll get cracks, and we want everything looking perfect!
Perfect For Holidays
These brownies have become a must-have at our family celebrations! The bright red cherry swirls make them look so festive. I usually make twice as many during Christmas – some for parties and some just for us at home! They're just right for those cold winter nights when you want something extra special.
Simple Cleanup Tips
Let me share my favorite kitchen hack! Before I start baking, I always put parchment paper in my pan with some hanging over the edges. This not only makes getting the brownies out super easy but also means almost no pan cleaning afterward! Another tip: keep a wet cloth nearby while mixing – wiping up small spills right away makes the final cleanup so much faster.
 Pin
Pin
Healthier Options
I've got ideas for my health-minded friends too! Sometimes I use reduced-fat cream cheese (but never fat-free – trust me on this!), and I've tried cutting back on sugar a bit. The cherries add natural sweetness, so it works out fine! My sister loves Greek yogurt and sometimes replaces half the cream cheese with it – turns out great!
Presentation Ideas
Know how I love to serve these for guests? Try cutting them into tiny squares and putting them on your fanciest plate. For something really special, warm each piece in the microwave for just 10 seconds before adding a scoop of vanilla ice cream. The way that cold ice cream melts into the warm, fudgy brownie is just unbelievable!
How The Flavors Work
The real beauty of these brownies is how all the tastes come together! That deep chocolate base, the tangy creaminess of the cheesecake, and the sweet cherry swirls – it's like a flavor party in every bite. I love watching people try to pick their favorite layer (though at my house, we usually just grab another piece instead of deciding!).
A Family Favorite
These Cherry Cheesecake Brownies have brought so much happiness to my kitchen, and I bet they will to yours too! Whether you make them for something special or just because you need a treat, they never fail to make everyone smile. That's what I love most about baking – creating little moments of joy to share with people you care about. Happy baking, everyone!
 Pin
Pin
Recipe Questions & Answers
- → Why should I use parchment paper?
Parchment keeps the brownies from sticking to the pan and makes it easy to lift them out cleanly for cutting.
- → How do I tell when they're ready?
If the center gives the tiniest jiggle but isn’t wet, they’re ready. They'll set fully as they cool down.
- → Why chill them before slicing?
Cold layers cut better, so you don't smear your cherry topping or mess up the cheesecake layer.
- → Can I swap the cherry filling?
Totally! Try blueberry, raspberry, or any fruit filling you love for a fresh twist.
- → What’s the best way to store them?
Store them in the fridge in a sealed container because of the cheesecake. They should keep well for a few days.
