
 Pin
Pin
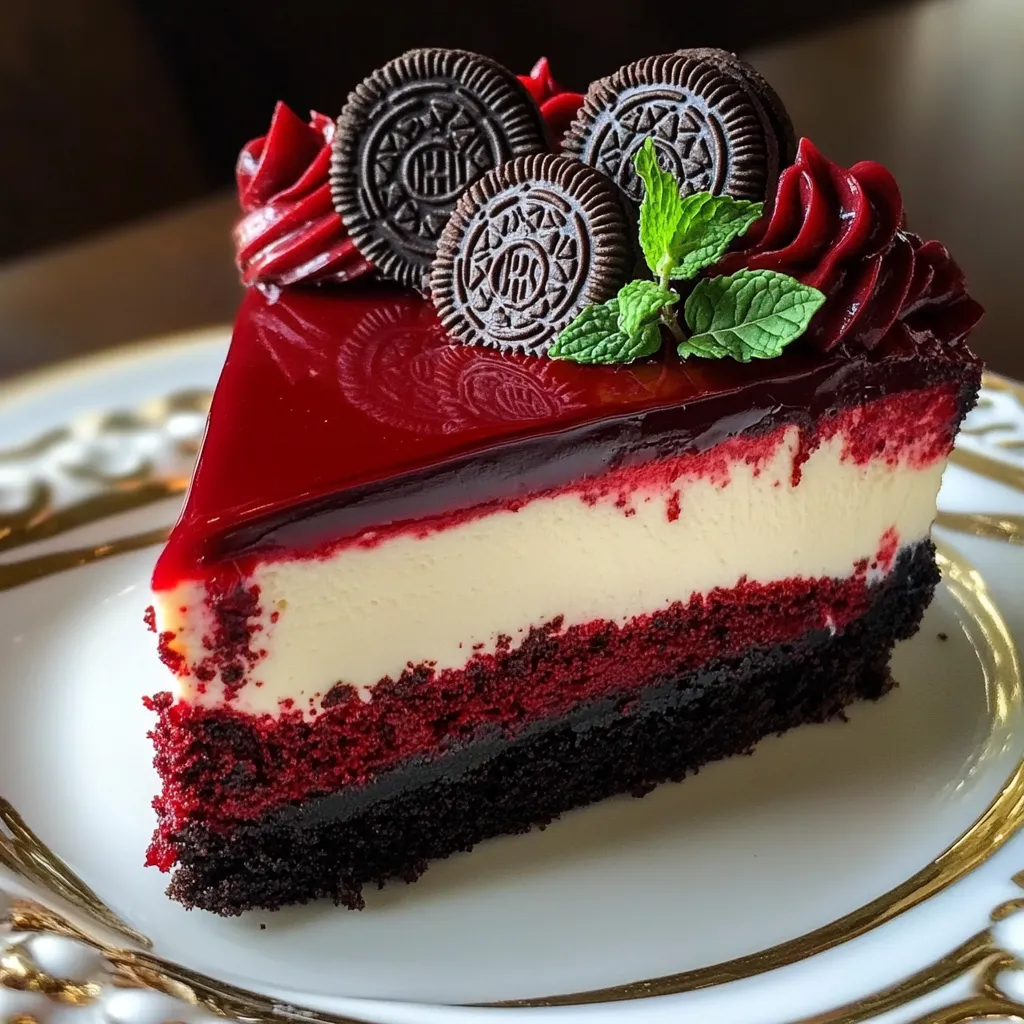
Red velvet oreo cheesecake brings together two favorite flavors into one amazing treat that's perfect for special occasions. This gorgeous dessert combines a soft, moist red velvet base topped with a rich oreo-filled cheesecake layer and finished with smooth chocolate ganache. Every bite gives you different tastes all at once - from the light cocoa hints in the red velvet to the crunchy cookie bits mixed into the creamy cheesecake. The eye-catching look makes this dessert stand out right away with its bright red bottom layer against the speckled white filling.
I came up with this recipe during the holidays last year when I got bored with my usual cheesecake. My teenage nephews, who hardly ever get excited about food, ate their pieces super fast and begged me to make it our new family tradition. The mix of creamy cheesecake with the slightly chocolatey red velvet cake hit the spot for everyone's sweet tooth.
Quality Ingredients
- All-purpose flour: (1½ cups) for the red velvet base - The right amount of protein makes the cake strong enough to hold up the cheesecake
- Unsweetened cocoa powder: (2 teaspoons) - Gives that hint of chocolate that real red velvet needs
- Unsalted butter: (½ cup) room temperature - Makes air bubbles when mixed with sugar for a fluffy cake
- Granulated sugar: (1 cup for cake, 1 cup for cheesecake) - Balances the cocoa's bitterness while keeping it sweet enough
- Sour cream: (½ cup for cake, 1 cup for cheesecake) - Keeps everything moist and adds a nice tang to cut the sweetness
- Vegetable oil: (¼ cup) - Keeps the cake moist longer than just butter would
- Vanilla extract: (2 teaspoons for cake, 1 tablespoon for cheesecake) - Adds more flavor while working well with the chocolate notes
- Eggs: (2 for cake, 3 plus yolk for cheesecake) - Give structure and richness needed for the right texture
- Red food coloring: (4 teaspoons) - Creates that famous bright color that looks so good against the filling
- Buttermilk: (⅔ cup) - Works with the baking agents and makes the cake extra tender
- Baking soda: (1 teaspoon) and vinegar: (1 teaspoon) - Work together to make the cake rise properly
- Oreos: (10 crushed wafers for crust, 15 chopped for filling) - Bring that classic cookies and cream flavor throughout
- Full-fat cream cheese: (24 ounces) - Gives the right texture that you can't get with low-fat kinds
- Cornstarch: (1 tablespoon) - Keeps the filling stable so it won't crack while baking
- Dark chocolate chips: (1 cup) and heavy cream: (½ cup) - Make that fancy ganache topping
Cooking Steps
- Cake Base:
- Heat your oven to 350°F. Line your springform pan and cake pan with parchment and spray with nonstick spray. Mix flour, cocoa powder and salt in a bowl. Beat butter and sugar until it's light and fluffy. Add in sour cream, oil, vanilla, eggs and food coloring to your butter mix. Switch between adding dry ingredients and buttermilk until you get a smooth batter. Mix baking soda with vinegar in a small cup then quickly add to your batter. Pour into your pans and bake until the centers bounce back when you touch them. Let them cool all the way before moving on.
- Cheesecake Layer:
- Turn your oven down to 300°F. Crush the oreo wafers into small crumbs. Beat cream cheese until it's completely smooth, then add the cookie filling you saved, sugar and cornstarch. Mix in sour cream and vanilla making sure it's all combined. Add eggs and yolk one at a time, mixing just enough to blend. Fold in crushed cookies and chopped oreos throughout. Pour this mix over your cooled cake base in the springform pan. Make a water bath by wrapping your pan and putting it in a bigger pan with hot water. Bake until the middle jiggles a little when you move the pan gently. Turn off the oven, crack the door open and let it cool slowly. Put in the fridge overnight so it sets completely.
- Final Touches:
- Put chocolate chips in a bowl and pour hot heavy cream over them. Let sit briefly then stir until you get a shiny ganache. Pour over your cold cheesecake and spread it evenly. Crumble some red velvet cake and press gently around the sides for decoration. Pipe cream cheese frosting around the edge and put chopped oreos between the piping. Chill until everything is set before serving.
 Pin
Pin
My grandma always told me to take my time with layered desserts like this. The first time I tried making it years ago, I didn't let it cool enough and the middle sank down. Now I know that getting the temperature right between each step is what makes it hold together and look professional. When you're patient with this recipe, you get both amazing looks and flavor.
Perfect Pairings
Make this amazing dessert even better with some thoughtful side items that bring out more flavors. Fresh berries, especially strawberries, add a nice tartness that cuts through the richness. Strong coffee or espresso gives you a bitter note that works great with the sweetness. A scoop of vanilla bean ice cream adds a nice temperature difference while making the creamy parts taste even better.
Different Ways to Make It
Change up this classic to match what you like or need for dietary reasons. Try a white chocolate version by using white chocolate chips in both the cake and ganache. For a holiday twist, mix in some crushed candy canes instead of some of the oreos. If you can't have gluten, just swap the regular oreos for gluten-free ones and use the right flour substitute in the cake part.
Storage Tips
Keep your cheesecake fresh by storing it covered in the fridge for up to five days. You can freeze single slices wrapped up tight for easy portions that last three months. Always thaw frozen pieces in the fridge overnight, not on the counter, to keep the texture nice. Let cold slices sit out for twenty minutes before serving to get the best flavor.
This amazing red velvet oreo cheesecake has become my go-to dessert for dinner parties after years of trying different recipes. I've seen so many friends take that first bite and just close their eyes, saying nothing because they're too busy enjoying it. It looks so good that people can't wait to try it, and the taste is even better than they expect. While it might seem complicated, it's actually pretty doable when you break it down into steps. When you want a dessert that makes memories and wows everyone, this one always delivers both looks and taste.
 Pin
Pin
Recipe Questions & Answers
- → Do I need a water bath to bake this?
- A water bath keeps the cheesecake from cracking and bakes it evenly, but you don’t have to use one. If skipping, lower the temp to 325°F and expect cracking, which ganache can hide.
- → How far ahead can I prep this dessert?
- You can prepare this cheesecake up to 3 days in advance and refrigerate it, covered. Alternatively, freeze it undecorated for as long as 2 months, then defrost overnight before decorating.
- → Why does everything need to be at room temperature?
- Room-temp ingredients mix easily for a silkier cheesecake. Cold ones might not blend well, leaving lumps or causing the batter to curdle.
- → Can I switch to a different pan size?
- A 9-inch springform pan works best. For a 10-inch pan, bake slightly less time (about 10 minutes less). Don’t use a smaller pan; batter might overflow.
- → How can I tell when the cheesecake is done?
- It’s ready when the edges are firm but the middle still wiggles a bit (Jell-O-like). The center continues setting as it cools. Overbaking could dry it out and cause cracks.