
 Pin
Pin
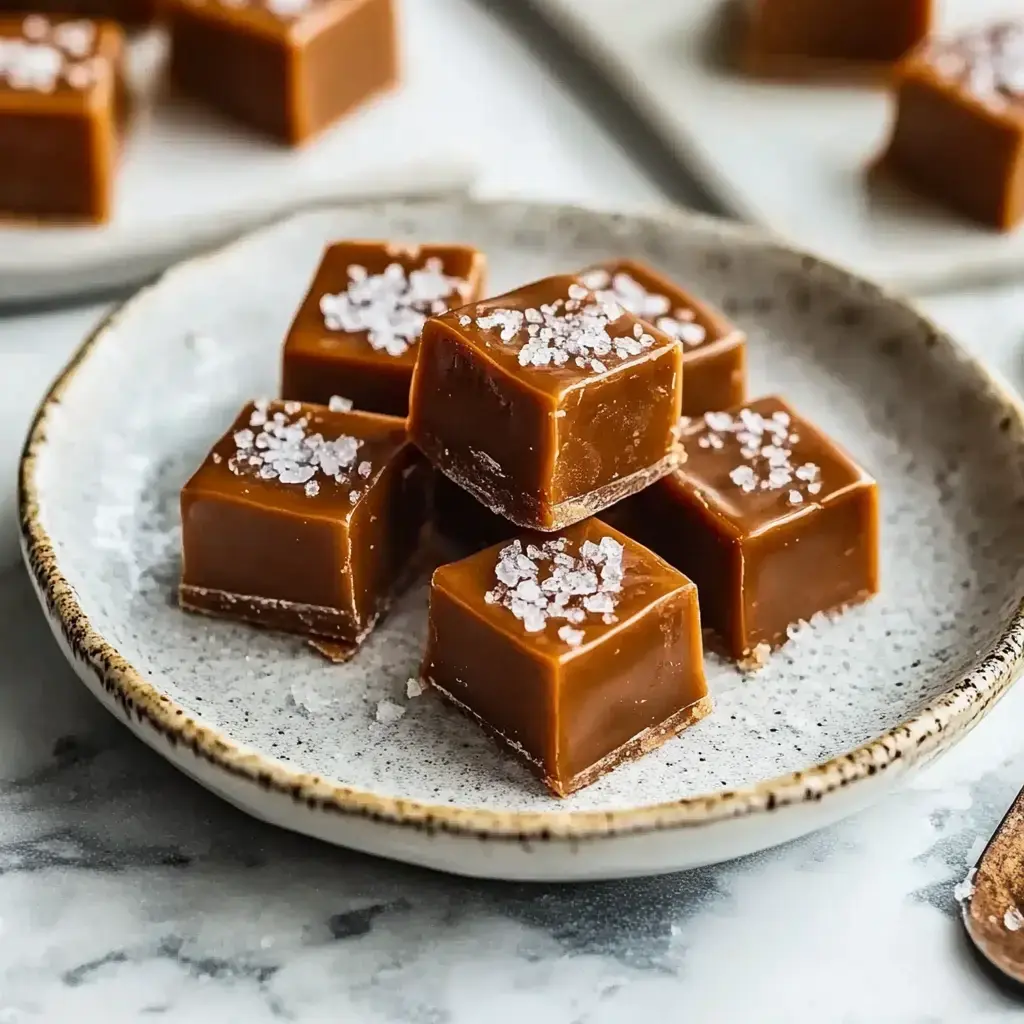
I've spent years tweaking these sea salt caramels and they've now become my go-to handmade present. The smooth buttery feel mixed with that just-right sweet-salty combo makes them totally addictive. My kitchen always smells amazing when I'm cooking up a batch. Just so you know, once you try making these, you'll never look at store caramels the same way again.
Why These Caramels Stand Out
Let me share why these caramels always get all the attention. They've got this wonderful consistency - chewy but won't stick to your teeth. You'll taste this deep buttery sweetness that's perfectly broken up by tiny hits of sea salt that'll wow your taste buds. They're my favorite holiday gift - everyone smiles when they take a bite. And you probably already have all the simple stuff needed to make them in your kitchen.
That Magic Moment
Think about taking a bite of one of these caramels. They feel silky smooth as they slowly melt away. First comes that deep, rich caramel flavor, then you'll notice that beautiful sea salt hint that makes everything taste better. It's basically your favorite salted caramel treat boiled down to one amazing bite. My kid always says they taste like joy wrapped in paper.
Getting Your Supplies Ready
Here's everything you'll need to whip up these tasty treats:
- ¼ cup water
- ¼ cup light corn syrup
- 1 ½ cups granulated sugar
- 1 cup heavy cream
- 4 tablespoons unsalted butter
- 1 teaspoon salt
- Flaky sea salt for topping
Your butter should be soft at room temp and make sure your cream is fresh. Good ingredients really make a difference in how these taste.
 Pin
Pin
Must-Have Kitchen Gear
Let's get your tools sorted before we begin. You'll need a candy thermometer - it really helps you nail that perfect chewy texture. I always use my sturdy, thick-bottomed pot since it stops the caramel from burning in spots. You'll also want some wax paper for wrapping, parchment to line your 8x8 pan, and don't skip the cooking spray. That last one will save you so much hassle when it's time to get the caramels out.
Creating Caramel Gold
Here's how we turn basic ingredients into amber goodness. Mix your sugar, corn syrup and water in your heavy pot. When it starts to boil, don't stir it - just let it bubble away until it turns a pretty amber shade. Once it hits that golden color, carefully add your cream and butter. It'll bubble up like crazy, but that's totally normal - just keep whisking. Cook until your thermometer shows 250°F, that's exactly right for perfectly chewy caramels.
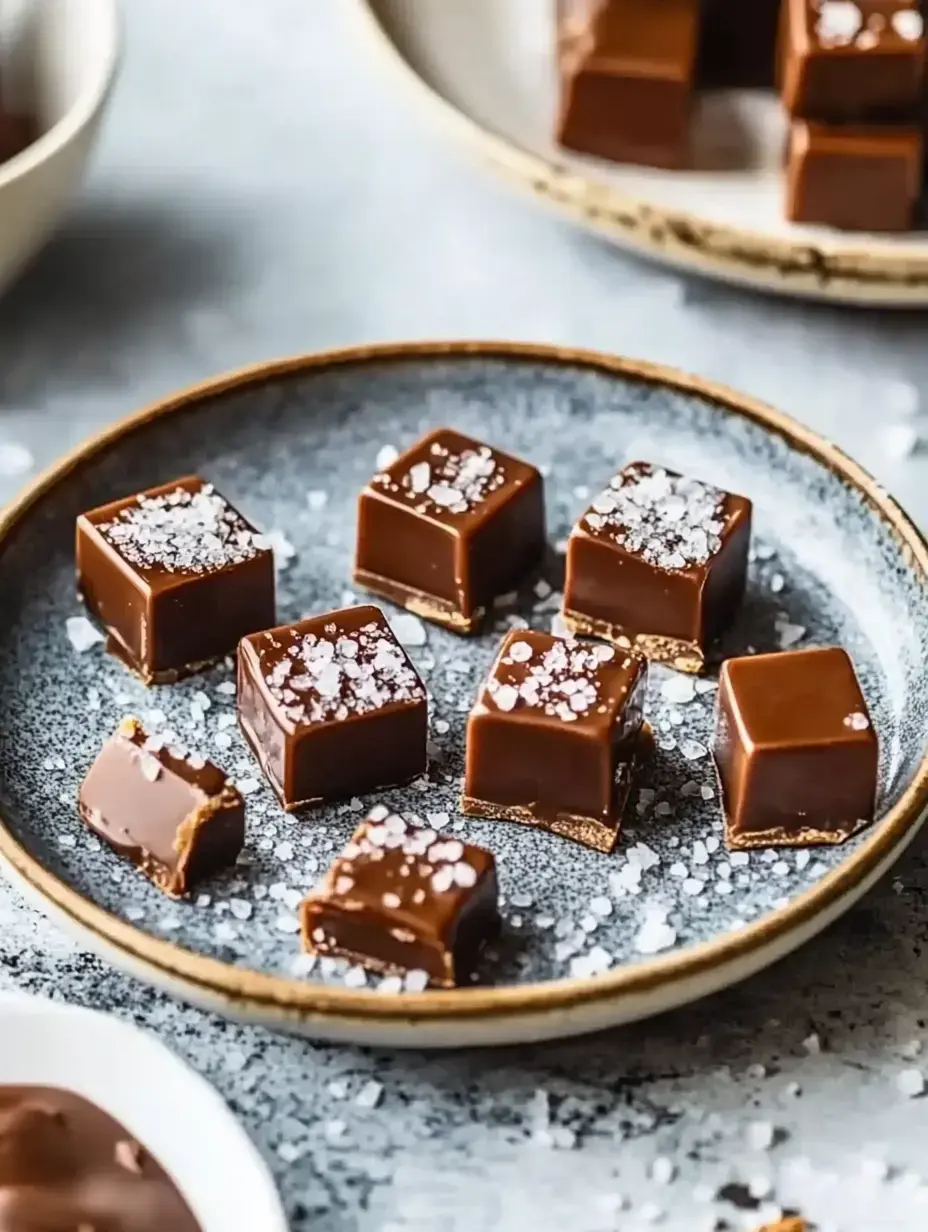
Then pour your hot caramel into your ready pan, add a sprinkle of sea salt flakes and wait for it to cool completely. After that comes the fun part - cutting and wrapping your little treasures.
Smart Shortcuts From My Experience
After making thousands of these caramels, here's what I've learned. Always watch your caramel while it cooks - it can burn in just a moment if you turn away. Don't worry if sugar crystals show up on the sides of your pot, just wipe them down with a wet brush. And here's my favorite trick: give your knife a quick spray with cooking oil before cutting - it makes the job so much easier.
Keeping Your Treats Fresh
These caramels stay good at room temp for about two weeks if you can stop yourself from eating them all. Just wrap each one in wax paper and put them in an airtight box. I usually make twice as much - some to give away and some to keep, though somehow my personal stash always vanishes pretty quickly.
Answers To Your Questions
I've heard lots of questions about these caramels over time. You can totally add vanilla or even a splash of bourbon for extra flavor. If your caramels end up feeling grainy, some sugar probably crystallized while cooking - try not to mix after the sugar melts. And yes, you can definitely double everything, just make sure your pot is big enough to handle the bubbling when the cream goes in.
Sweet Success
Making your own caramels might look tricky at first, but I swear once you try it, you won't want to stop. There's something really special about turning basic ingredients into these gorgeous golden treats. Every batch reminds me of all the happiness they've brought to people I care about. I hope they bring just as much sweetness to your home.
Try These Sweet Treats Too
If you like making these caramels, you should check out my chocolate bourbon balls that don't need baking. My hot chocolate fudge tastes amazing on cold days, and people always love those chocolate raspberry cream cups. Sometimes the easiest recipes bring the biggest smiles.
 Pin
Pin
Final Thoughts
Buttery salted caramels offer a perfect mix of soft, sweet, and salty flavors. They’re a great option for sharing as thoughtful gifts or enjoying all to yourself with just a few simple steps.Recipe Questions & Answers
- → What makes caramels turn grainy?
- Caramels can get grainy if sugar crystals form while cooking. Don’t stir once the sugar melts fully and make sure the pot is clean with no lingering sugar on the sides.
- → Is corn syrup necessary for caramels?
- Corn syrup keeps sugar from crystallizing, but you can swap it with honey or golden syrup. Just know it might slightly change the taste and texture.
- → How do I know when my caramels are ready?
- Use a candy thermometer and stop cooking at 250°F. Undercooking will leave them sticky; overcooking will make them too tough to chew.
- → Why should caramels be wrapped in wax paper?
- Wax paper keeps caramels from sticking together and protects them from moisture. It also helps them keep their shape during storage.
- → Can I add extra flavors to caramels?
- Sure! Try stirring in vanilla, sea salt varieties, or even spices like cinnamon. Add those right after cooking ends to keep their flavor strong.