 Pin
Pin
I've finally cracked the code for making Cheesecake Factory Brown Bread at home after trying so many times. The awesome smell fills my kitchen whenever I bake it, and my family always comes running. It's got that gentle sweetness, soft texture, and oat topping that tastes exactly like what you get at the restaurant, bringing such a nice touch to our meals together.
What Makes This So Good
Everything comes together beautifully when you mix whole wheat flour with molasses and that small amount of cocoa. I've discovered that adding a bit of espresso powder really makes all the difference – it gives the bread that gorgeous rich color and adds just a hint of depth. When I share this with friends, they can't believe I made it myself.
What You Need That's Special
The bread gets its character from the mix of warm milk, brown sugar, and a little honey drizzled in. I'm amazed how cocoa and espresso work together – not making it taste chocolatey but creating that trademark dark color. Some soft butter keeps it all nice and tender, while the oats scattered on top aren't just for looks – they make each loaf feel extra fancy.
Waking Up The Yeast
My first step is always checking if my yeast is good by mixing it with warm milk and a sprinkle of brown sugar. It's basically waking up the stuff that helps our bread grow. When it doesn't foam up in a few minutes, I know I need new yeast – this quick check really matters for good results.
 Pin
Pin
Putting It All Together
After my yeast is bubbling away happily, I add in the molasses, honey, butter, and all the flours. The dough comes together so nicely – you don't need any fancy tools, just your hands and some care. I can tell when it's just right because it feels smooth but doesn't stick to everything.
Giving It Time
Now comes the part where we wait. I put the dough in an oiled bowl, cover it with my favorite dish towel, and find a nice warm spot for it to sit. In about an hour, it doubles up and we can move forward. Sometimes I just turn on my oven light and let it sit inside – works like a tiny bread-growing box.
Forming Your Loaves
Cutting the dough into three parts feels like sharing something special. I roll each piece into a log shape and put them on my baking sheet. Those oats I sprinkle on top aren't just pretty – they add a nice crunch and make it look just like what you'd get at the restaurant.
Wait A Bit More
The little loaves need another short rest for about 30-40 minutes. I use this time to tidy up and maybe make some coffee since this bread tastes amazing with a hot drink. You'll notice them puff up a little more as they get ready for baking.
 Pin
Pin
Baking Time
With the oven heated to 375°F, in go the loaves. The next 20-25 minutes are full of waiting as they turn golden and fill the house with an amazing smell. My kids always start asking when they'll be done as soon as they catch that first scent.
Ready At Last
You can tell they're done when you tap the bottom and hear a hollow sound. I've found out not to rush this part – we want them fully baked but still soft inside. When you take them out all golden and beautiful, it feels really satisfying.
Eating Your Creation
That first warm slice with butter melting on top can't be beat. I love seeing people's reactions when they try it – they're always shocked it's not from a bakery. It's become our favorite way to start any dinner or even just a cozy snack in the afternoon.
Storing Your Bread
If we somehow don't eat it all, the bread stays good for about three days if wrapped tightly. A quick warm-up in the oven makes it taste fresh again. But honestly, at my house it rarely lasts more than a day.
Freezing For Later
I often make extra to freeze. Wrapped in foil and tucked in a freezer bag, they last great for three months. It's so nice to grab a loaf on a busy day, let it thaw, and warm it up – almost like having freshly baked bread whenever you want it.
Made From The Heart
Every batch reminds me why I got into baking. It's not just about making something tasty – it's bringing that special restaurant feeling right into our kitchen. Whether you eat it with soup, share with company, or just enjoy a quiet moment with a warm piece, you're in for a real treat.
 Pin
Pin
Recipe Questions & Answers
- → Why heat flour before use?
- Raw flour might have bad bacteria. By warming it to 160°F in the oven for 5-7 minutes, you make it safe to eat in uncooked dough.
- → Can this dessert go in the freezer?
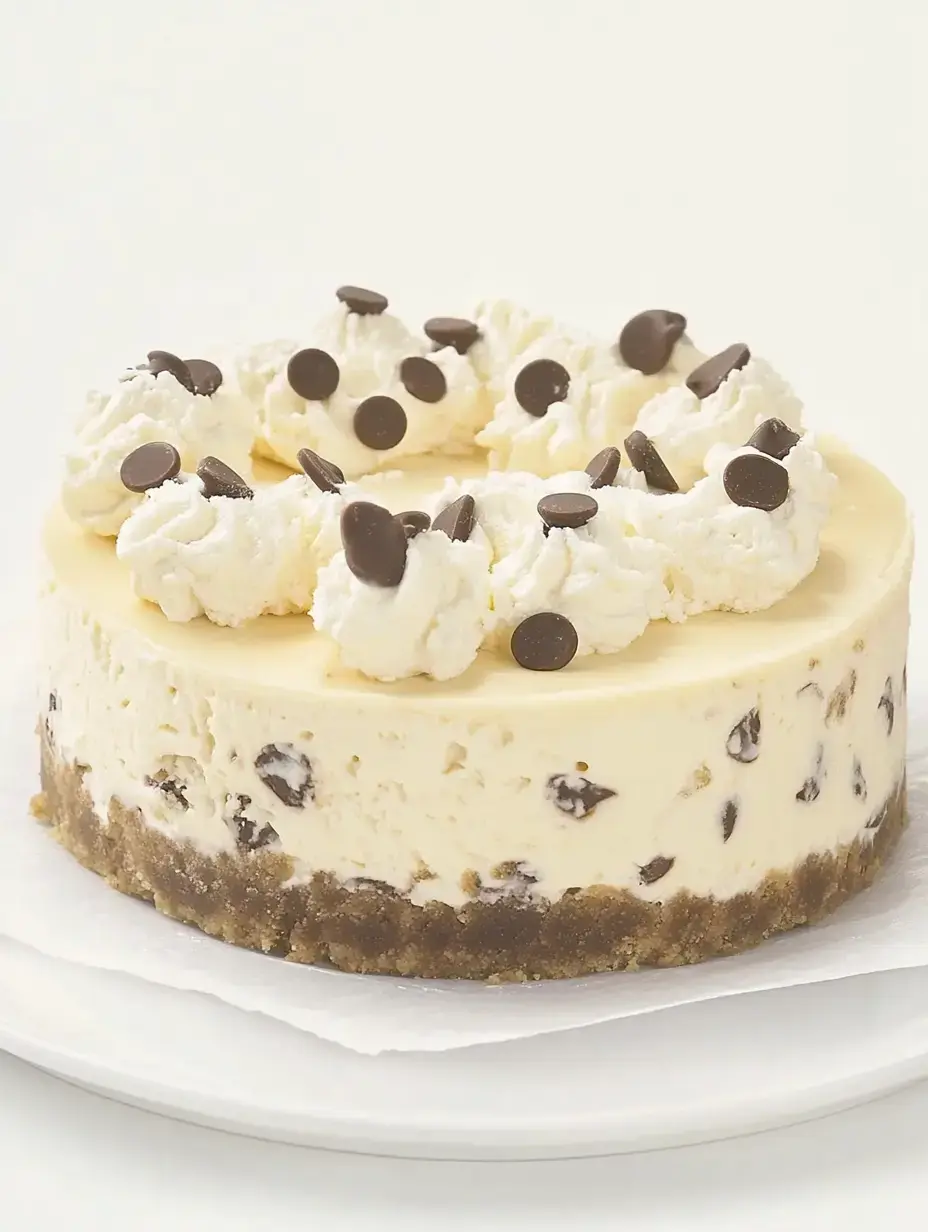
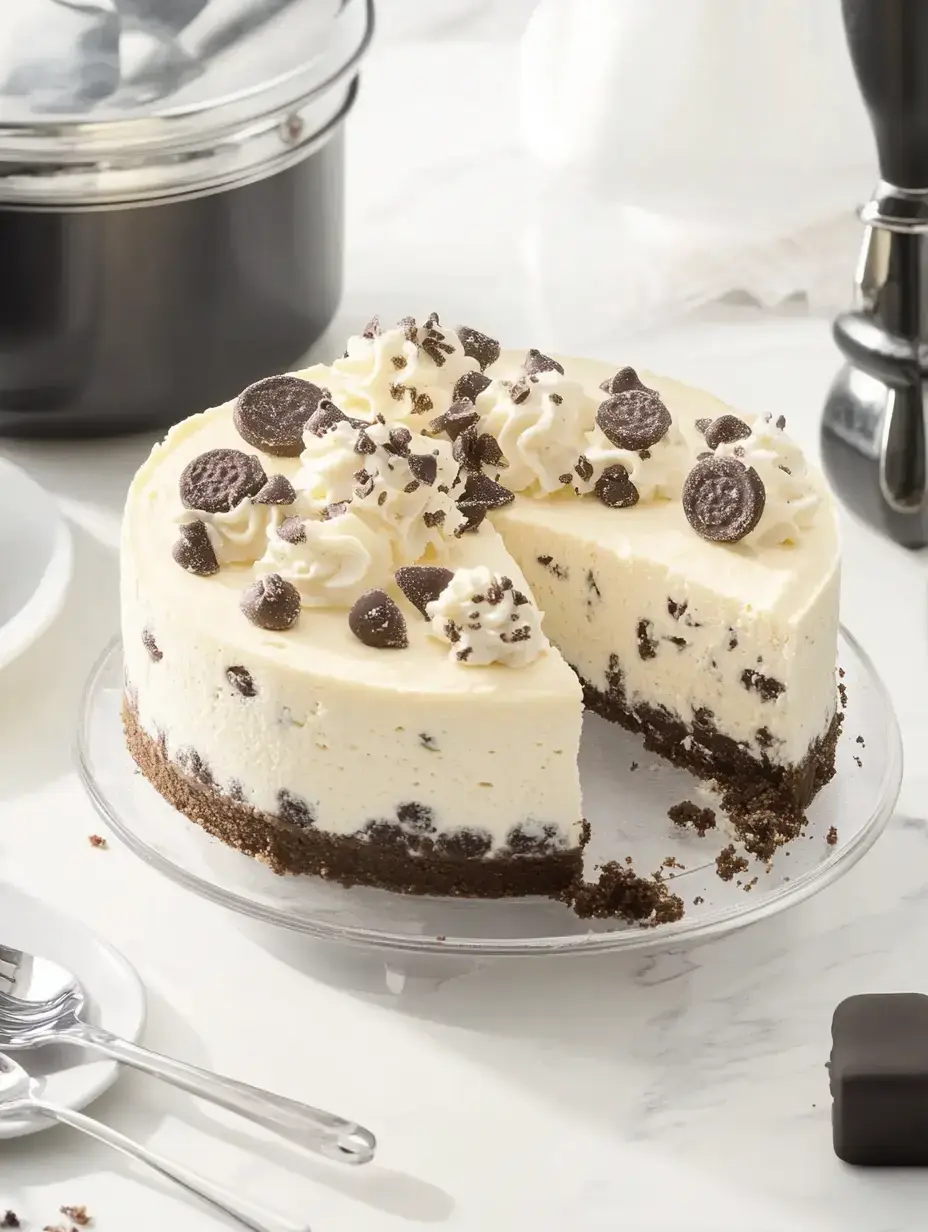
- Absolutely, it freezes up to 2 months! Freeze solid, then tightly cover. Thaw slowly in the fridge before decorating.
- → Is store-bought cookie dough okay?
- Sure thing! Grab edible cookie dough marked as safe raw. For this, you'll need about two 16.5-ounce packs.
- → Why won't it set right?
- If it struggles to firm up, it likely needs a full 6 hours in the fridge. Start with soft cream cheese and extra cold cream for fluffier results.
- → What makes the best whipped topping?
- Stabilized whipped cream or store-bought options both work well. They hold toppings better than standard whipped cream.
