 Pin
Pin
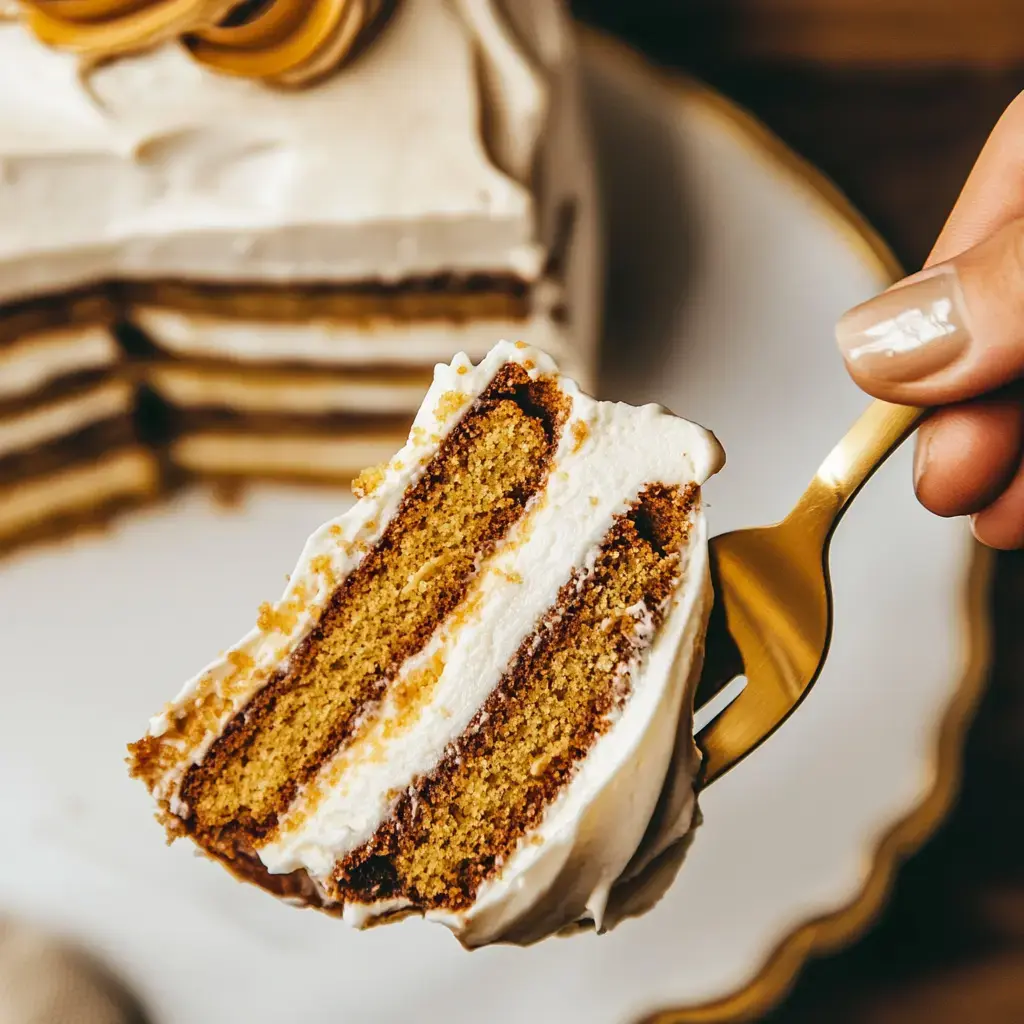
I threw this Chocolate Peanut Butter Cake together for my daughter's birthday when I was running late, and it's now what everyone asks me to bring to gatherings. The way the flavors twist together in that fancy pan is just something else. My family begs for it whenever we're celebrating anything, and honestly, I get why.
Why This Cake Stands Out
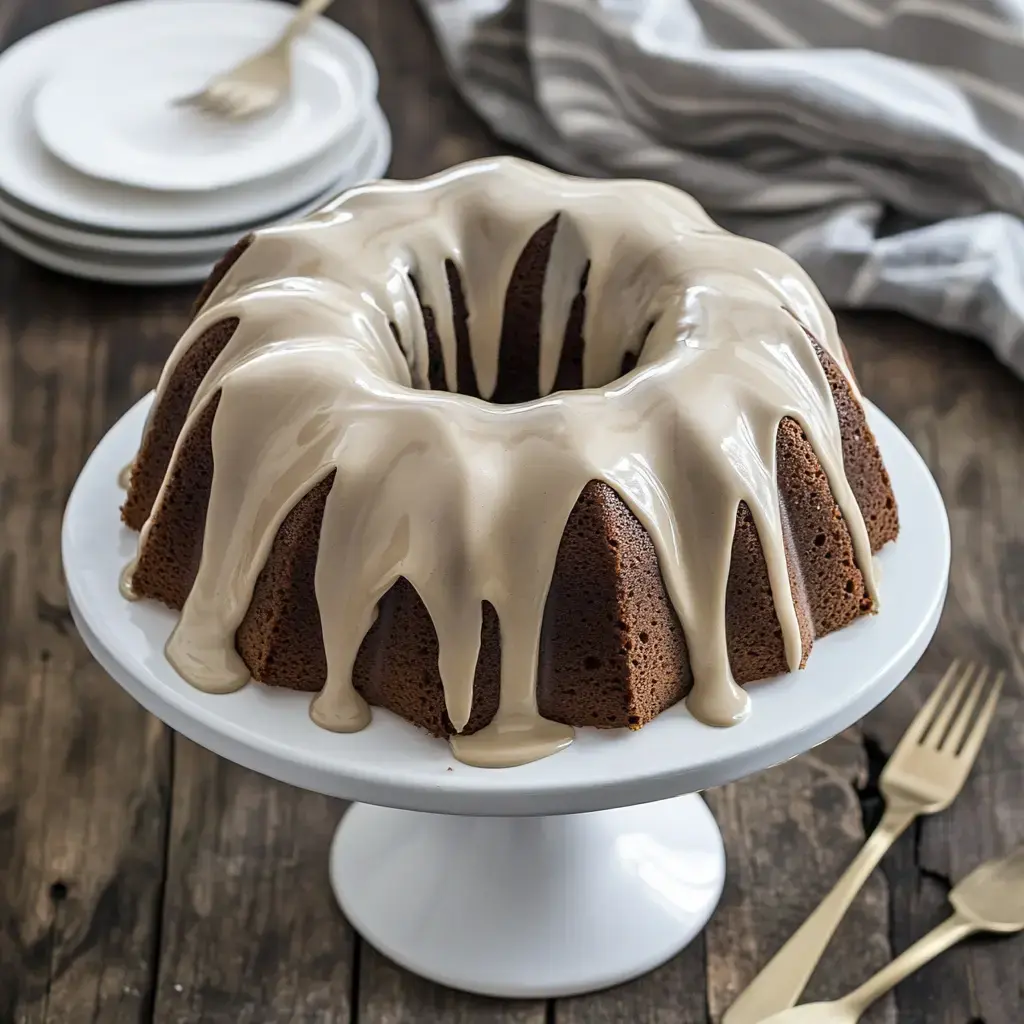
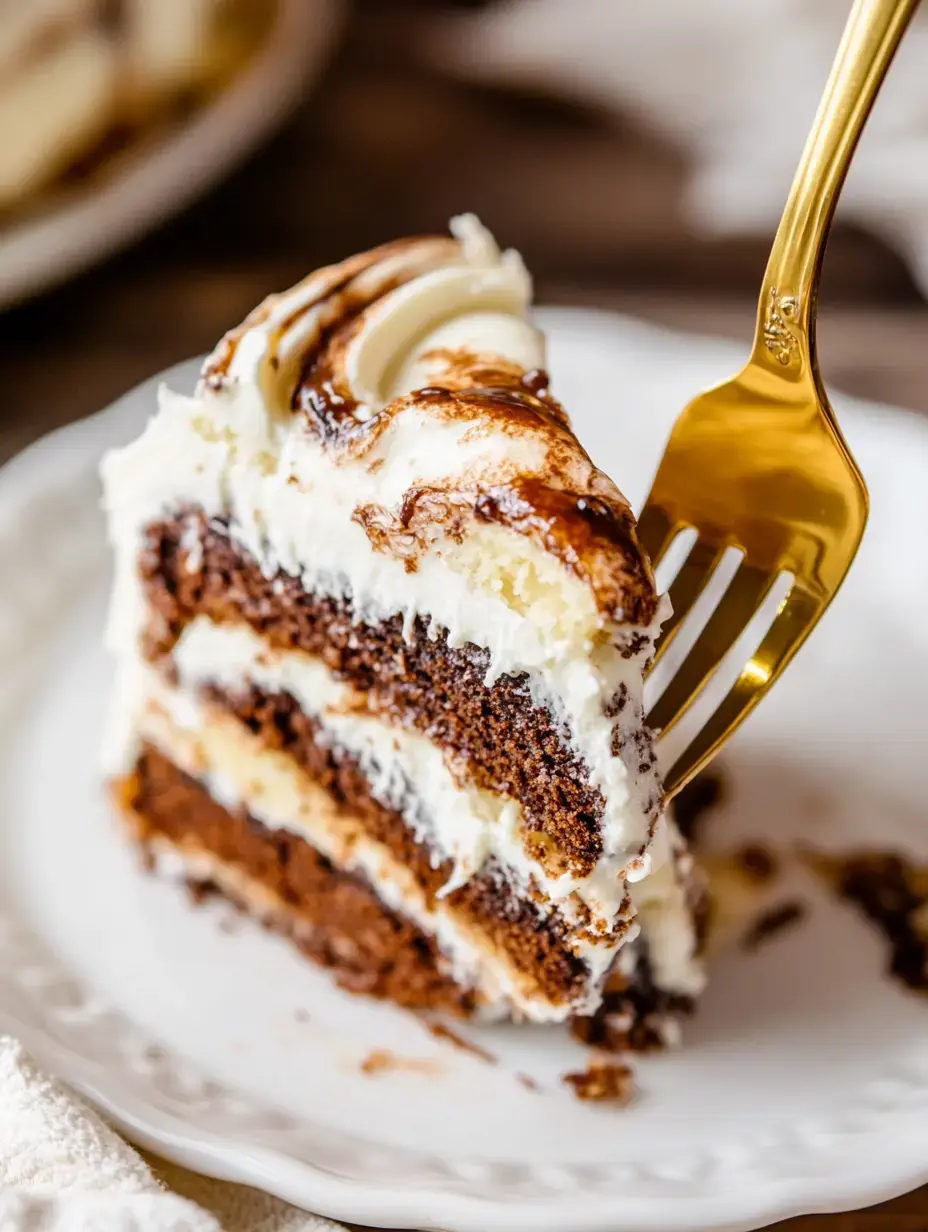
Everyone wants the recipe whenever I show up with this cake. The deep chocolate foundation pairs perfectly with those beautiful peanut butter ripples running all through it. When you add that last touch of peanut butter glaze, it looks like you bought it from a high-end shop. And guess what? It's way simpler than it appears - perfect when you want folks to think you slaved away without actually doing so.
Your Shopping List
- All Purpose Flour: Give 3 cups a gentle shake before you measure - it really matters.
- Sugar: 2 cups granulated, try to get the really fine stuff for better texture.
- Eggs: 4 large ones, pull them out early so they warm up.
- Sour Cream: 1 cup, don't go for the light version here.
- Bittersweet Chocolate: 4 ounces, splurge a little on quality here.
- Creamy Peanut Butter: 1/2 cup, this makes those amazing swirls happen.
- Baking Powder & Soda: 1 teaspoon each, make sure they aren't expired.
- Milk: 1/2 cup, full fat works best.
- Salted Butter: 1 cup, let it soften on its own at room temp.
- Season's Note: A bit of real vanilla extract makes all the difference.
Baking Steps
- Get Ready
- Warm your oven to 350°F and coat that tube pan with butter and flour, getting into every nook.
- Combine Dry Stuff
- Mix all your dry ingredients so they blend well before adding anything else.
- Start Your Batter
- This is when things get good. Whip butter and sugar until fluffy for about 4 minutes. Drop in eggs one at a time, then gently mix in sour cream and vanilla.
- Mix It Up
- Switch between adding your flour mix and milk. Don't mix too much, just until everything comes together, then divide into two separate bowls.
- Create Patterns
- Add melted chocolate to one bowl and peanut butter to the other. Put them in layers in your pan, then run a knife through to make pretty patterns. Leave space for it to rise.
- Bake Away
- Let it cook for about an hour, then rest in the pan for 15 minutes before taking it out. Waiting is tough but worth it.
 Pin
Pin
Final Sweet Touches
As the cake cools down, I fix a simple peanut butter glaze. Just stir 1 cup powdered sugar with 1/4 cup creamy peanut butter and add enough half and half until it pours nicely. I sometimes turn leftover batter into cupcakes for the kids to munch on. Adding some chocolate bits or crushed peanuts on top really makes it stand out.
Smart Tricks
I found out the hard way that you can't use natural peanut butter here - stick with regular creamy brands. Watch those leavening agents as they make your cake rise perfectly. And you can swap in Greek yogurt for sour cream if that's what you've got in your fridge - I do it all the time.
Storage Solutions
The flavor actually gets better overnight. You can leave it on your counter in a sealed container for about 3 days, if nobody finishes it first. In hot weather, I store it in the fridge where it stays good for a week. We love eating it with cold milk or a scoop of vanilla ice cream when we're feeling fancy.
 Pin
Pin
Final Thoughts
A rich dessert with swirled chocolate and peanut butter layers, capped off with a smooth, golden peanut butter glaze. Easy to create and impressive to serve.
Recipe Questions & Answers
- → Why mix flour and milk in turns?
This method keeps the batter smooth and stops it from overmixing. It helps everything blend without turning lumpy.
- → How do you create the swirl effect?
Drop spoonfuls of both batters alternately into the pan, then drag a knife lightly through the layers. Don’t swirl too much or you’ll lose the pattern.
- → Why let it cool in the pan?
Letting it cool in the pan first ensures the cake firms up and slides out easily. Moving it too soon can cause breaks.
- → What’s the best glaze texture?
Add liquid a little at a time until it’s thick but still drizzles easily. It should stick to a spoon but flow smoothly when poured.
- → Can I prepare it in advance?
You can bake it a day ahead, but glaze it just before serving so it looks fresh and tastes its best.
