
 Pin
Pin
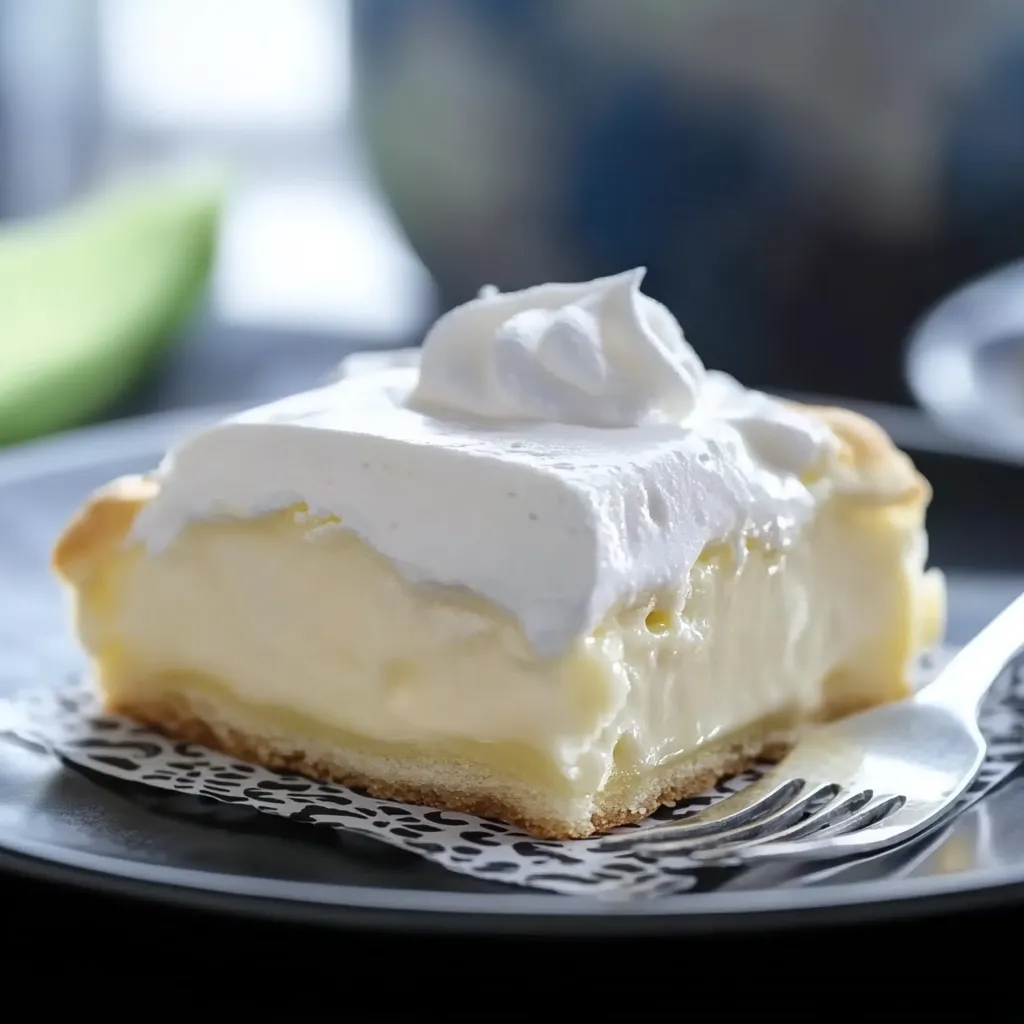
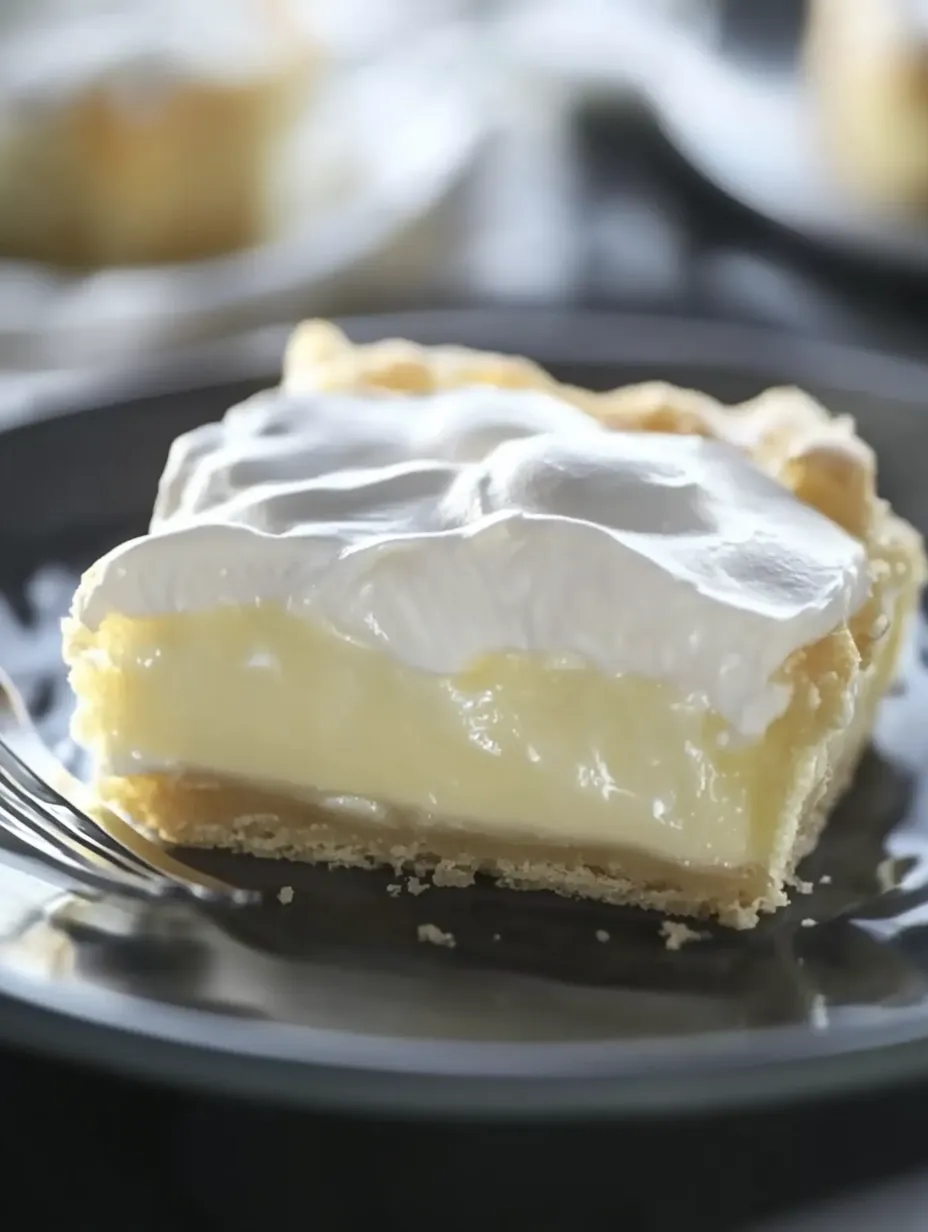
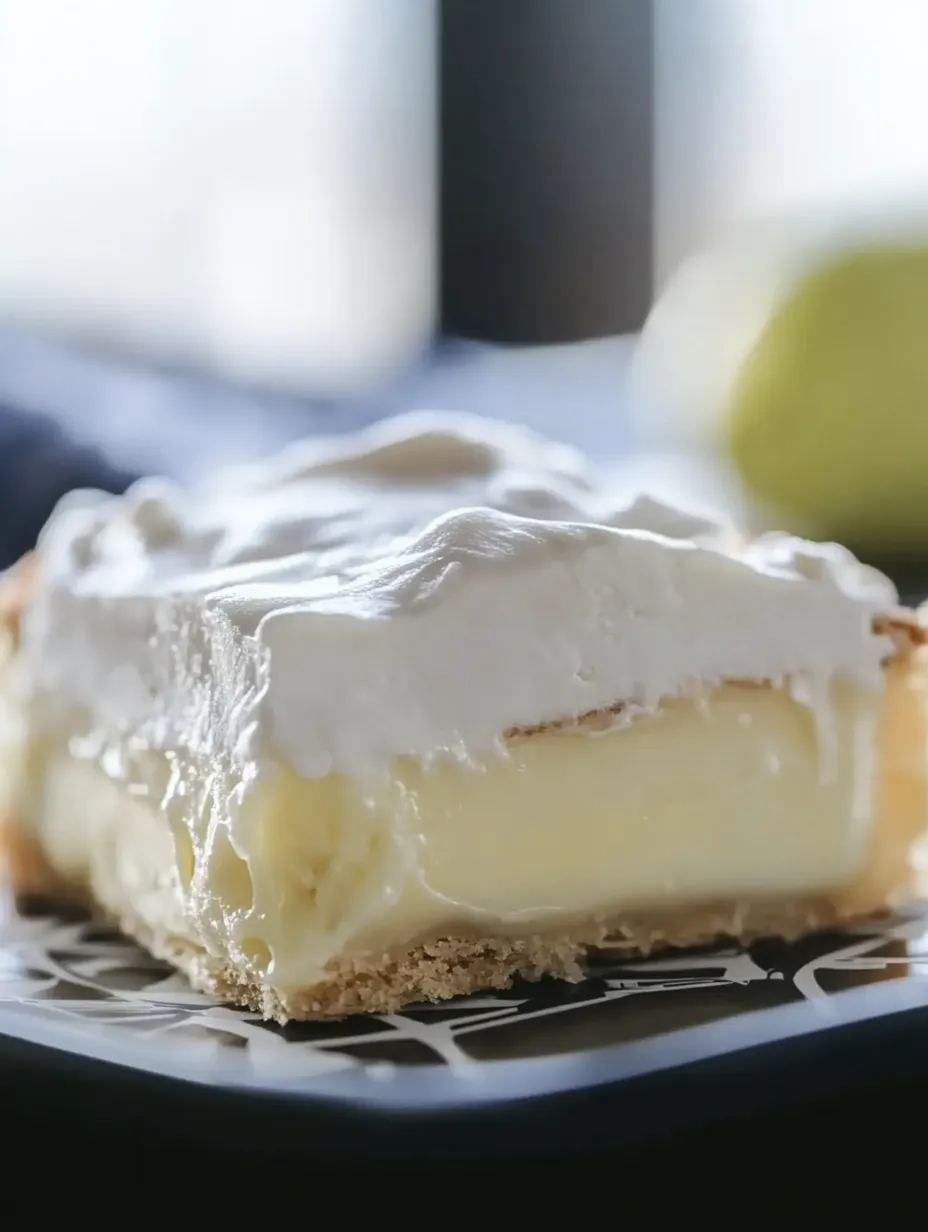
Think about biting into a cream puff that's been reimagined as a sliceable treat you can share. This Cream Puff Cake gives you a soft, puffy crust that rises beautifully as it bakes, making a perfect base for the smooth, melt-in-your-mouth filling. It's a simple yet impressive dessert that feels both fancy and homey—just right for special events or when you're craving something truly amazing.
I first tasted this wonderful dessert at a tiny café where I worked serving tables about twenty years ago. People would come in just to get a piece of this cake, and when I recently made it at home, one bite took me straight back to those days. Nobody in my family thought a "cream puff cake" sounded very exciting, but they changed their minds fast when the whole thing vanished during our family dinner faster than any dessert I've ever made.
Main Elements
Dough Foundation
- Water: Creates the base of your choux pastry and turns to steam while baking, helping your crust get that amazing lift and texture
- Unsalted Butter: Adds a rich taste to your crust and helps it turn that beautiful golden brown color in the oven
- All-Purpose Flour: Gives your pastry its structure but still keeps it tender when you mix it right with the wet stuff
Critical Framework
- Salt: Boosts all the flavors without making anything taste salty, adding depth that works against the sweet filling
- Eggs: Do the real magic in choux pastry, providing the structure that catches steam and makes everything rise, plus they make it all richer
- Baking Spray: Not really an ingredient, but it stops your cake from sticking and makes serving way easier while keeping your creation looking good
 Pin
Pin
Smooth Filling
- Cream Cheese: Gives a slight tang and backbone to your filling, cutting the sweetness while making everything feel silky in your mouth
- Instant Vanilla Pudding: Adds that comforting vanilla flavor and helps the filling hold its shape when you slice it
- Milk: Wakes up the pudding mix and blends with cream cheese to make the perfect texture
Final Layer
- Whipped Topping: Tops everything off with a soft, cloud-like layer that makes the whole dessert feel lighter both in looks and texture, like you're eating a bit of sky
Cooking Approach
Getting Ready
Start by turning your oven to 350 degrees Fahrenheit and let it warm up completely before you put anything in. Grab a 9×13-inch baking dish and cover it well with baking spray. Don't forget the sides—you want every part coated so nothing sticks later.
Making The Pastry
Pour water into a medium pot and heat it on medium-high until it's bubbling nicely. Drop in your butter and wait until the mix starts boiling again, watching the butter melt completely into the water. Once it's boiling again, pull it off the heat right away so nothing burns.
 Pin
Pin
Forming The Base
Dump all your flour and salt into the hot buttery water at once, and stir like crazy with a wooden spoon. Keep going until everything comes together in a ball that pulls away from the pot's sides. This quick change is the first bit of kitchen magic in your cream puff journey.
Adding Eggs
Move your warm dough ball to a stand mixer with the paddle attachment. Add eggs one by one, letting each one mix in completely before adding another. Taking your time here matters—it keeps your pastry smooth without any egg streaks running through it.
Building Texture
After all eggs are in, turn your mixer to high and let it run for 4-5 minutes. This longer mixing time builds the structure your pastry needs while adding air that helps it rise when baking. You'll see the dough change from thick and paste-like to smooth with a slight shine.
Spreading The Dough
Dump your finished dough into your greased baking dish. It'll be thick, almost like pudding. Spray your fingers lightly with baking spray so they won't stick, then gently push the dough into an even layer across the bottom. Make sure you get it into the corners too.
Baking It Up
Put your pan in the hot oven and bake for 20-25 minutes. Don't give in to temptation and open the door during this time! Watch through the oven window as the magic happens—the dough will puff up dramatically, especially around the sides, making a natural bowl for your filling.
Cooling Down
Take your golden crust out of the oven and check out its amazing shape. Let it cool all the way to room temperature. As it cools, it'll settle a bit but will keep those higher edges and slight dip in the middle—exactly what you want for holding all that filling.
The first time I baked this cake, I freaked out watching it rise so much in the oven. I was sure I'd done something wrong! My daughter was looking through the oven door and yelled that the cake was trying to escape! We both laughed when it settled perfectly as it cooled, making that perfect hollow center. Now we actually look forward to watching that dramatic rise every time we make it.
Making The Filling
Turn basic ingredients into something special by mixing instant vanilla pudding with cold milk until it starts thickening up. This quick-setting mixture is the foundation of your cream layer, giving structure and that classic vanilla taste that works so well with the pastry base.
While your pudding sets up, beat your cream cheese in a stand mixer until it's completely smooth with no lumps at all. Take the full 3-4 minutes for this step—it's essential for getting that silky texture. Any little bits of cream cheese will mess up the smooth, luxurious feel you're going for.
Mix your pudding into the whipped cream cheese and beat for another 3-4 minutes until they're completely combined. Your filling should look smooth and form soft peaks when you lift the beater. This longer mixing puts air into everything, making the texture lighter to balance out how rich the ingredients are.
Putting It Together
Spread your cream filling carefully over the cooled crust, working from the middle outward so you don't tear the delicate pastry. The filling should fill up the natural dip in your crust, making a flat surface across the whole dessert. An offset spatula works best for the smoothest look.
Cover your filled cake with a thick layer of whipped topping, spreading it all the way to the edges to seal in the cream filling. This top layer keeps everything fresh while making it look prettier and adding a different texture. Make some decorative swirls with your spatula if you want it to look extra fancy.
Chill your finished cake for at least 2-3 hours before serving, though letting it sit overnight works even better. This resting time lets all the flavors mingle while the filling firms up so you can slice it cleanly. It's worth the wait—the texture and flavor get so much better.
Great Companions
Make an eye-catching dessert spread by serving this cake with fresh berries in season. The bright, slightly tart flavor of strawberries, blueberries, or raspberries cuts through the rich cream filling, creating a lovely balance. Put out a small bowl of extra berries so people can add their own to each slice.
Try offering some warm chocolate sauce that folks can drizzle over their pieces. The contrast between the cool, creamy cake and the warm, rich chocolate makes eating this dessert even more special. The chocolate also looks beautiful when drizzled over the white topping.
For those who love coffee, serve slices with tiny cups of espresso or cappuccino. The slight bitterness in the coffee works wonderfully with the sweet, vanilla-flavored cake, cleaning your taste buds between bites and making each serving last longer. This combo feels really grown-up and fancy after dinner parties.
Flavor Changes
Try different pudding flavors to totally change up this flexible dessert. Chocolate pudding makes a rich, cocoa-filled center that chocolate fans will love, while lemon pudding gives a bright, citrusy twist that's perfect for summer. The pastry base works great with pretty much any flavor you can think of.
Make a coffee-flavored version by mixing 1 tablespoon of instant espresso powder with 1 tablespoon of hot water, cooling it, then stirring it into the filling. Sprinkle chocolate shavings on top for a coffee-shop style dessert that's sure to impress at dinner parties. The coffee's slight bitterness makes the cream taste even sweeter.
For special events, add 1/4 cup of your favorite liqueur to the filling mix. Amaretto, Grand Marnier, or Kahlúa each add fancy flavor notes that turn this homey dessert into something celebration-worthy. Just remember that the alcohol flavor gets stronger as the cake sits in the fridge, so start with less than you think.
Keeping It Fresh
Keep your cake at its best by storing it in the fridge, tightly covered with plastic wrap. It'll stay good for 3-4 days, though the crust gets softer the longer it sits. Many people actually prefer this softer texture that develops by the second or third day.
Make single servings for easy future snacking by cutting the cold cake into squares and freezing them on a baking sheet until hard. Move the frozen pieces to a container with parchment paper between layers, where they'll stay good for up to a month. Just thaw in the fridge overnight before eating.
Give slightly older cake new life by adding fresh fruit on top just before serving. Sliced strawberries, peaches, or kiwi not only add healthy stuff but also bring fresh flavors and colors to the dessert. A light sprinkling of powdered sugar over the fruit makes it look like it came from a fancy bakery.
 Pin
Pin
I still remember serving this cake at our family get-together after finding the recipe again. My aunt, who hardly ever comments on sweets, took one bite and immediately wanted to know how to make it. What makes this cake really special isn't just how good it tastes but how it brings people together. When I make it now, I think about that little café where I first had it, all those customers who loved it back then, and how it's making new memories around my own table now. Some foods are more than just something to eat—they're like time machines that connect us across years through something tasty we can all enjoy.
Recipe Questions & Answers
- → Why does the crust puff unevenly?
- It’s normal for the choux pastry to rise differently, especially near the edges. Once you add the filling, it evens out nicely.
- → Can I prepare this in advance?
- Totally! Prepping it a day early makes the flavors richer and the textures set just right.
- → What’s the best way to store leftovers?
- Pop it into the fridge with a cover on it. It keeps for up to 3 days but know that the crust might soften slightly—still delicious though!
- → Can I swap Cool Whip with homemade whipped cream?
- Sure thing! Add a touch of sugar and 1/2 teaspoon of gelatin when whipping to keep it from getting watery.
- → How can I mix up the flavors?
- Go wild! Test it with chocolate or lemon pudding, or stir in extracts like almond or coconut to the cream layer.