
 Pin
Pin
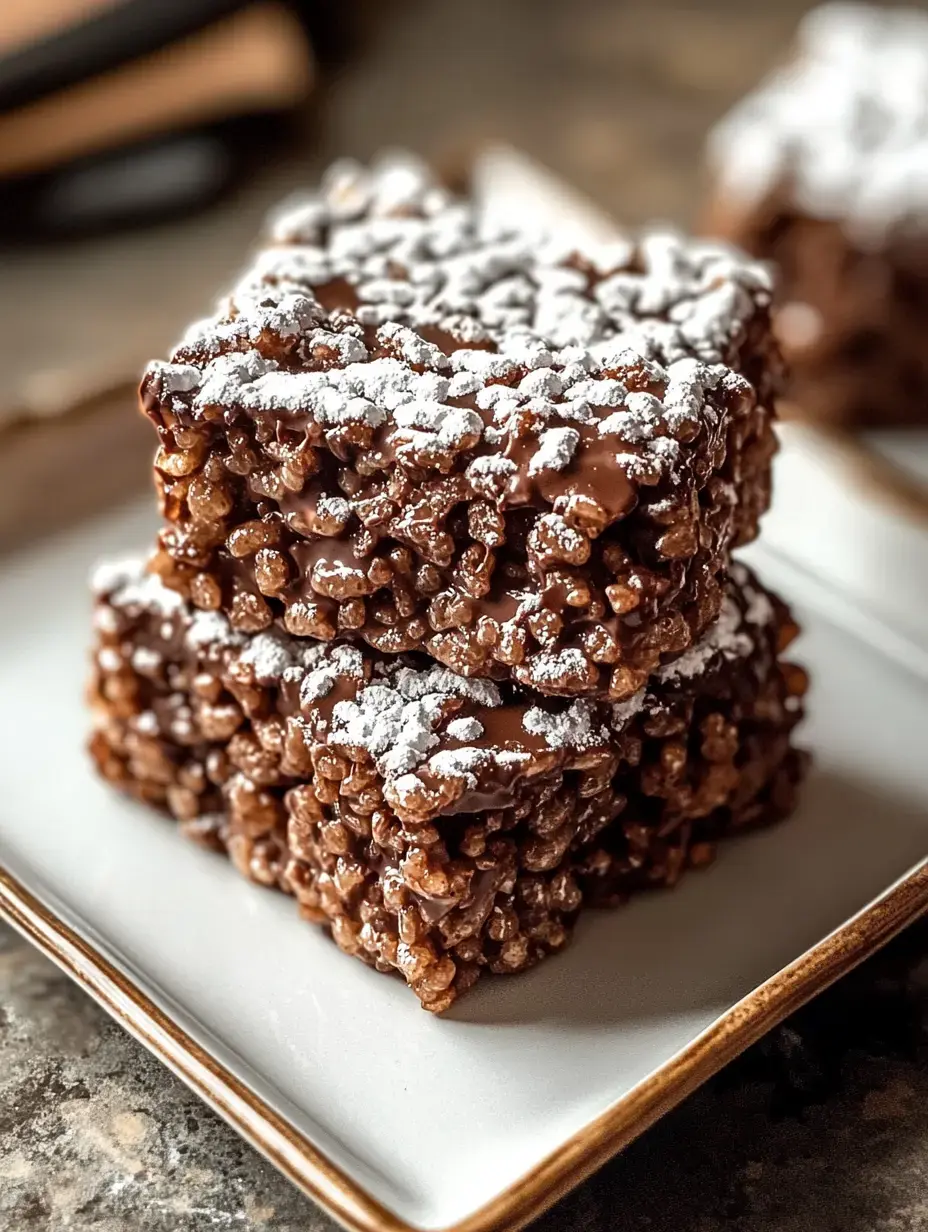
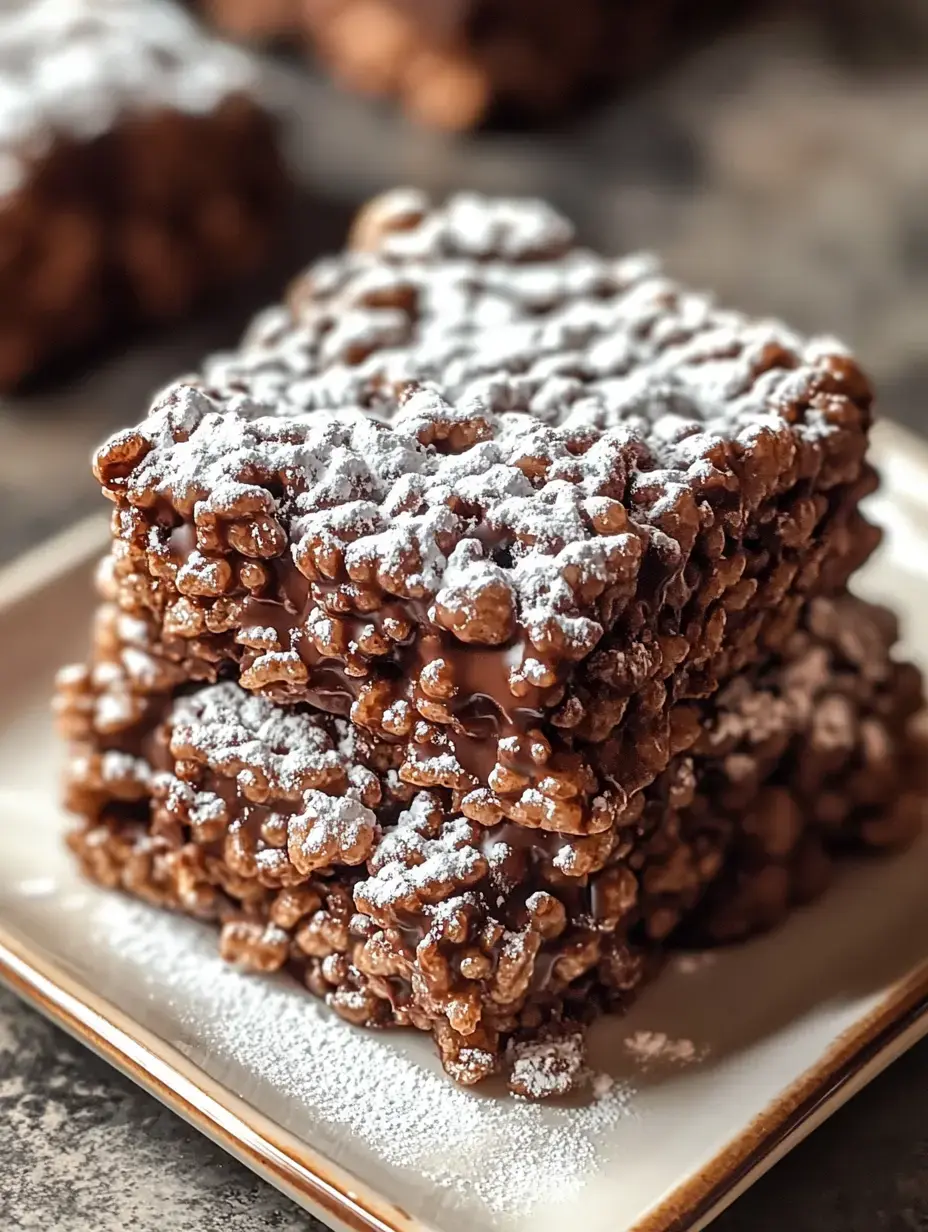
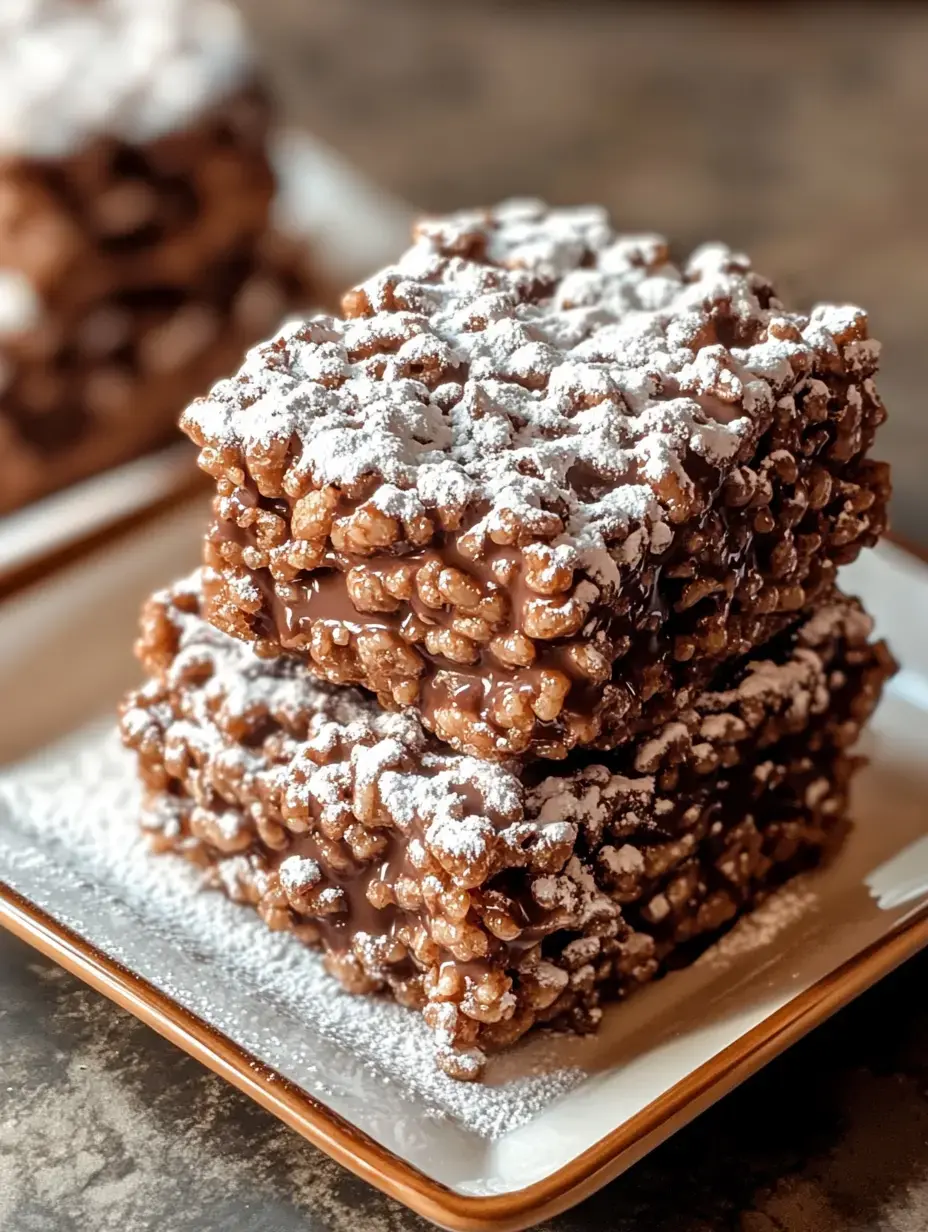
Laughter echoed through my kitchen last Saturday as I whipped up these Chocolate Peanut Butter Krispies. This hands-off sweet treat mixes the best elements of chocolatey peanut butter with that can't-resist dusting of confectioners' sugar. Whenever I make a batch, they vanish before I can even shout "snacks are done!"
The Background of My Creation
I merged two snacks I loved as a kid into one knockout treat. The idea popped into my head during a midnight snack dilemma when I couldn't pick between traditional Puppy Chow or Crispy Treats. What came out was pure deliciousness, and now my relatives beg me to bring these whenever we're having company.
What You'll Need
- Crispy Rice Cereal: Get a fresh box for that ideal crisp and pop.
- Butter: A small amount creates that perfect smoothness.
- Peanut Butter: Smooth type gives the best results in my tests.
- Powdered Sugar: This final coating makes these treats simply addictive.
- Chocolate Chips: I grab semisweet but you can't go wrong with milk chocolate.
Begin With Quality
Always check if your cereal's still crunchy. This tip came from my nana - nothing wrecks a sweet treat like old, soft cereal. That satisfying crunch really makes these goodies stand out.
Perfect Melting Technique
The key to great melting is taking your time. Dump your chocolate chips and peanut butter into a microwave-friendly dish. I warm them for 20 seconds at a time, giving a good stir between rounds until everything looks smooth and shiny.
 Pin
Pin
Gently Combine
Now comes the real change. Drizzle that warm chocolate peanut butter mix over your cereal and fold carefully. I pull out my largest mixing bowl so each piece gets totally covered in deliciousness.
Cooling Period
Being patient really pays off. Let the mixture cool down before you add your powdered sugar. Take my word for it - I rushed this part once and wound up with sugar lumps instead of that perfect dusting we all want.
The Powdered Coating
Here's the exciting bit. Toss everything into a large zipper bag, add your powdered sugar and give it a good shake. My little ones argue about who gets shaking duty - it's become quite the family tradition in our home.
Presentation Ideas
I enjoy putting these in my favorite bowl when company drops by. They go great with afternoon tea, after supper coffee, or tucked inside school lunches for a sweet surprise. They're the perfect partner to my morning coffee.
Personal Touches
- Different Butter: Sometimes I switch to almond spread when my sis comes over - she absolutely loves it.
- Fancy Version: Dark chocolate gives these an elegant twist, just right for adult gatherings.
- Extra Additions: Last month I threw in some broken pretzels and tiny marshmallows - my children went absolutely crazy.
 Pin
Pin
For Those Avoiding Gluten
My closest pal can't eat gluten so I created a special batch just for her. Rice Chex work amazingly well - just make sure all your ingredients show that gluten-free symbol. She thinks they taste better than the regular version.
Classroom-Friendly Option
When my boy started school, I switched to sunflower butter for his classroom treats. Honestly, it tastes so similar to peanut butter most kids don't notice any difference. Now all the parents ask me how I make them.
Storage Tips
Keep these goodies in a sealed container and they'll stay delicious for seven days. I store mine in my favorite cookie jar on the counter, but stick them in the fridge if your house runs hot - they'll stay good for fourteen days.
Freezer Stash
These freeze wonderfully for up to twelve weeks. I create extra-large batches and store portions in freezer bags. Just let them warm up naturally when you want to enjoy them again.
Reviving Softened Treats
If your treats lose their crunch, lay them flat on a cookie sheet and warm them in the oven at 250°F for roughly 10 minutes. Keep an eye on them though - they can turn from perfect to burnt really fast.
 Pin
Pin
Gathering Ready
These become my standard for any social event. I place them next to fresh berries and other bite-sized foods on my favorite tray. The mix of dark treats with colorful fruit always creates a stunning display.
Kids Can Join In
My home fills with giggles when the kids help prepare these. They particularly enjoy the shaking step, and yes, sugar ends up everywhere, but those happy sounds make cleaning up totally worth it.
Common Questions
- Try Other Cereals? Any crunchy rice or corn cereal will do the job nicely.
- Avoid Sugar Clumps: Letting things cool down is crucial before the sugar coating step.
- Worried About Allergies? Look at every ingredient label carefully for the allergy-free version.
Smart Cleanup Trick
Put parchment in your mixing bowl before starting. I found this hack after too many sticky cleanup jobs. Now everything lifts right out and tidying takes just moments.
My Baking Fame
These treats have turned into my trademark contribution at all gatherings. Friends text asking for instructions all the time, and my kids swell with pride hearing folks praise their mom's popular Chocolate Peanut Butter Krispies.
Recipe Questions & Answers
- → How long will these treats last?
- Keep them in a sealed container at room temperature, and they’ll stay tasty for up to 5 days. Make sure to store away from heat to avoid melting.
- → Can I swap in other cereals?
- Sure thing! Swap Rice Krispies for Chex or Corn Flakes. The texture might feel a bit different but will still hit the spot.
- → Why are my snacks sticky?
- That’s likely from too much moisture. Double-check your measurements and let the chocolate mix cool a bit before combining with the cereal.
- → Can these treats go in the freezer?
- Yep! Pop them in an airtight container, and they’ll last up to 2 months. Let thaw at room temperature, and sprinkle with fresh powdered sugar if needed.
- → Can I skip the peanut butter?
- No problem! Replace it with almond, cashew, or sunflower butter. For a nut-free tweak, cookie butter works great too!