
 Pin
Pin
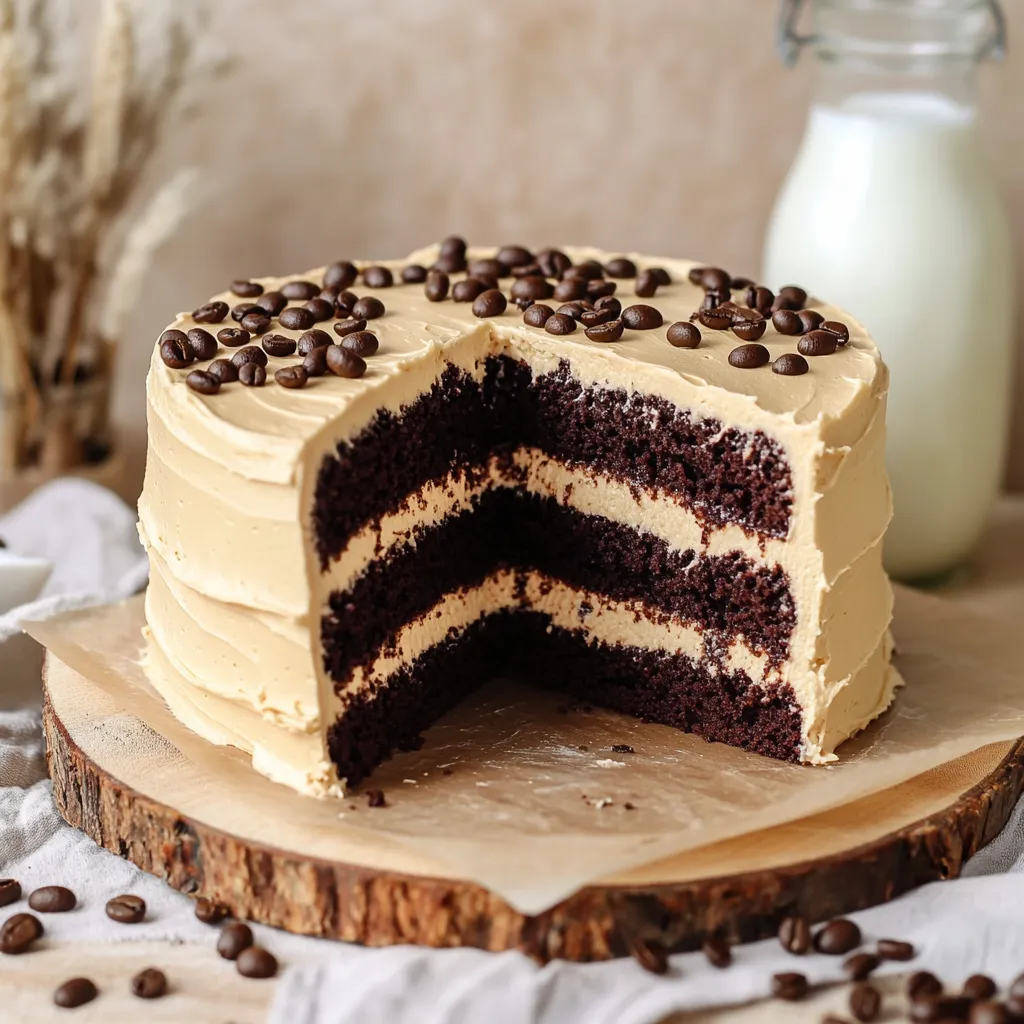
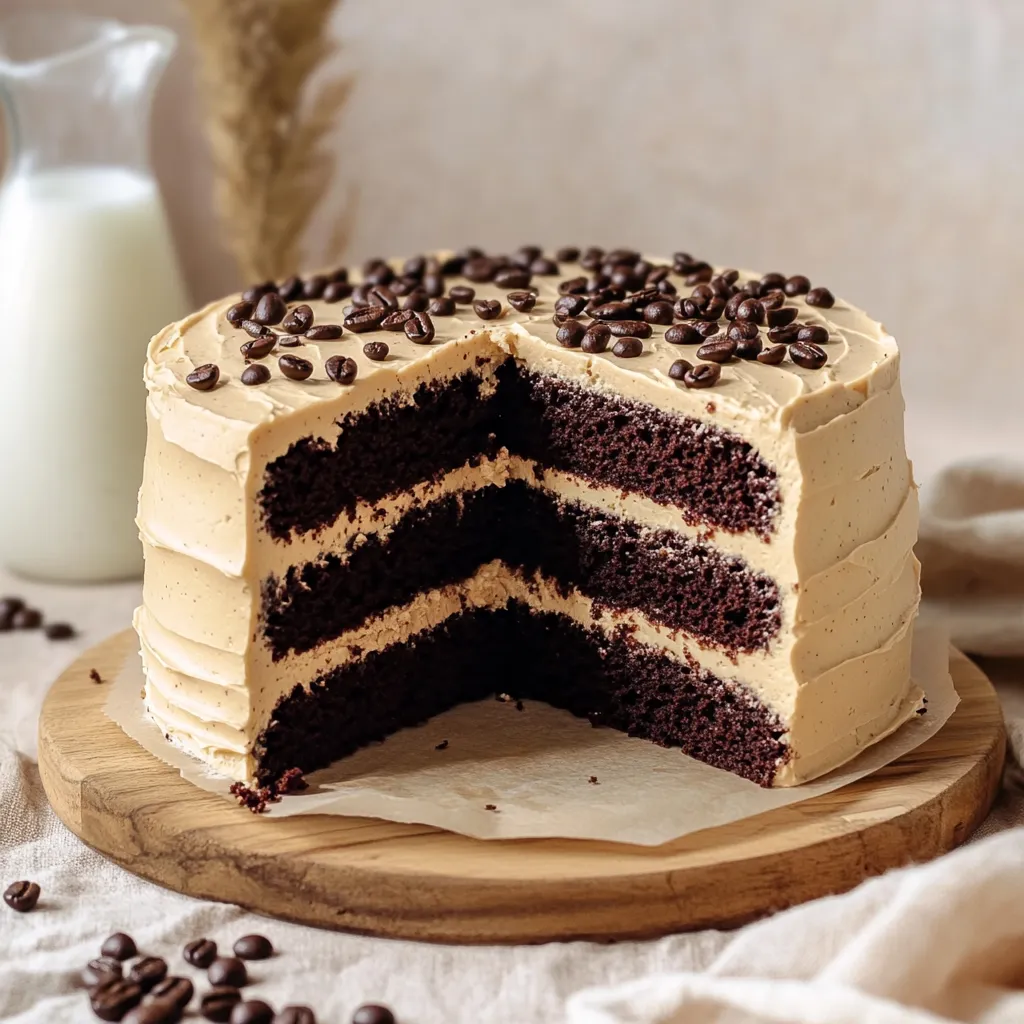
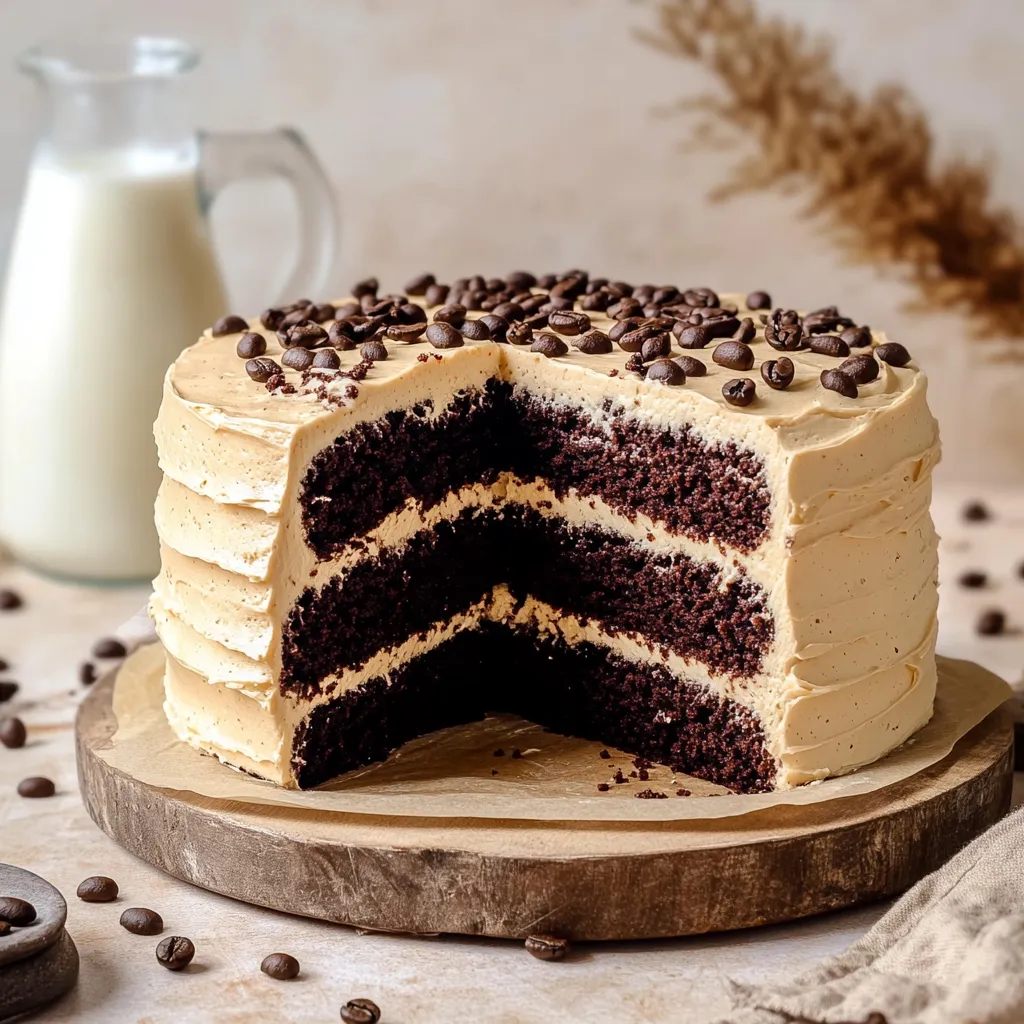
A Coffee Chocolate Cake turns simple pantry staples into a decadent treat that hits two sweet spots at once. Super moist chocolate layers get amazing complexity from fresh coffee, which boosts the cocoa flavor without being too strong. Each layer is separated by fluffy coffee buttercream that perfectly blends sweet creaminess with bold coffee notes. This stunning three-tier dessert somehow manages to be fancy yet comforting—dressy enough for celebrations but familiar enough to crush any sweet tooth. With its eye-catching looks and perfect flavor combo, everyone will beg you to share how you made it.
I came up with this cake after testing tons of chocolate recipes over the years. My big breakthrough happened when I found out that adding coffee to the mix and using oil instead of butter made an incredibly moist cake with amazing flavor depth. The first time friends tried it at a dinner party, they went completely silent after their first bites, then started saying it was the best chocolate cake ever. Even my nephew who doesn't like coffee asked for this on his birthday, and my mother-in-law actually wanted the recipe—she never shares her recipes, so I took that as the biggest compliment ever.
Essential Components
- All-purpose flour (2 cups): Gives just the right body without getting heavy
- Dutch-process cocoa powder (¾ cup): Adds rich chocolate punch and gorgeous dark color
- Granulated sugar (1½ cups): Sweetens while making the cake tender through proper mixing
- Brown sugar (½ cup): Makes it moister with subtle caramel hints that work well with coffee
- Baking powder (2 teaspoons): Gives the perfect lift for soft but substantial layers
- Baking soda (1½ teaspoons): Works with acidic stuff to make the cake rise more
- Salt (1 teaspoon): Makes all flavors pop, especially the chocolate and coffee
- Eggs (2 large, room temperature): Add structure and richness
- Freshly brewed coffee (1 cup, hot): Boosts chocolate flavor and adds moisture
- Canola oil (½ cup): Makes the cake super moist and helps it stay fresh longer
- Sour cream (1 cup): Adds a nice tang and amazing moisture
- Vanilla extract (1 tablespoon): Balances everything with warm flavor notes
- Cornstarch (2 tablespoons): Makes the cake more delicate and tender
- Unsalted butter (1½ cups, softened): Creates the backbone of smooth, airy frosting
- Powdered sugar (4 cups): Sweetens the frosting and gives it the right texture
- Instant coffee (2 tablespoons): Packs strong coffee flavor into the buttercream
Cake Creation
Smart Setup
Start by making a strong cup of coffee and letting it cool a bit while you get everything else ready. This cool-down stops the hot coffee from cooking the eggs when you mix them together. While waiting, get three 8-inch round cake pans ready by greasing them well and putting parchment circles on the bottoms. The parchment makes sure the cakes come out easily, and the greasing helps you get those slightly crisp edges that taste amazing next to the soft inside. Heat your oven to 340°F (170°C)—a bit lower than most cake recipes—so everything bakes evenly and you don't get dry edges.
Mix Dry Stuff First
In a big bowl, mix flour, cocoa powder, granulated sugar, brown sugar, baking powder, baking soda, salt, and cornstarch until they're totally blended with no cocoa streaks showing. Mixing everything well makes sure the rising agents and salt spread evenly throughout the batter, so your cake rises nicely and tastes great all the way through. Using Dutch-process cocoa with cornstarch gives you the perfect mix of rich flavor and soft texture. The mixture should look the same color all the way through, showing that everything's mixed in properly.
Blend Wet Stuff Well
In another bowl, mix eggs, coffee, oil, sour cream, and vanilla until they're completely smooth. The oil and sour cream mix with the eggs to make an incredibly moist cake that won't dry out for days. The coffee makes the chocolate taste even better without making the cake taste like coffee—it's weird but it works amazingly. This wet mixture should be smooth and well-mixed before you add it to the dry ingredients. It should be cool enough not to cook the eggs but not so cold that it makes the fats harden.
Mix Everything Carefully
Pour the wet stuff into the dry stuff while stirring gently with a rubber spatula. Mix just until everything comes together and you can't see any dry flour, but don't mix too much. If you stir too much, the cake gets tough instead of tender. The batter should be fairly thin but smooth, with a shiny look that shows everything's mixed right. After stirring, tap the bowl gently on the counter to pop any big air bubbles that might make holes in your finished cake.
Divide It Up
Share the batter between the three pans you prepared, using a kitchen scale if you have one to make sure all layers are the same thickness. This careful approach means everything bakes evenly and your cake will look level when put together. Don't fill the pans more than two-thirds full so there's room for the cake to rise. Give each pan a gentle shake to spread the batter out and get rid of air pockets. The top should look pretty smooth before going into the oven.
Bake It Just Right
Bake the cakes for 28-30 minutes, or until a toothpick stuck in the middle comes out with a few moist crumbs but no wet batter. The lower oven temperature helps everything bake evenly and stops those annoying domed tops that need lots of trimming. The cakes should bounce back slightly when you touch the center and will start to pull away from the sides of the pans a bit. Don't open the oven during the first 20 minutes of baking, or your cakes might sink from the temperature change.
Make Amazing Frosting
While the cakes cool, make the coffee buttercream by dissolving instant coffee in a little hot water or fresh coffee to create a strong coffee flavor shot. Beat the soft butter for a full 6 minutes until it's super light and fluffy—this long beating time really matters for silky texture. Slowly add sifted powdered sugar in small batches, mixing each batch in completely before adding more. Finally, add the coffee flavor and vanilla, beating until the frosting is smooth, fluffy, and easy to spread. Your buttercream should feel light but taste rich with coffee flavor.
 Pin
Pin
My grandma made amazing chocolate cakes but never shared her recipes with anyone. After she passed away, I spent years trying to figure out how she got that incredible moist texture I remembered. I finally cracked the code when I discovered she'd been secretly adding coffee and using oil instead of butter—tricks she never told anyone but that completely changed my chocolate cakes. Whenever I bake this cake, I feel connected to her and her love of bringing happiness through baking. I've added my own touch with the coffee buttercream, but the base is still my tribute to her amazing talent for making desserts that brought people together.
Ways To Serve
Show off this gorgeous cake on a spinning cake stand for the best effect when guests are around. For special events, top it with chocolate-covered espresso beans arranged in a circle around the edge. Serve with a small scoop of vanilla ice cream or some lightly sweetened whipped cream to balance out the richness. Coffee lovers might enjoy slices with a shot of espresso or a cappuccino. At dinner parties, try surrounding the cake plate with fresh berries for a pop of color and something refreshing that goes well with the deep chocolate flavor.
Fun Twists To Try
Switch up this basic cake by adding different flavors that go well with the coffee-chocolate combo. Make a mocha version by putting chocolate ganache between layers along with the coffee buttercream. For a nutty change, add a tablespoon of hazelnut liqueur to both the cake mix and frosting. Create a tiramisu-style cake by brushing each layer with coffee liqueur before adding frosting. During Christmas, try adding a teaspoon of cinnamon and a pinch of nutmeg to the batter for a holiday spiced version that tastes amazing with the coffee frosting.
Keeping It Fresh
Keep this cake covered on your counter for up to three days, during which time the flavors will actually get better and blend together nicely. If you need to keep it longer, put it in the fridge in an airtight container for up to a week, but let slices warm up to room temperature before eating for the best taste and texture. This cake freezes really well—wrap unfrosted layers tightly in plastic wrap and then foil for up to three months. Thaw in the fridge overnight while still wrapped, then add frosting before serving. Since it's made with oil, the cake stays moist even after freezing, making it great for planning ahead.
I've made tons of cakes over the years, but this coffee chocolate cake is still my go-to recipe that friends and family always ask for when something special happens. There's something really special about how the coffee makes the chocolate taste better without taking over—it creates a deeper, more interesting flavor that makes it better than regular chocolate cake. My favorite part is watching people's faces when they take their first bite and realize they're tasting something familiar but way better than expected. This cake reminds me that cooking and baking are really about making people happy and creating memories—turning simple ingredients into experiences they'll remember long after the last bite is gone.
 Pin
Pin
Recipe Questions & Answers
- → Can I skip the coffee here?
- Sure! Swap the coffee for hot water if you want. However, you’ll lose the hint of coffee that makes the chocolate flavor pop. The cake will still turn out moist and yummy.
- → How do I keep the leftovers fresh?
- Cover and store at room temperature for two or three days. You can also refrigerate it for up to a week, but let it come to room temp before you dig in for the best texture.
- → Can I freeze it for later?
- Definitely! You can freeze it either whole or in slices, with or without frosting, for up to three months. Just let it thaw in your fridge overnight before serving.
- → What works instead of sour cream?
- Greek yogurt works great if you’re out of sour cream. Both offer the tanginess and moisture this cake needs.
- → Why did my cake dip in the center?
- This might happen if you opened the oven too early, overbeat your batter, or used expired baking powder or soda. The cake needs steady heat to set properly.