
 Pin
Pin
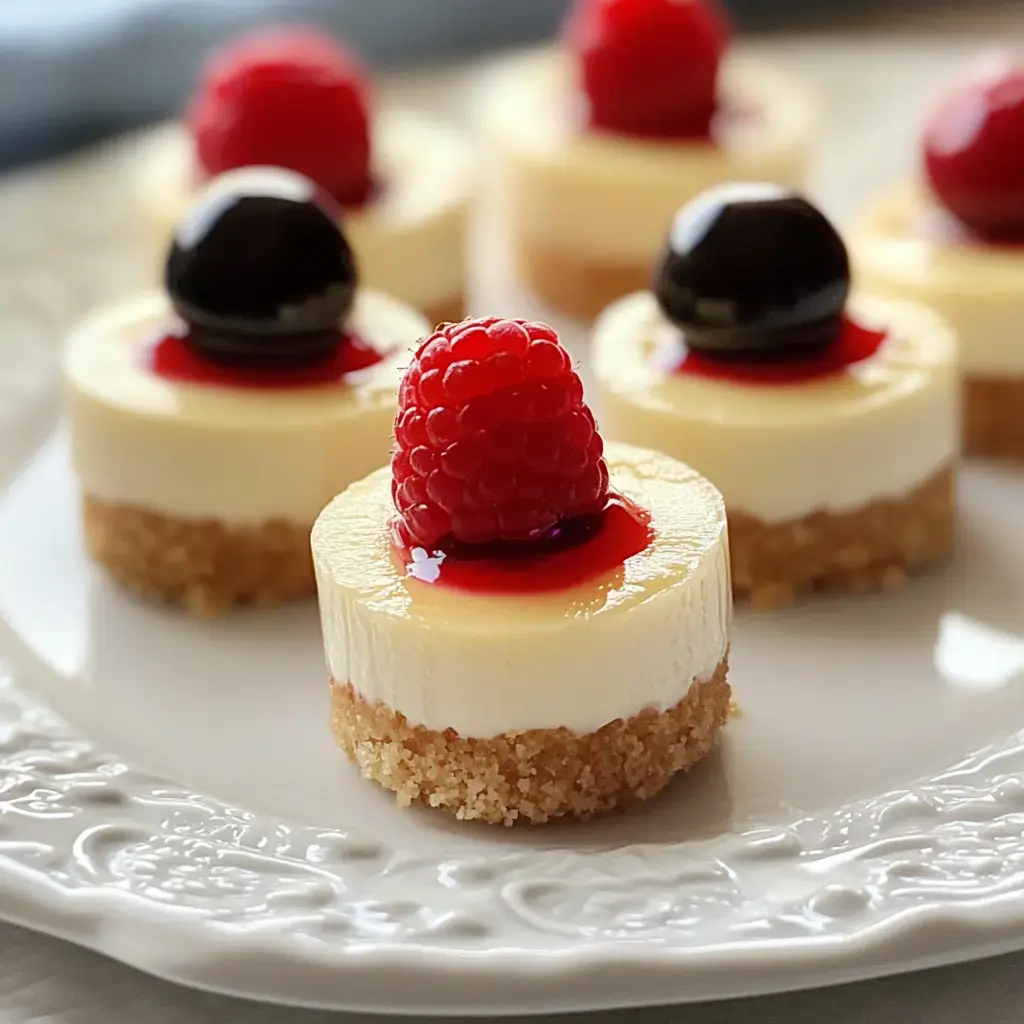
These cute little cheesecakes have completely won me over in my kitchen. I can't count how many times these small bites of deliciousness have rescued my dessert plans. Each one begins with a crumbly, buttery base that breaks apart perfectly then dissolves into the smoothest cheesecake mixture you'll ever taste. They're just what you need when you want something impressive but don't feel like tackling a regular-sized cheesecake.
Tiny Treats Massive Flavor
What's great about these petite delights is how fast they're ready. You won't need to worry about water baths or stress over surface cracks. They also come in ready-to-eat portions so you'll never deal with sloppy slice cutting when guests drop by.
What You'll Need
- Butter: Always go for the real stuff, it really makes the crust stand out.
- Cream Cheese: Don't skimp on fat content - you want that rich, velvety finish.
- Sugar: Just the right amount to cut the tanginess without going overboard.
- Graham Crackers: They're always in my cupboard for the ideal base, though sometimes I throw in gingersnaps when I'm feeling creative.
- Vanilla Extract: A bit of good vanilla improves the whole thing.
- Eggs: Get them fresh for that wonderful creamy texture.
Setting Up the Foundation
- Press and Bake
- Push down firmly with a spoon back to form solid bases. After five minutes baking, your kitchen will fill with wonderful scents.
- Mix it Up
- Combine those buttery crumbs until they resemble damp sand.
- First Things First
- Warm your oven to 325°F. While it's heating up, get your muffin tin lined.
The Smooth Center
- Gentle Touch
- Put those eggs in one at a time. Don't overbeat them - that's the real secret.
- Start Smooth
- Make sure your cream cheese is completely soft. I usually set mine out a couple hours before I start cooking.
- Sweet Balance
- Blend in sugar and vanilla until everything looks glossy.
 Pin
Pin
Filling Each Cup
Pour the mixture nearly to the top of each liner. I usually grab an ice cream scoop for this job since it keeps everything tidy. Tap your pan gently against the counter a few times to help everything settle properly.
Baking Process
Put them in the oven for around 15 minutes. You'll spot they're ready when they still jiggle slightly in the middle. Don't open that oven door even if you really want to take a look.
Let Them Rest
Here's a tip I picked up from my nana - keep them in the warm oven with the door slightly open. This slow cooling stops the tops from cracking and gives you the creamiest texture.
Chill Time
Stick them in the fridge once they've cooled down a bit. I typically whip these up the evening before I'm serving them. They taste even better after sitting overnight.
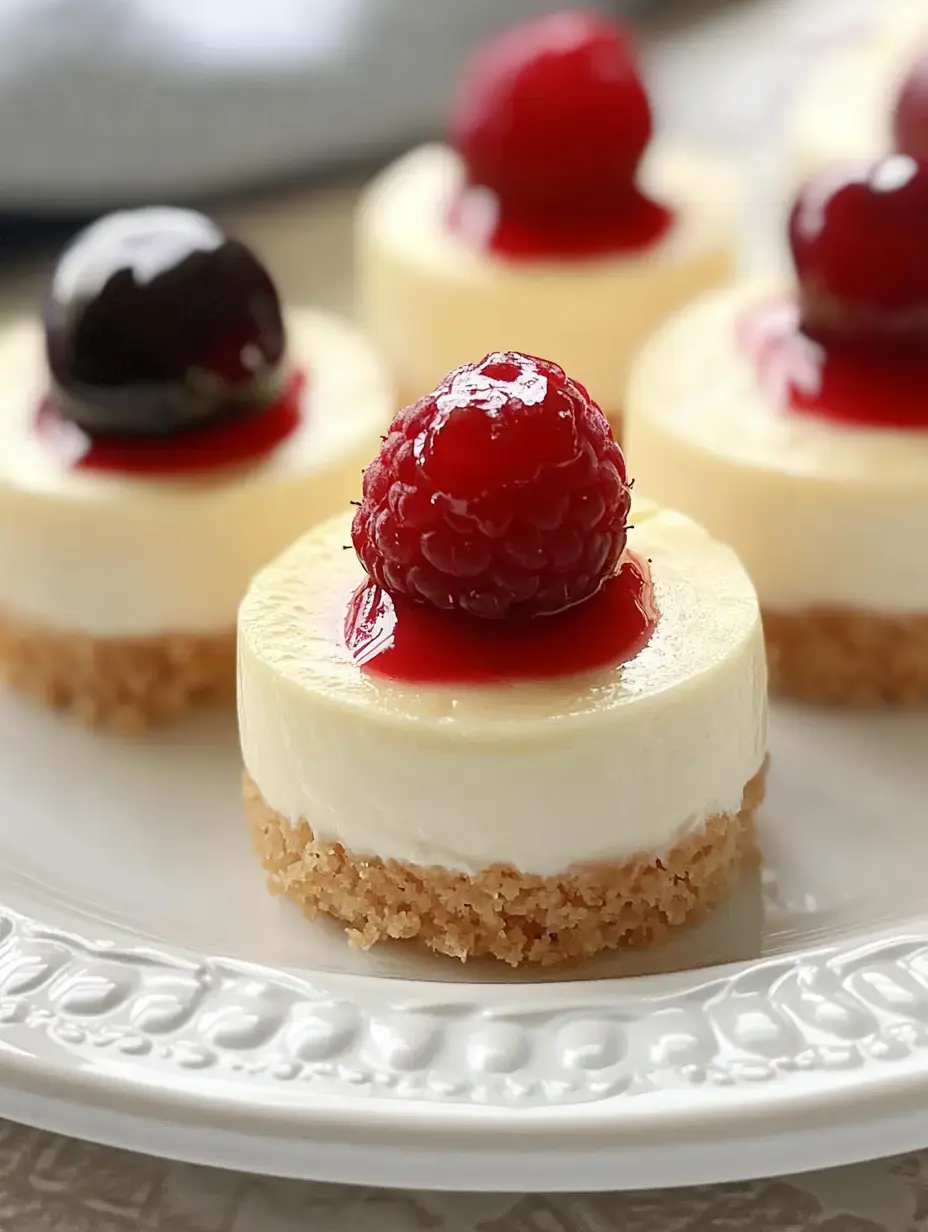
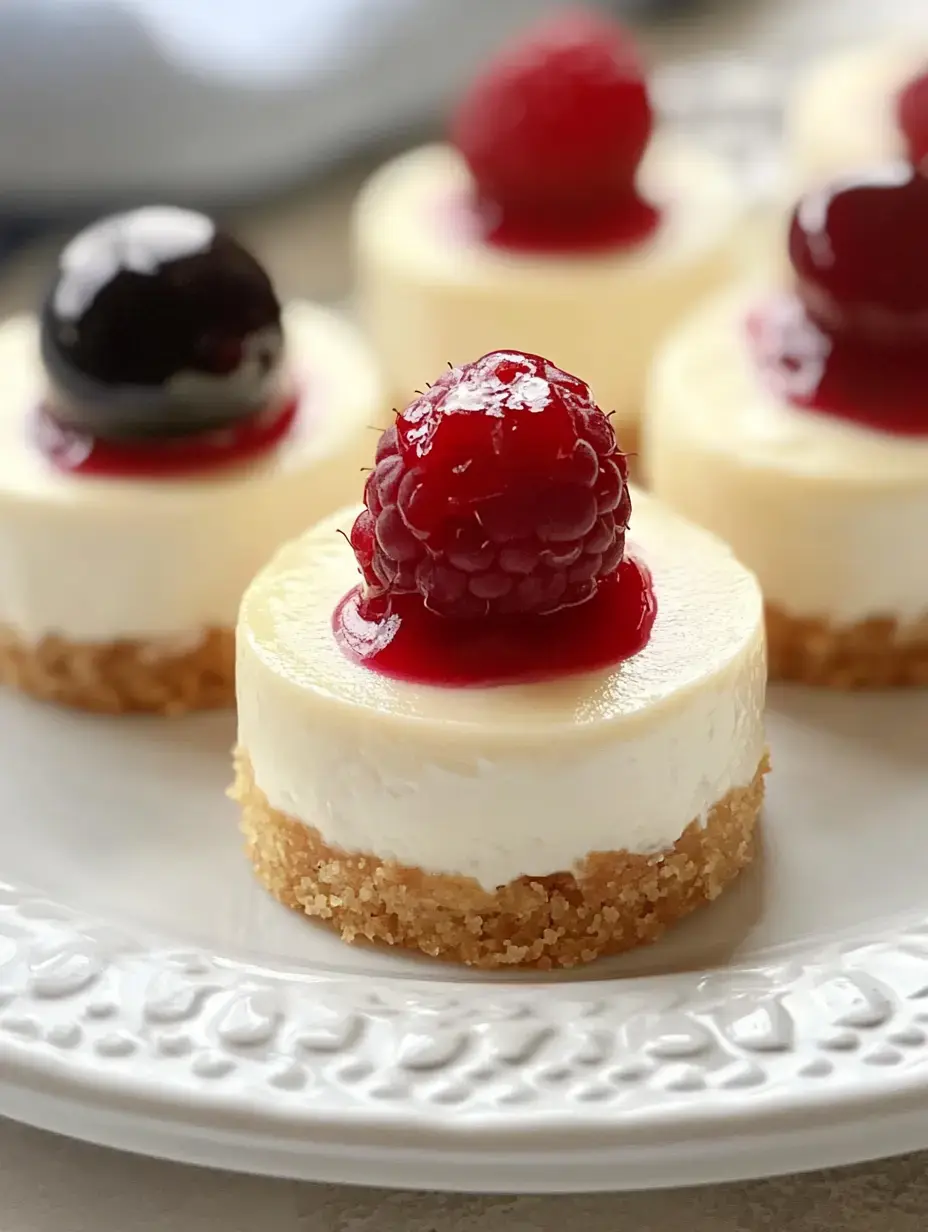
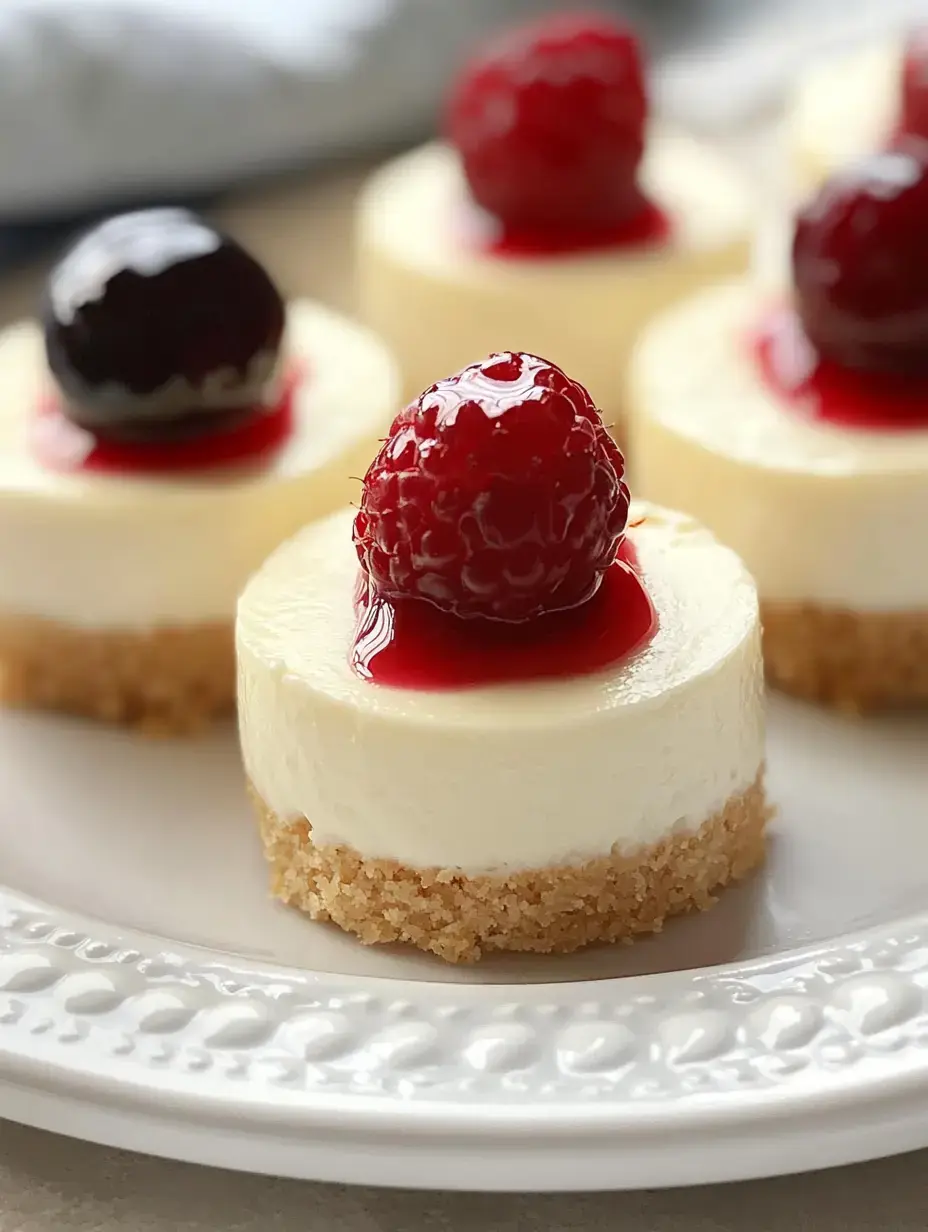
Add Your Toppings
Now's your chance to get creative. I usually go for fresh berries but sometimes I'll drizzle some caramel or add a spoonful of whipped cream when I'm feeling fancy.
 Pin
Pin
Storage Tips
These small treats stay good in the fridge for up to a week. If you want to save them longer, just wrap them carefully and freeze. They defrost wonderfully whenever you're craving something sweet.
Switch Up Your Crust
I often swap out graham crackers for different cookies. Chocolate sandwich cookies create an amazing base and vanilla wafers add such a nice subtle sweetness.
Try New Tastes
The filling works like a blank slate. A bit of lemon zest makes everything brighter or mix in some raspberry jam for a fruity kick. You can try so many variations.
For Chocolate Fans
Mixing melted chocolate into the filling makes the most luxurious dessert. I love putting chocolate curls on top - they look so impressive but they're really easy to make.
Colorful Patterns
Drop in some fruit sauce and gently pull a toothpick through for gorgeous designs. It's basically edible artwork and super fun to create.
 Pin
Pin
Great for Gatherings
These little guys are my go-to for social events. Everyone gets their own complete portion and they add such class to any dessert spread.
Kid-Friendly Baking
My little kitchen assistants enjoy decorating these. We always keep sprinkles and tiny chocolate chips handy for when creativity strikes.
Fast Results
You'll be amazed how quickly these bake. While full-sized cheesecakes need more than an hour, these finish in just 15 minutes. They're perfect when you need dessert in a hurry.
Holiday Versions
I enjoy changing the decorations for different celebrations. Try heart sprinkles for Valentine's Day or smashed candy canes at Christmas time - they always look so festive.
Just Right
After baking these mini cheesecakes for years, they still bring me joy. They're what I turn to when I want something special that everybody loves. Try making them yourself and watch how fast they disappear.
Final Thoughts
These personal-sized cheesecakes offer creamy richness paired with a crumbly crust. They're simple to prepare and work for every occasion.Recipe Questions & Answers
- → Can I keep these in the freezer?
- Sure, wrap each one up and freeze for as long as 3 months. Let them thaw in the fridge overnight before adding toppings.
- → Why are there cracks in mine?
- This can happen with overbaking or if you mix too much. Only mix to combine and take them out when the centers still jiggle a bit.
- → Can I prep these early?
- Absolutely. You can make them 4 days ahead. Just store them chilled and top them fresh when ready to serve.
- → What if I don't have graham crackers?
- You can swap them with crushed cookies like Oreos, wafers, or gingersnaps. Add butter same as the original crust mix.
- → How do I know they’re done baking?
- The middle part will still wiggle slightly if shaken softly. They'll keep setting as they cool.